Video & complete transcript
Van Deadlock Fitting — Warning, Rust Prevention
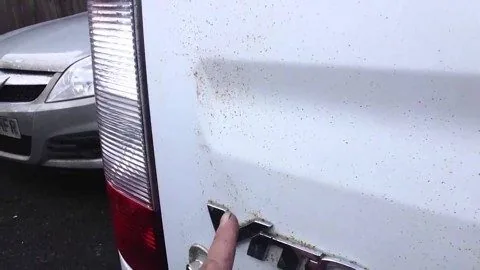
A real example of metal filings left on painted bodywork, showing why swarf removal is an essential part of professional fitting.

Dated ifitstuff posts and YouTube videos document how Jeff Scott developed, standardised and shared higher-quality van-lock fitting methods.
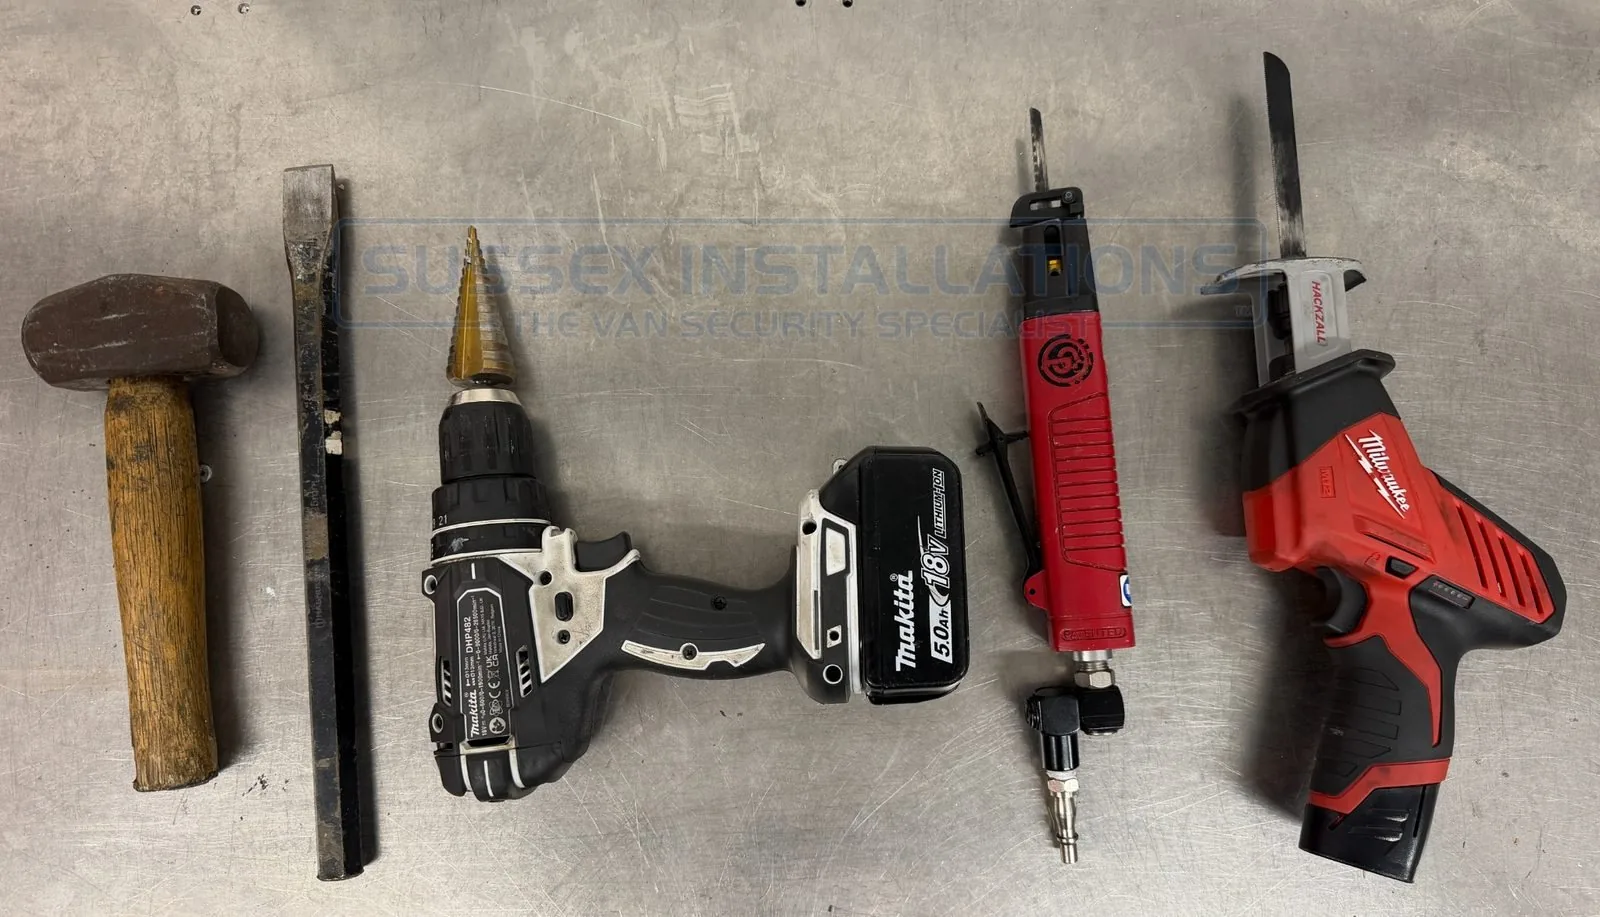
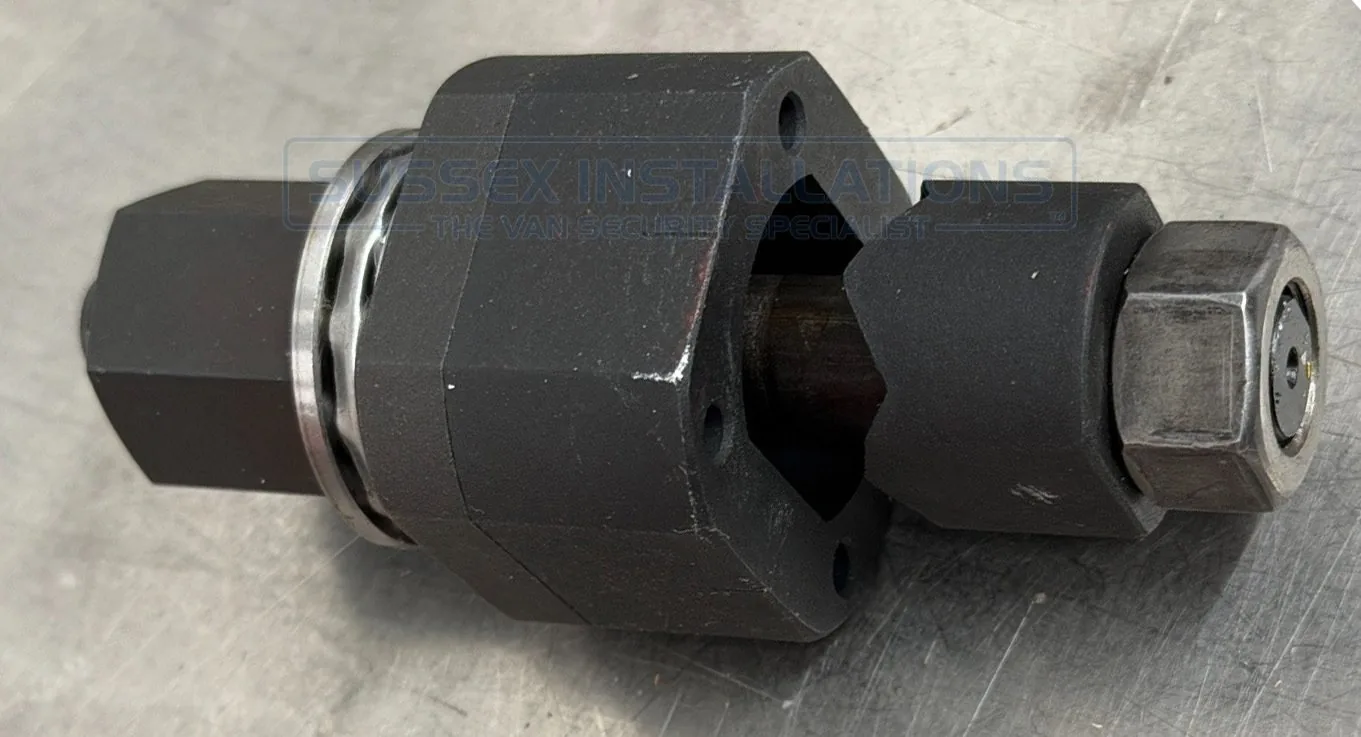
By 2008 I had already spent around a year fitting slamlocks for courier fleets using a purpose-made shaped punch tool. The shaped punch produced the required aperture quickly, accurately and consistently.
For deadlocks, the suggested methods at the time included using a cone cutter and drill to form the lockcase opening, or chain-drilling a sequence of holes and joining them with a chisel. These approaches were regarded as normal and acceptable within the industry in 2008.
After fitting deadlocks to a Vauxhall Vivaro using cone cutters, files and drill bits, I wrote that the rear double-skinned door—with only about a 4 mm gap between the skins—had been extremely difficult. Returning to the same customer with a compact air saw transformed the job. The air saw allowed accurate cutting in the confined gap between the skins and became a turning point in the way I approached professional deadlock fitting.
View the original ifitstuff forum discussion and historical posts →
“I went back to the same company today with my small air saw that gets in the tight spaces and it was a pleasure, such a difference!”
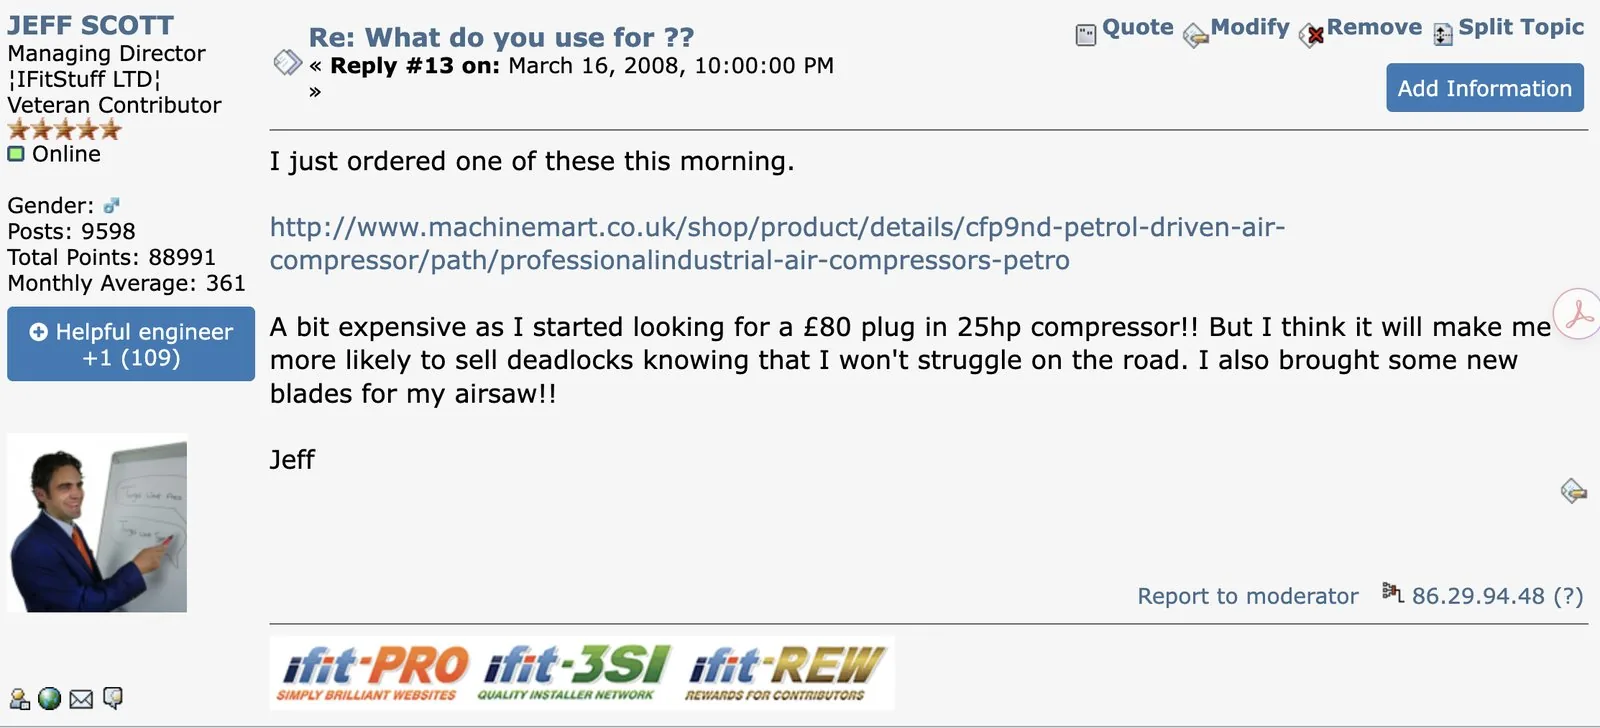
I ordered a petrol-driven compressor and new air-saw blades because I did not want roadside installations to be limited by the lack of mains electricity or access to a customer’s compressor.
View the original ifitstuff forum discussion and historical posts →
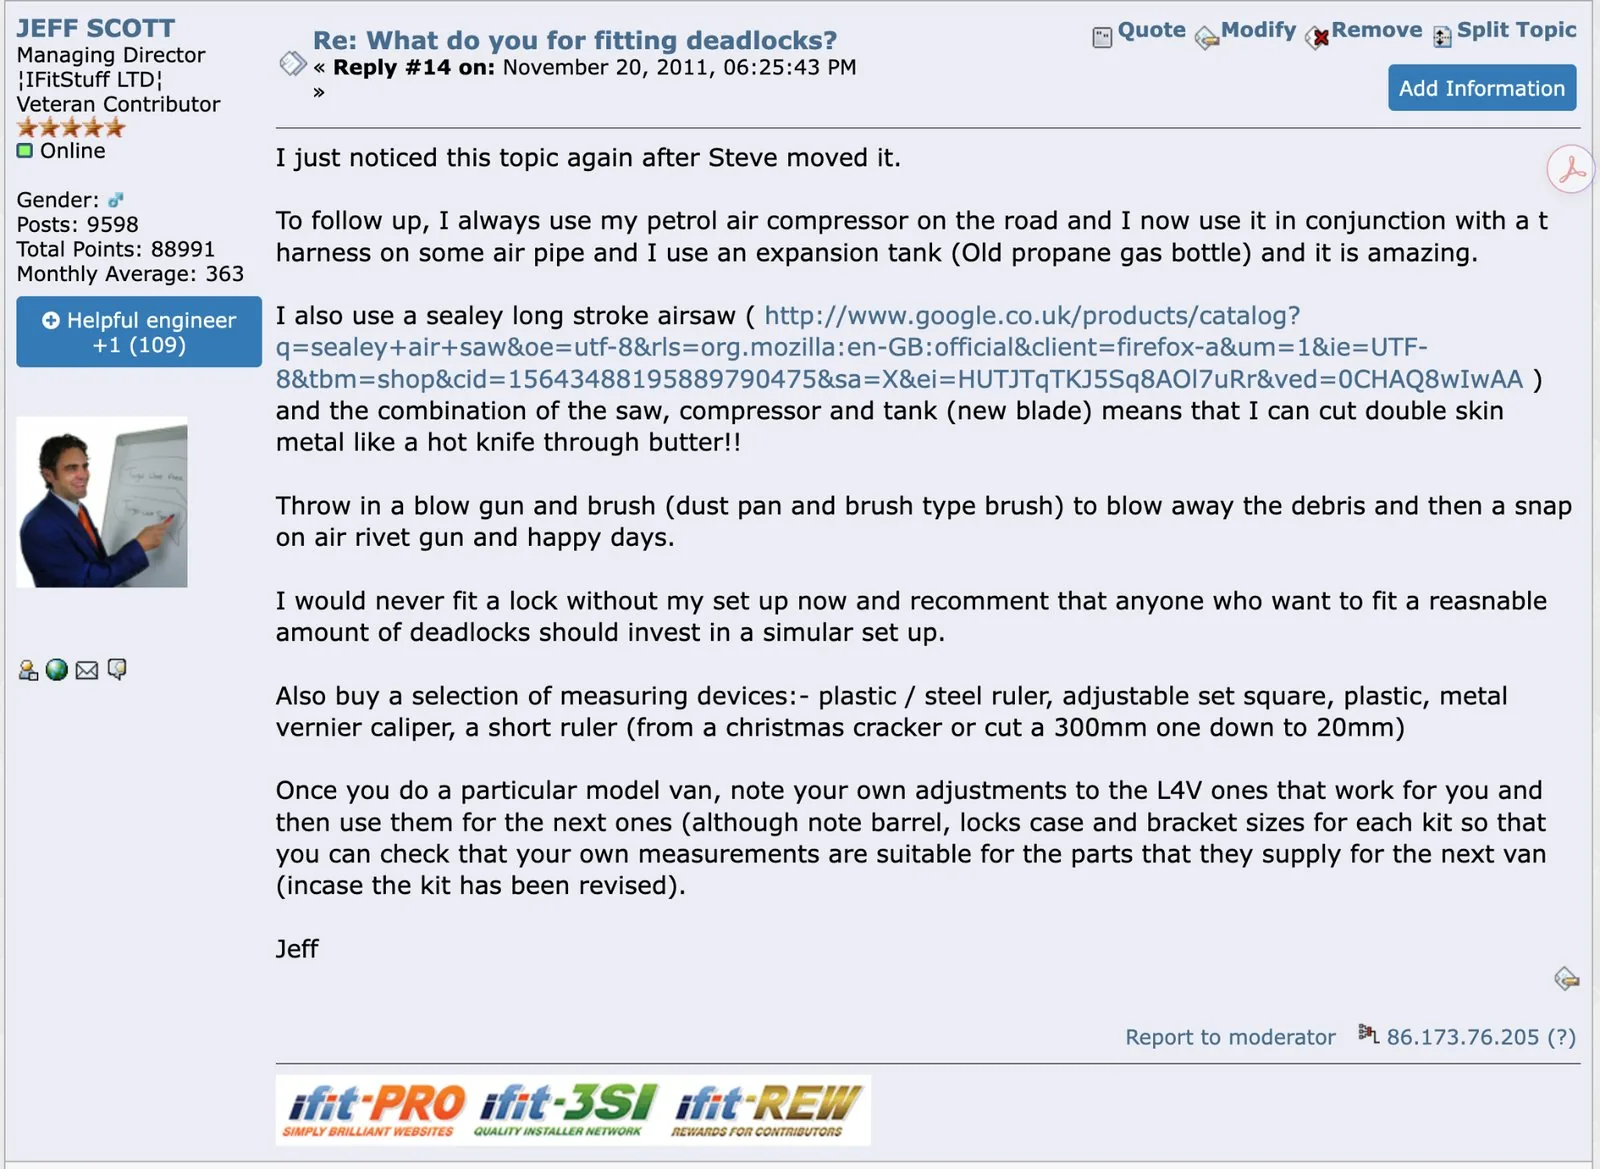
Three years later I returned to the original discussion and shared the system I had developed: petrol compressor, expansion tank, long-stroke air saw, air riveter, blow gun, brush and a selection of proper measuring devices.
View the original ifitstuff forum discussion and historical posts →
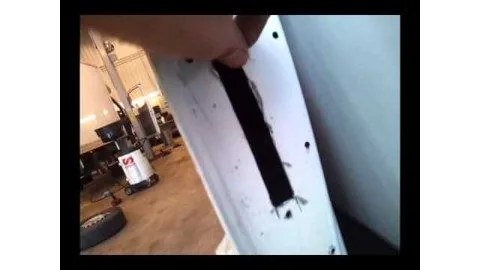
I published videos demonstrating what can happen when metal swarf is left on paintwork, and the additional preparation, tools and finishing steps required for a durable professional installation.
A real example of metal filings left on painted bodywork, showing why swarf removal is an essential part of professional fitting.
Jeff Scott explains why compressed-air clean-down, brushing where appropriate and cut-edge treatment are essential parts of professional van deadlock fitting.
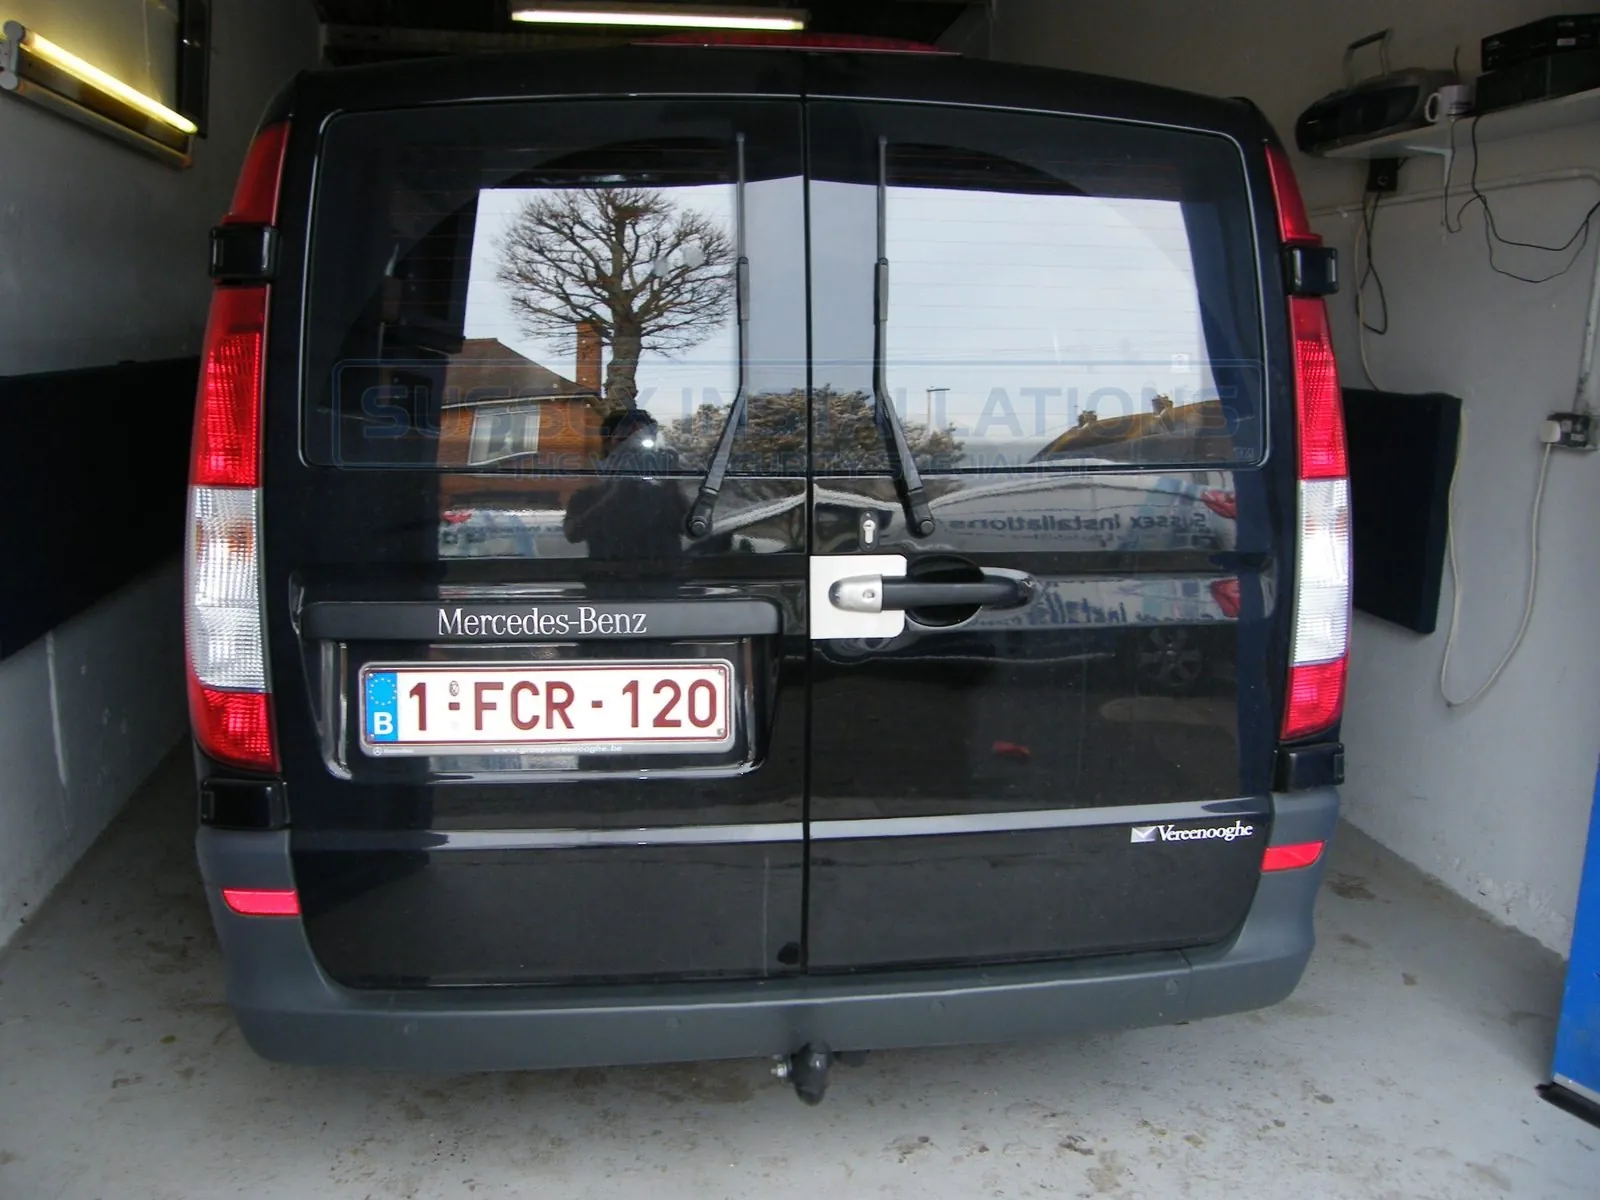
By this point our reputation was spreading well beyond the South East. Customers were travelling from across the UK and increasingly from mainland Europe to have their vans secured by Sussex Installations.
The van owner shown here invented the “day trip drive from Belgium to Sussex Installations”: travelling from Belgium, having us fit his van security and then driving back to Belgium, all in the same day.
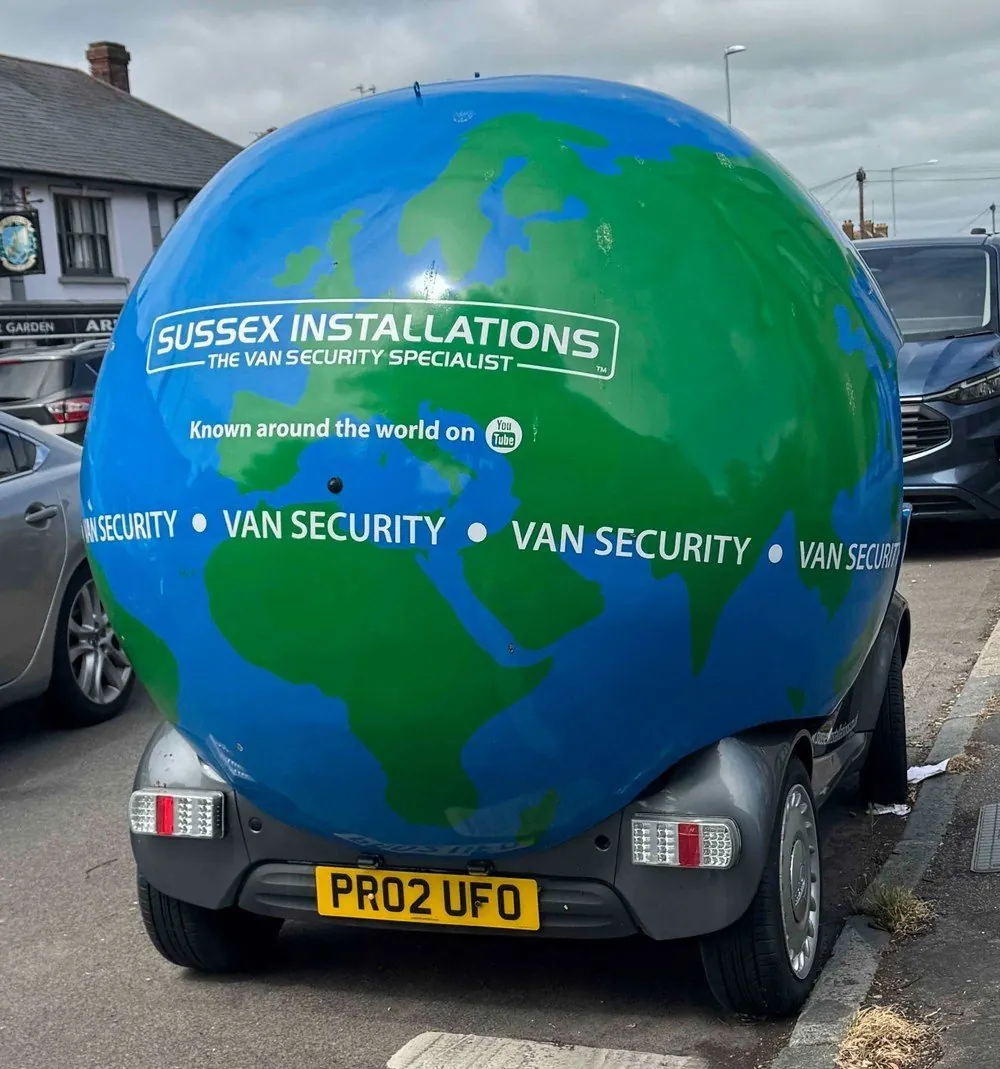
We celebrate being recognised globally as the Van Security Expert by building a globe car!
The lockcase opening is first carefully marked. Pilot holes allow the short air-saw blade to enter the panel and create a controlled starting point. The compact pneumatic saw can then join the holes and follow the marked lines through narrow door returns where larger tools are difficult to use.
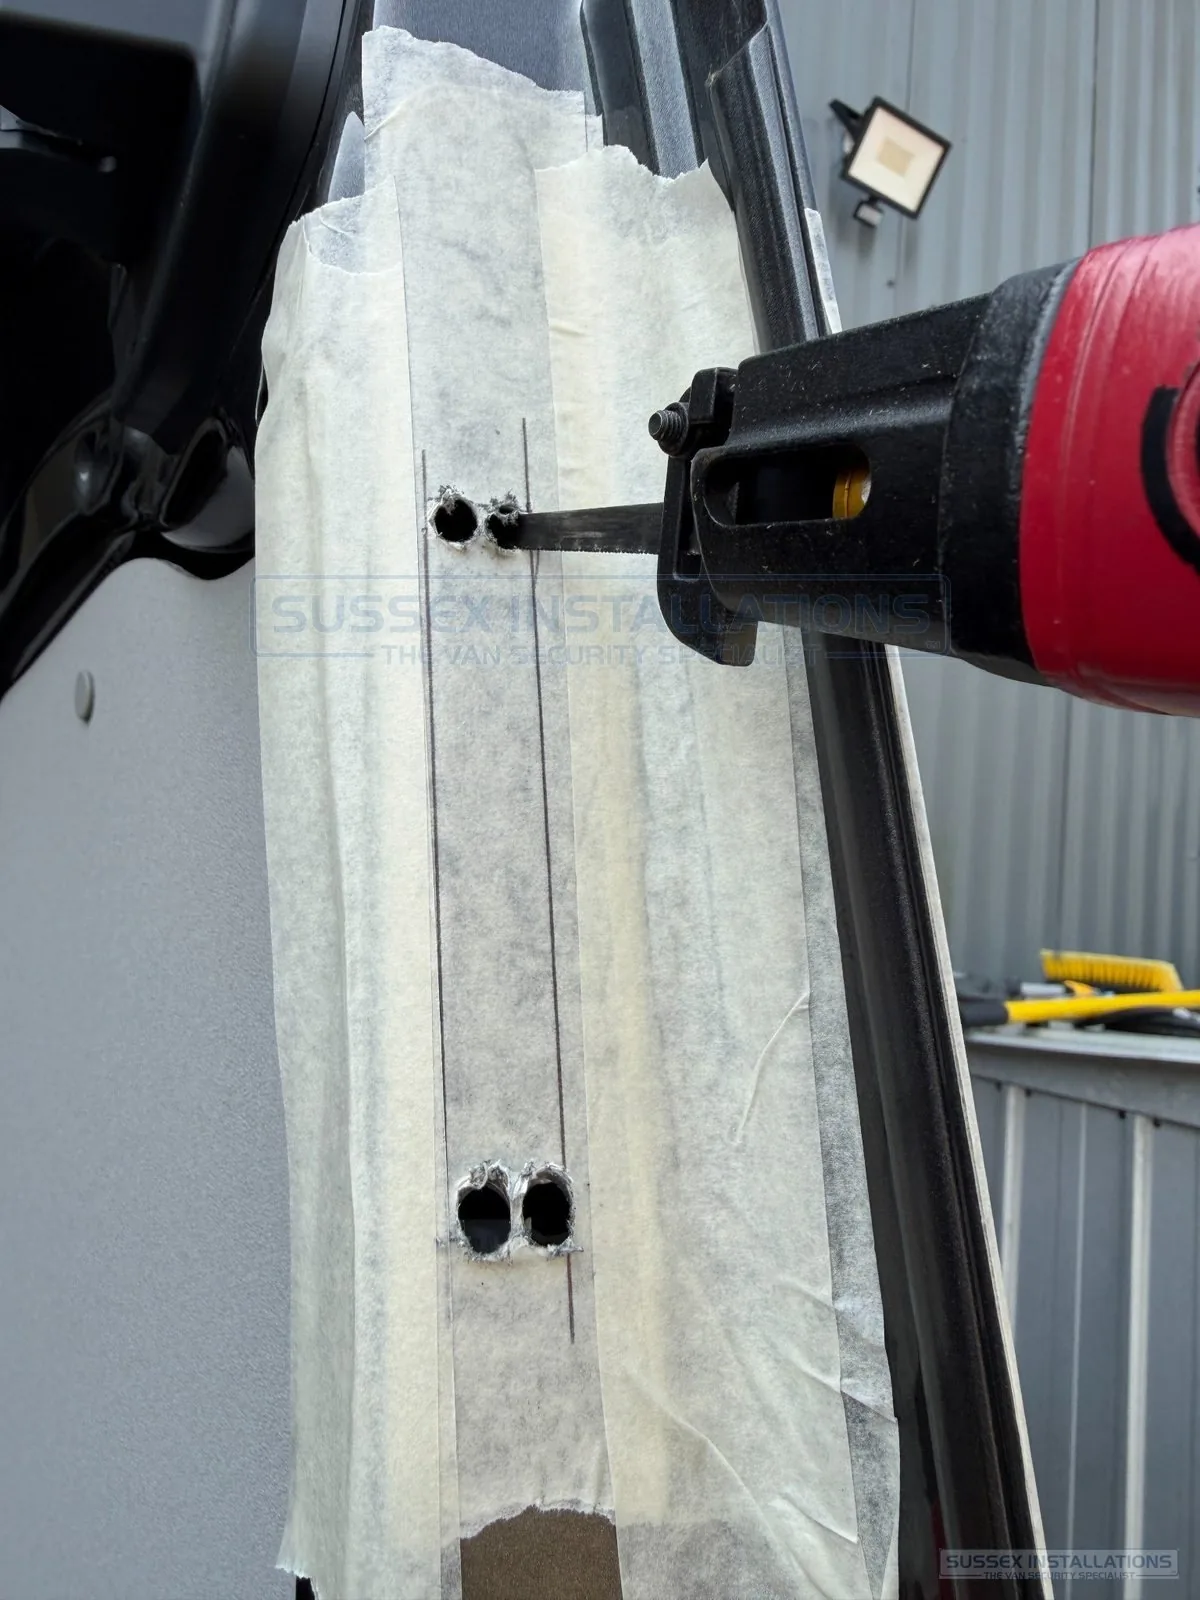
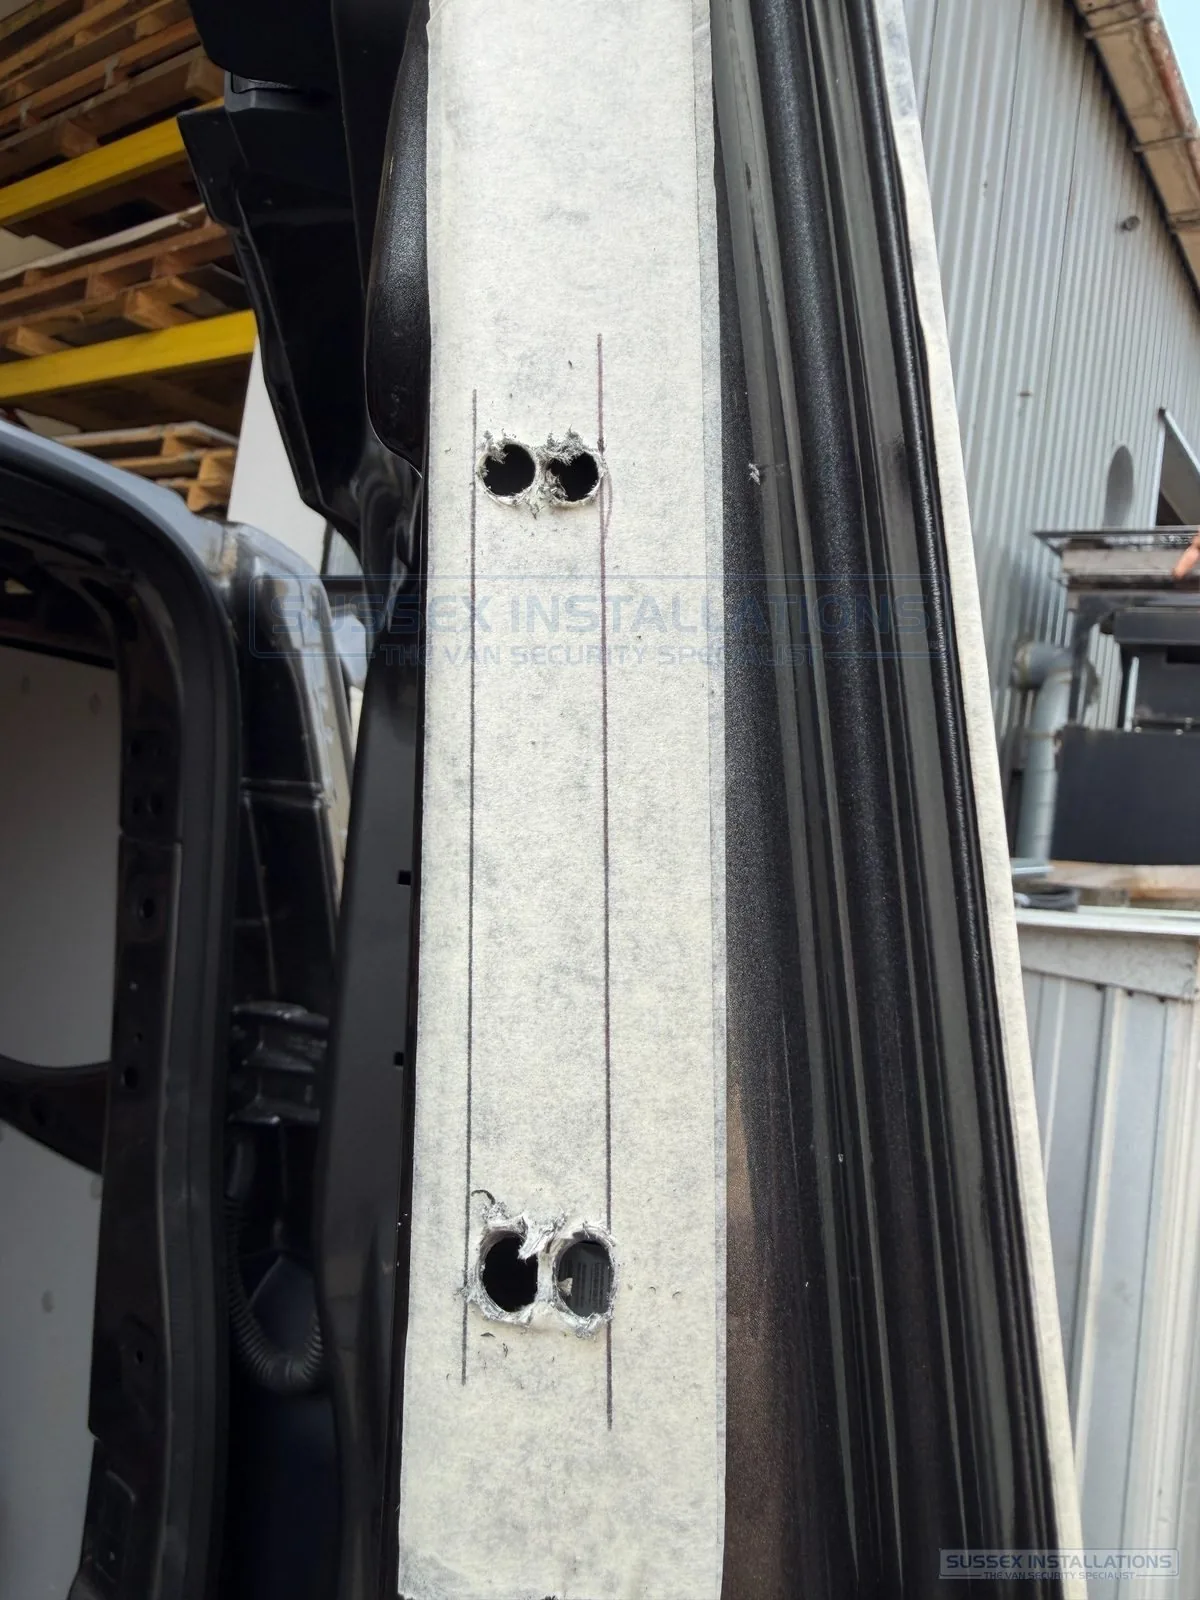
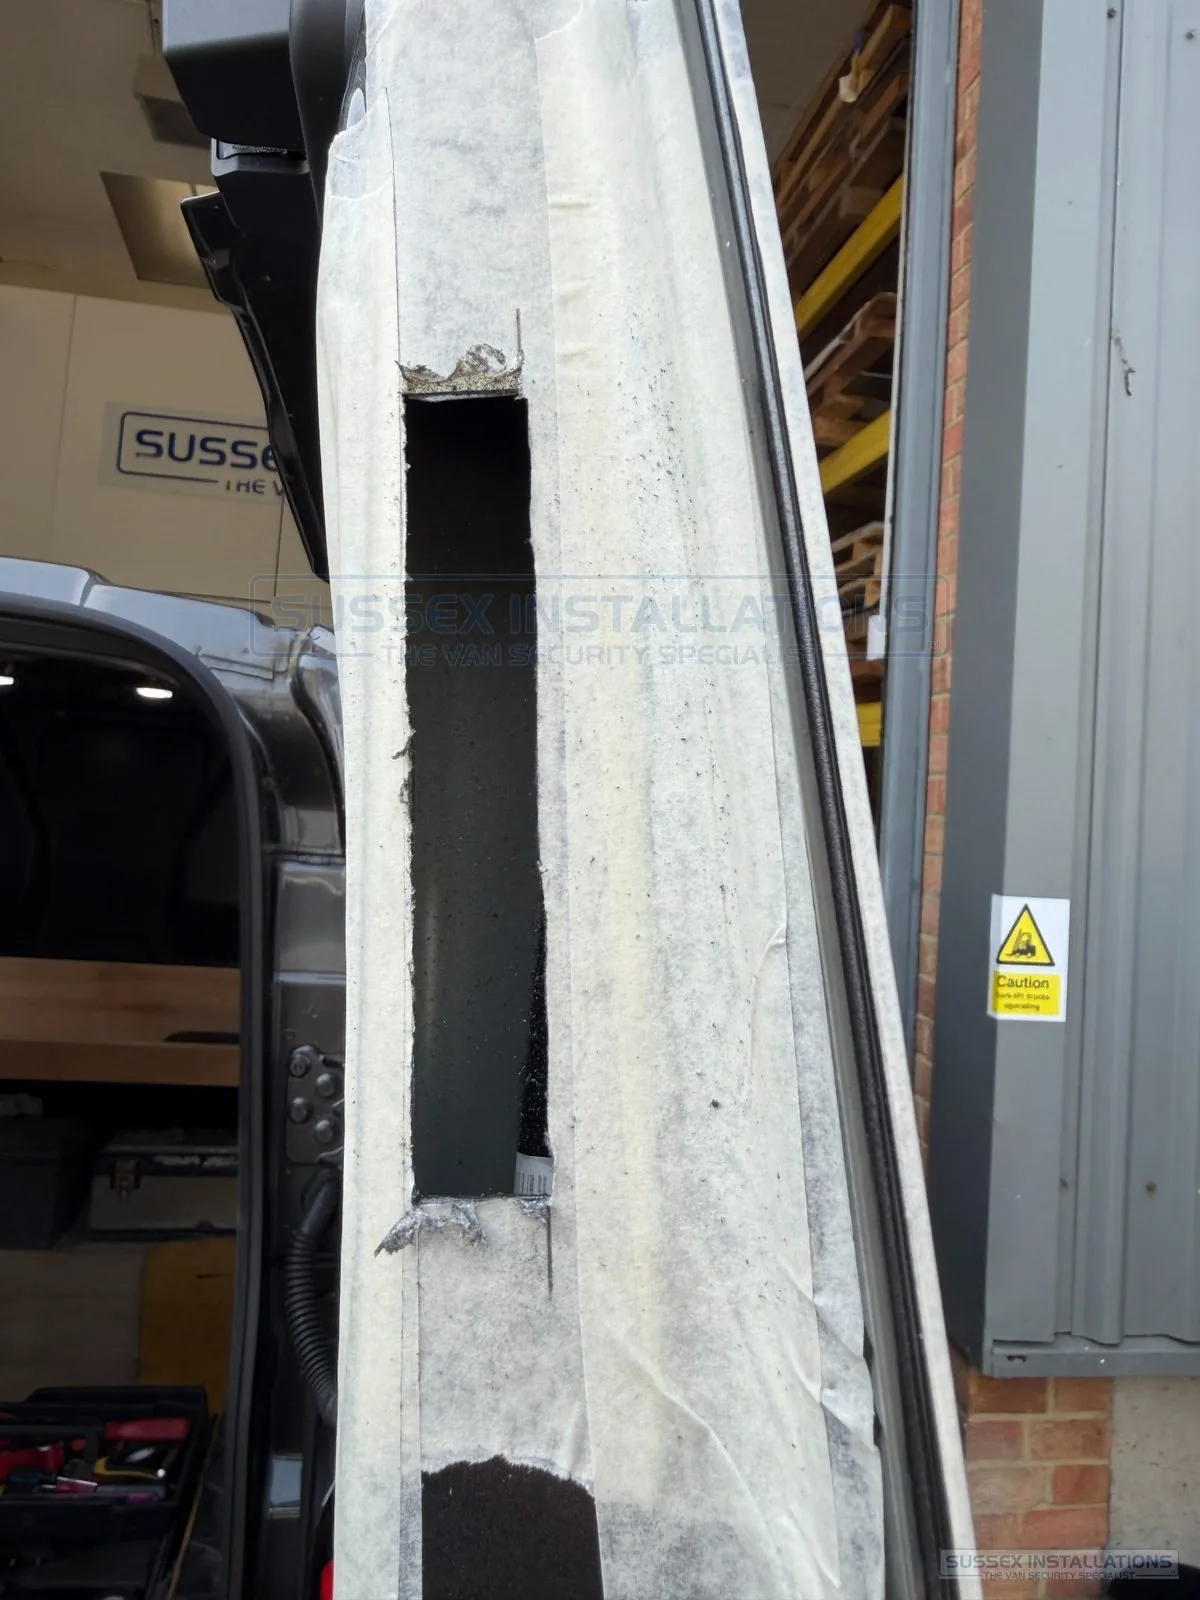
The goal is not simply to create a hole large enough for the lockcase. The objective is a controlled aperture that removes only the material required and provides a professional base for the remainder of the installation.
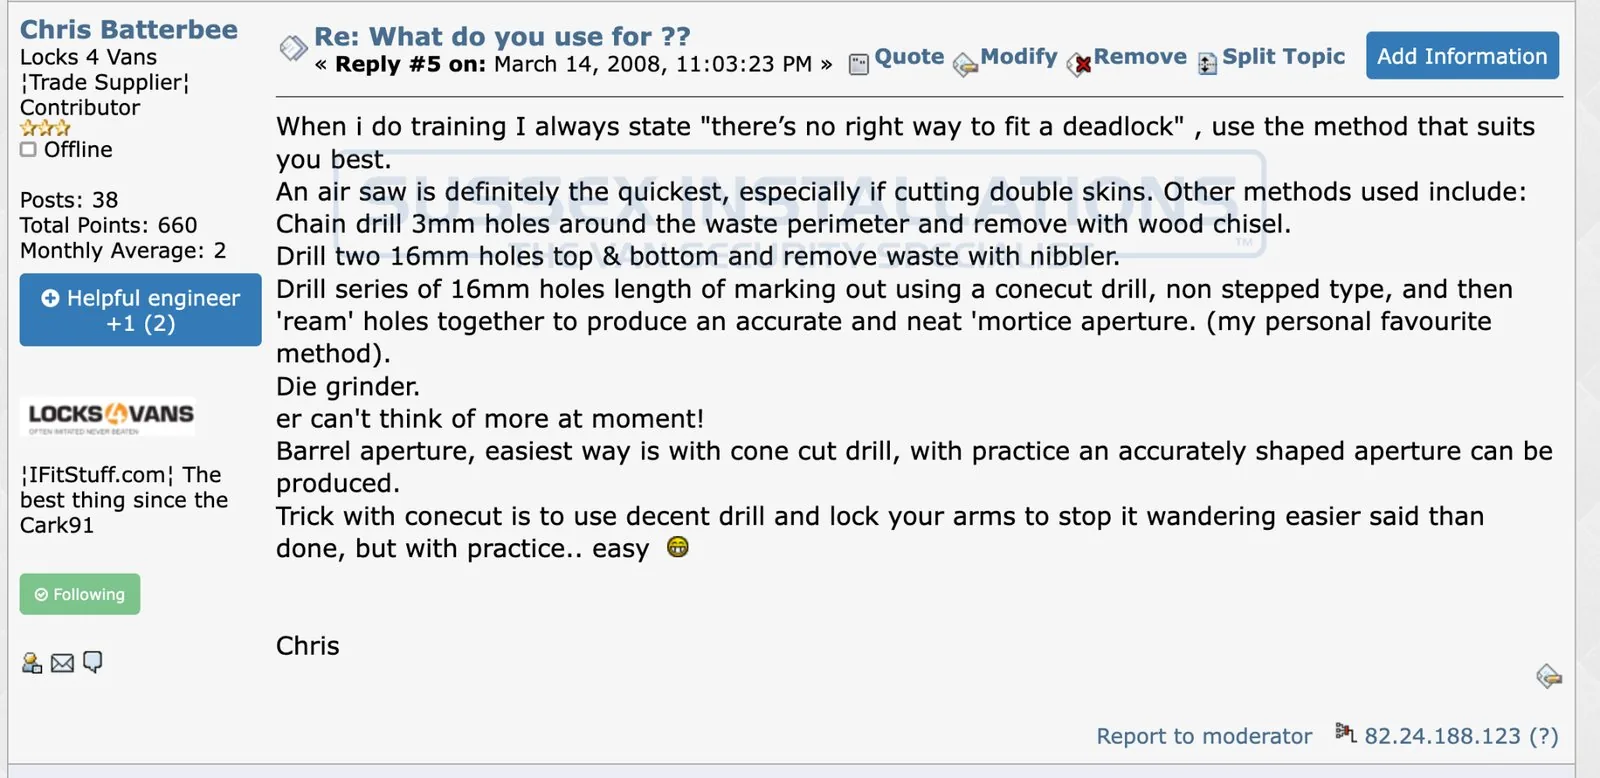
Chris Batterbee, founder of Locks 4 Vans, wrote in the same discussion that there was “no right way to fit a deadlock” and listed several methods in use at the time, including an air saw, chain drilling 3 mm holes and removing the waste with a wood chisel, a nibbler, cone-cut drilling and a die grinder.
Read the 2008 ifitstuff industry discussion about tools for fitting deadlocks →
This is useful historical context. It does not mean that the industry was careless; it shows that professional methods were still being debated and refined. My own experience led me to conclude that a compressor and air saw were essential for the consistent standard I wanted, especially on double-skinned doors.
Open the original video directly on YouTube →
Open the original video directly on YouTube →
Sussex Installations has have only very rarely subcontracted fitting work in the past—well under 1% of installations its professional fitting work. Installations are completed by directly employed technicians so that the methods, equipment, finishing and quality control can be kept in line with the standards I have developed over many years.
This accumulated experience—approximately 23,000 professionally installed deadlocks and slamlocks—has influenced our technical advice, fitting processes, public education, original product designs, registered designs and patent applications.
When I began specialising in van security, I quickly realised that fitting deadlocks professionally was not simply about buying the lock kits. The quality of the finished installation depended just as much on the tools, equipment and working practices used to fit them.
Over the years, Sussex Installations operated around seven dedicated mobile workshop van setups, with a maximum of three in use at any one time for our three full-time installers. The vans changed over the years, but the principle stayed the same: our installers needed to be able to achieve workshop-quality standards while working at a customer’s premises.
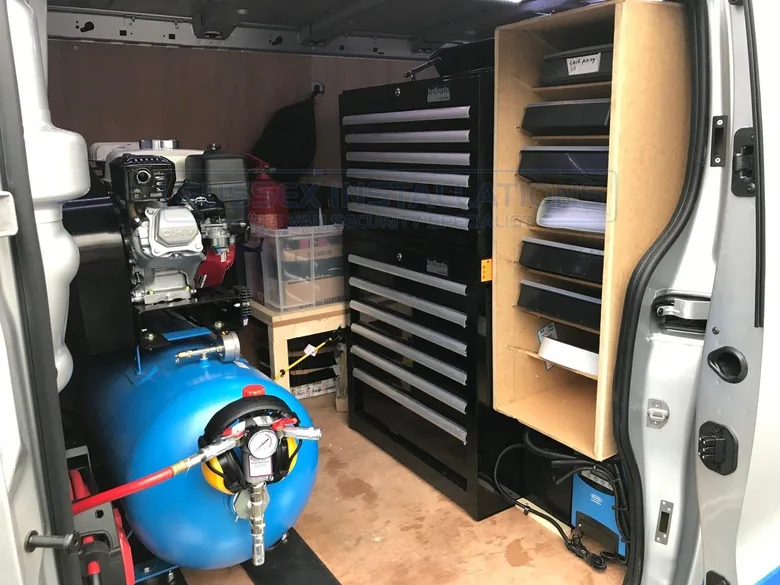
One of the biggest practical challenges for mobile installers has always been carrying the equipment needed to fit locks to a consistently high standard.
Many installers do not fit enough deadlocks or slamlocks to feel that a petrol compressor is worth the cost and space. Some prefer to use a smaller van, an everyday car or a vehicle that also serves another purpose. Others would rather convert their van for leisure use than dedicate a large part of it to workshop equipment.
Those choices are understandable, but because van security became our specialist business rather than an occasional service, we chose to invest differently.
The compressor was important from the beginning because it powered the air saw, which was nimble enough to cut accurately in the confined spaces found inside double-skinned van doors.
However, cutting was only half of the reason for carrying compressed air. The compressor also powered the blow gun used to remove swarf and debris from the vehicle after drilling and cutting. For me, that clean-down was just as important as producing the opening for the lock itself.
Over the years I have heard installers say that they tell the customer to jet-wash the van afterwards, or that they carry a small can of compressed air for the clean-down. Neither approach has ever been enough for the standard I wanted Sussex Installations to achieve.
Modern battery cutting tools are now far better than they were when I bought my first petrol compressor. Compact reciprocating saws and other battery-powered tools can now perform many of the cutting jobs that previously required an air saw.
Ironically, this makes it even less likely that installers will invest in a compressor, because they no longer need compressed air to power the cutting tool. In my opinion, that does not remove the need for compressed air during the clean-down.
The vehicle still needs to be cleared of metal filings and debris from around the handles, inside the door, along the door shuts and across the surrounding bodywork. The cutting technology may have changed, but the corrosion risk caused by poor clean-down has not.
2008: I bought a petrol compressor after struggling with cone cutters and hand tools on increasingly complex double-skinned doors.
2011: I returned to the original ifitstuff discussion and explained the refined compressor, air-saw, air-receiver, blow-gun, rivet-gun and measuring setup that I now considered essential.
2012: I published videos explaining professional clean-down, rust prevention and why metal filings must be removed properly after fitting.
2022: I published a video showing the van setup and the importance of having the right tools available to carry out the job properly.
Present day: compressed air remains part of the professional workshop philosophy used by Sussex Installations for van-lock fitting and clean-down.
Looking back over almost two decades, I believe one of the biggest differences between our installations and many others has never been the lock itself. It has been the willingness to invest in the tools, equipment and working practices needed to fit those locks consistently and professionally.
The deadlock or slamlock is one part of the installation. The installation standard is what protects the vehicle for years afterwards.
A correctly selected barrel should normally sit almost flush with the escutcheon or protrude very slightly. The example below projects by approximately 2 mm and mostly comes straight out from the door, which is the neat appearance most van owners expect.
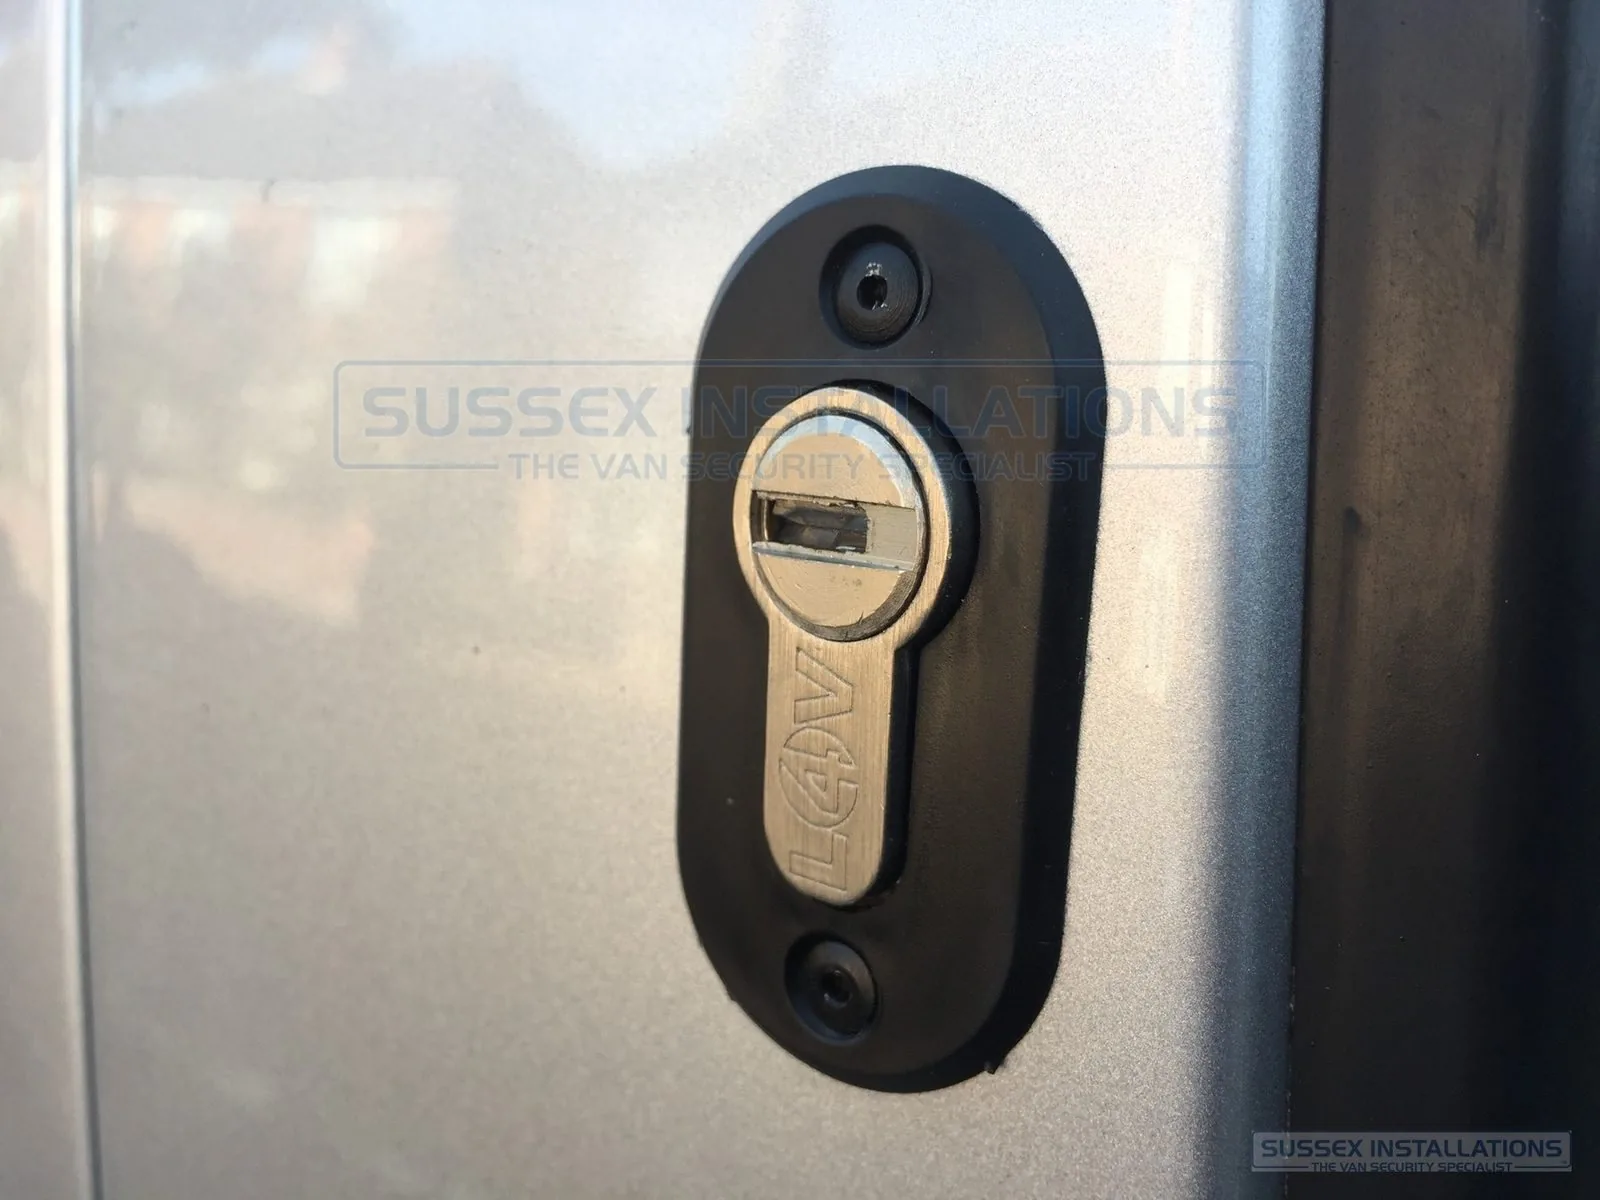
Barrels are commonly available in length increments of about 5 mm. If a barrel protrudes approximately 6 mm evenly on every side, replacing it with a barrel 5 mm shorter could reduce that projection to around 1 mm. A barrel should not be recessed behind the escutcheon; at minimum it should be flush.
The external barrel does not always emerge square to the outside door skin. The lockcase must sit flat against the shaped edge of the door so the vehicle can close without the lockcase contacting the body. Because the barrel remains at 90 degrees to the lockcase, an angled door return can make the barrel appear angled from outside.
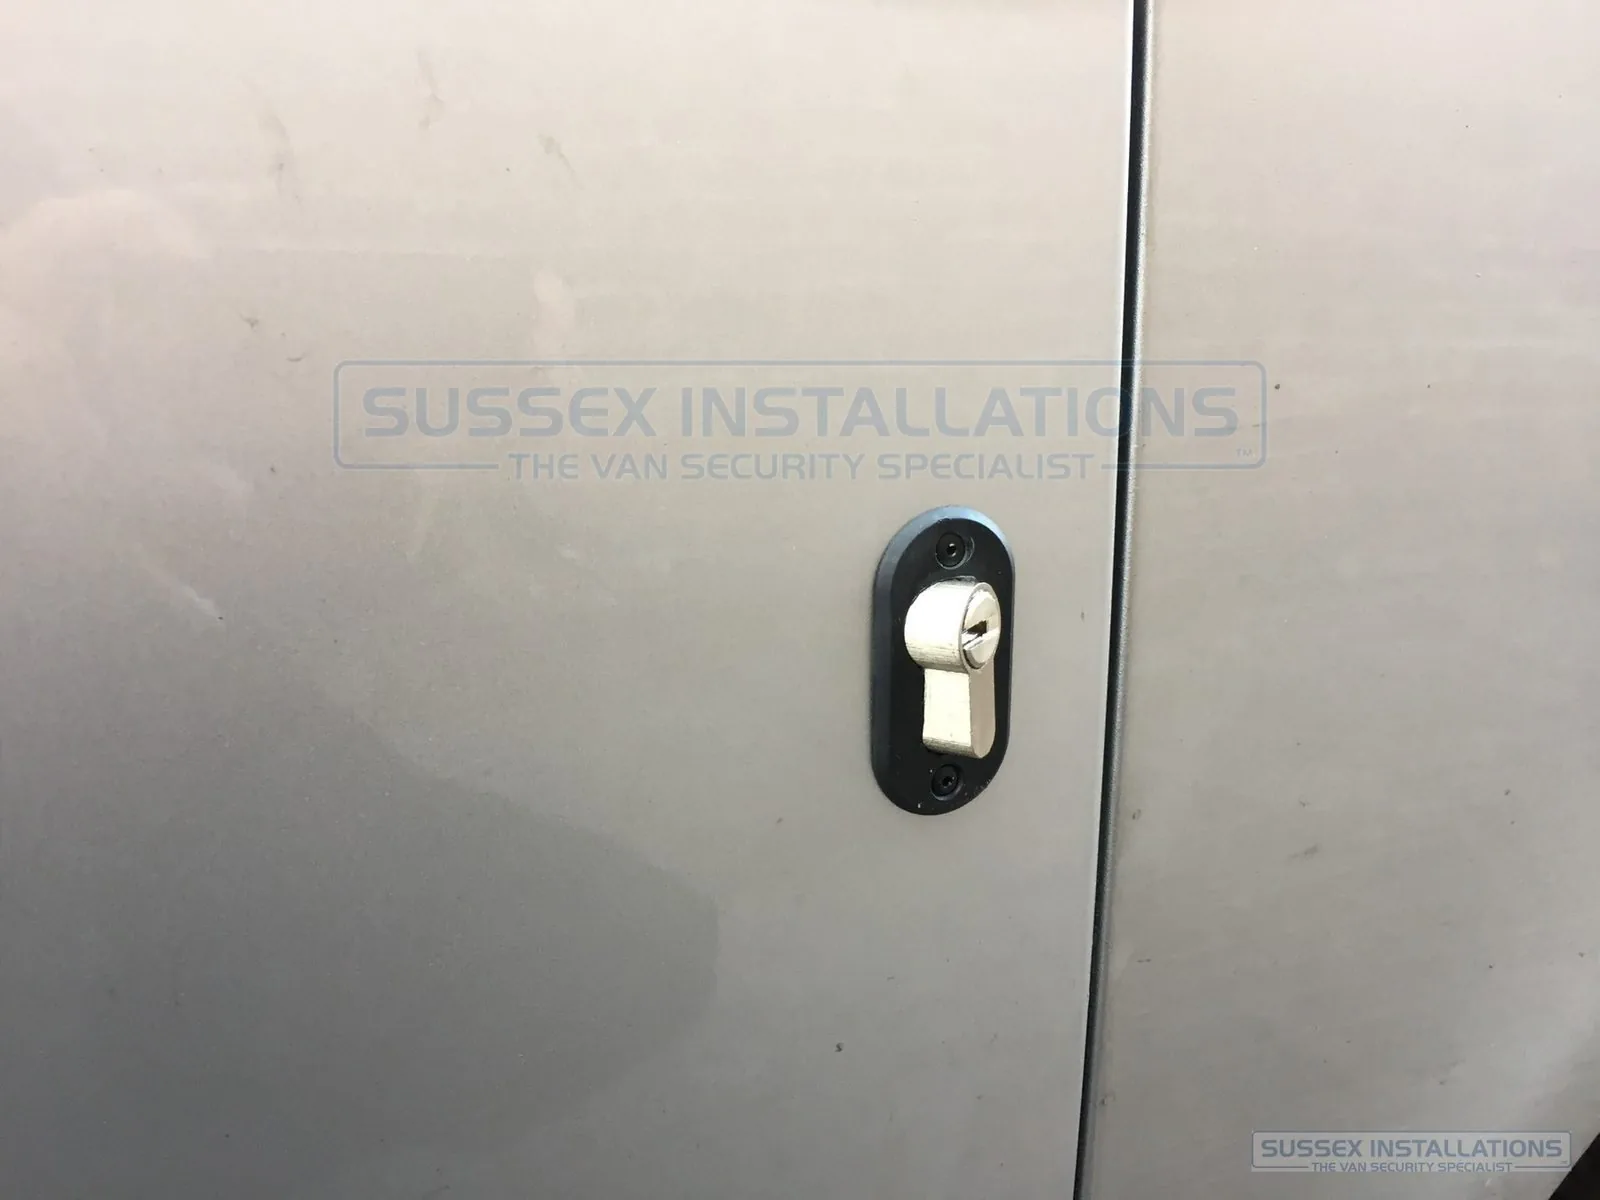
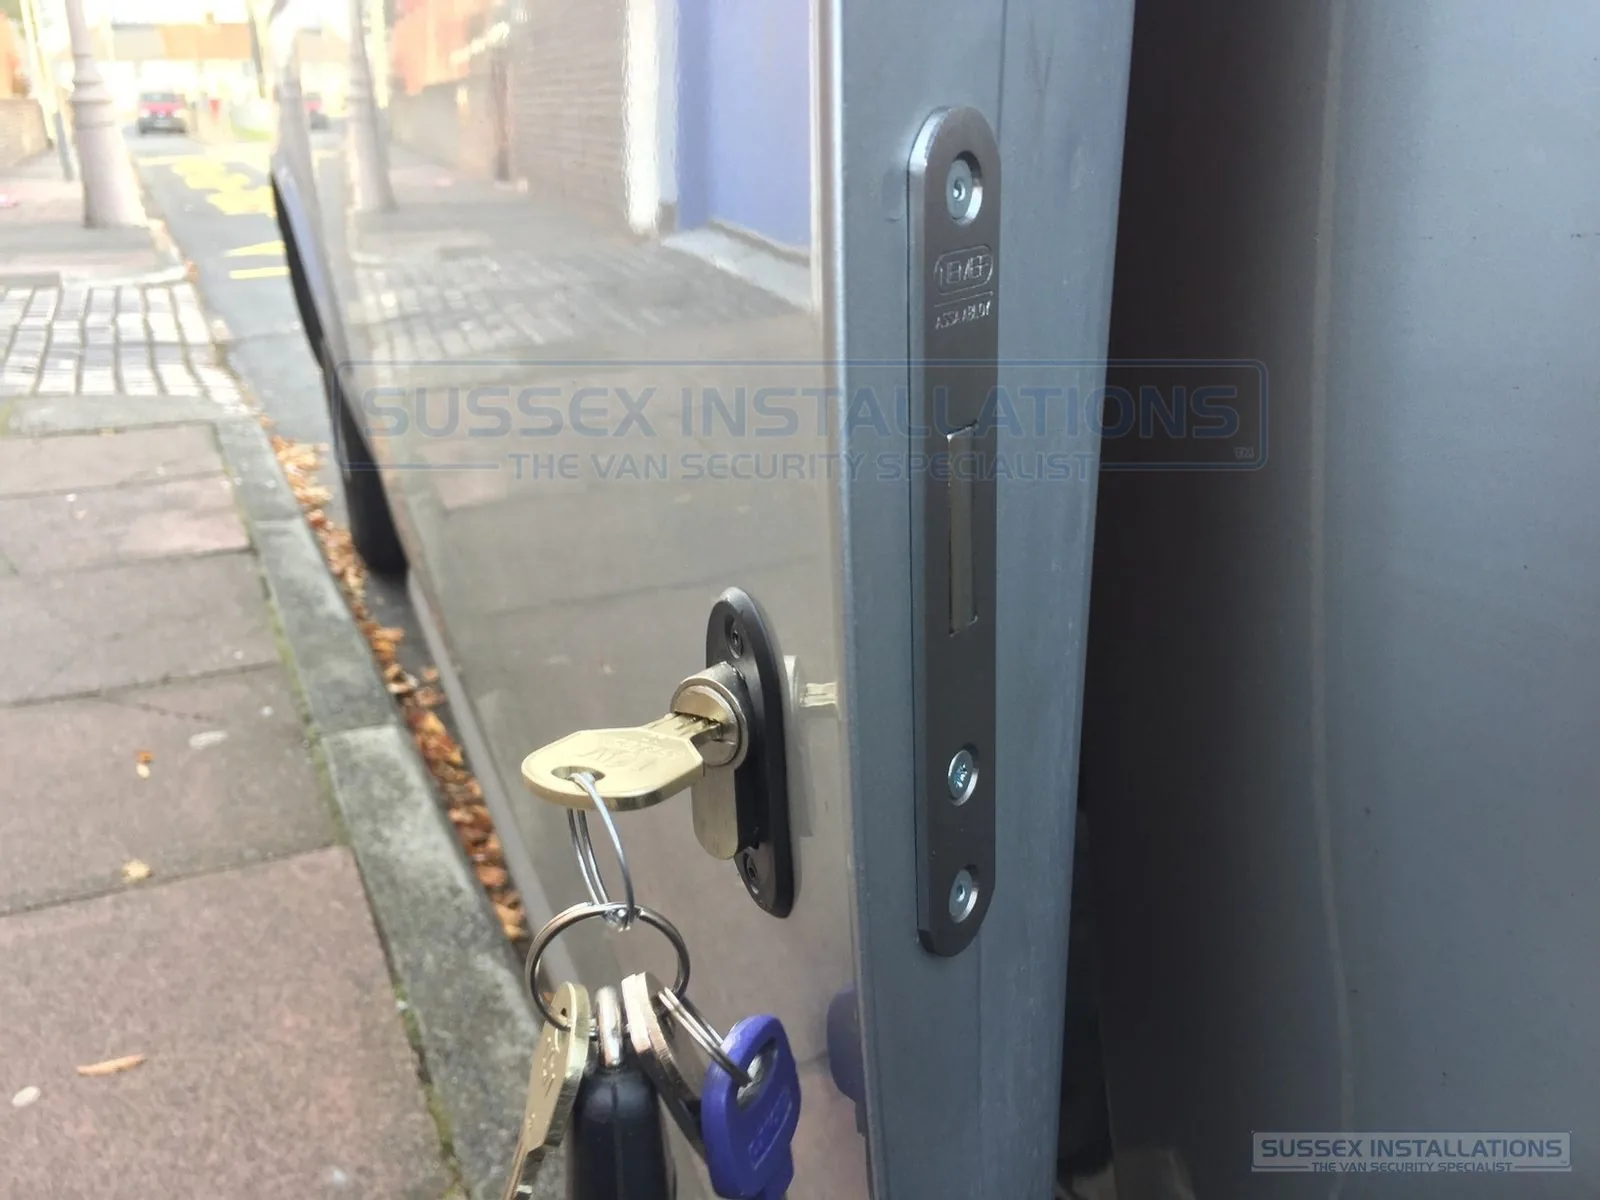
Door shapes vary between van models and even between different doors on the same van. Sliding side-load doors often have the most pronounced angle. We manage expectations before fitting and show customers photographs of completed installations wherever possible. We would rather explain the appearance in advance than complete work that a customer will not be comfortable with afterwards.
Although industry standards have improved and I have published examples of quality deadlock installation since 2012, we still encounter workmanship that, in my professional opinion, falls below an acceptable standard.
These examples can result from inexperience, poor preparation, missing tools or parts, insufficient time, or simply a lack of care and pride in the finished work. The photographs are presented to explain visible workmanship issues, not to identify or criticise individual installers.
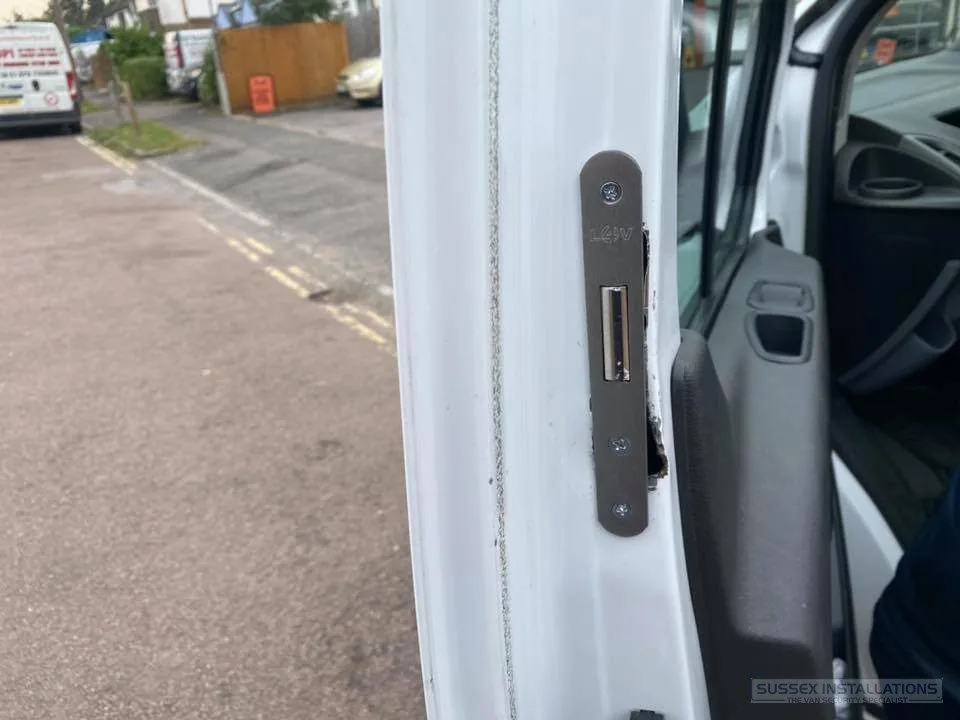
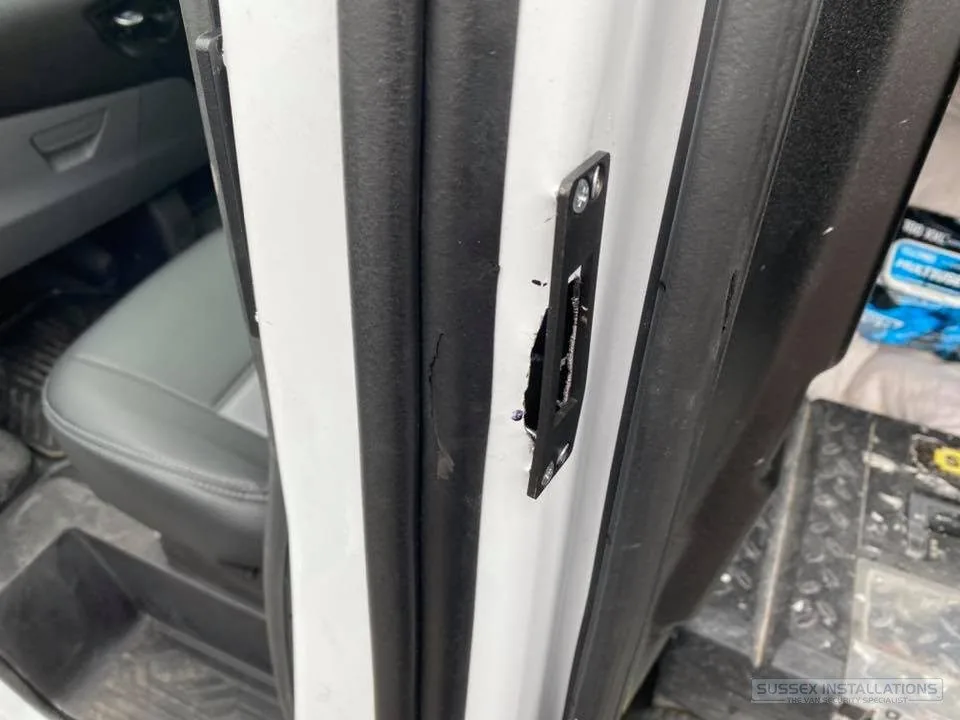
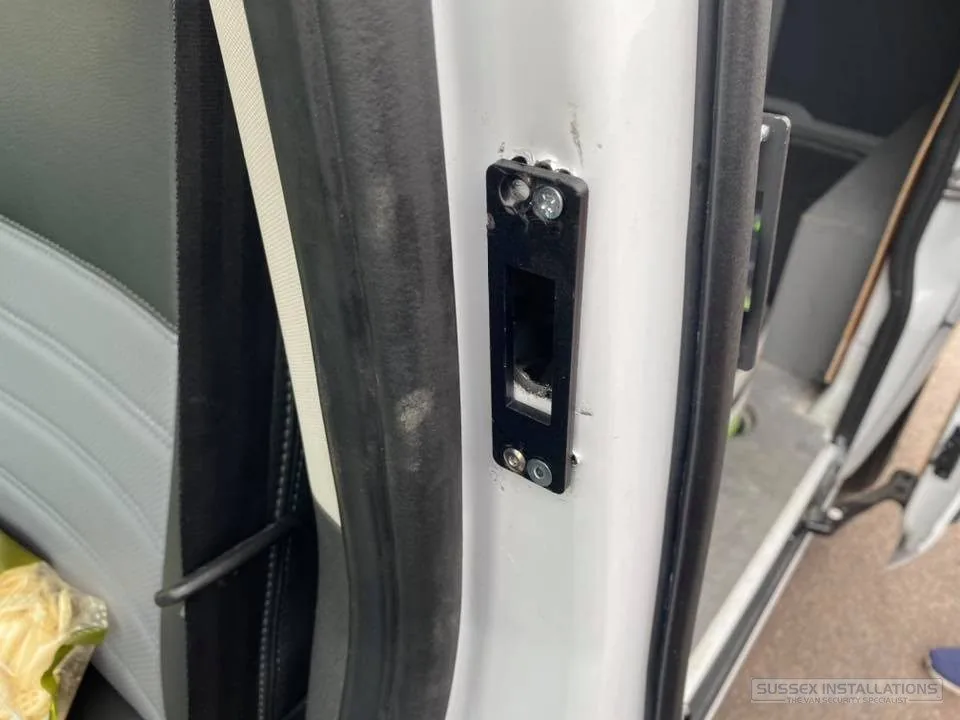
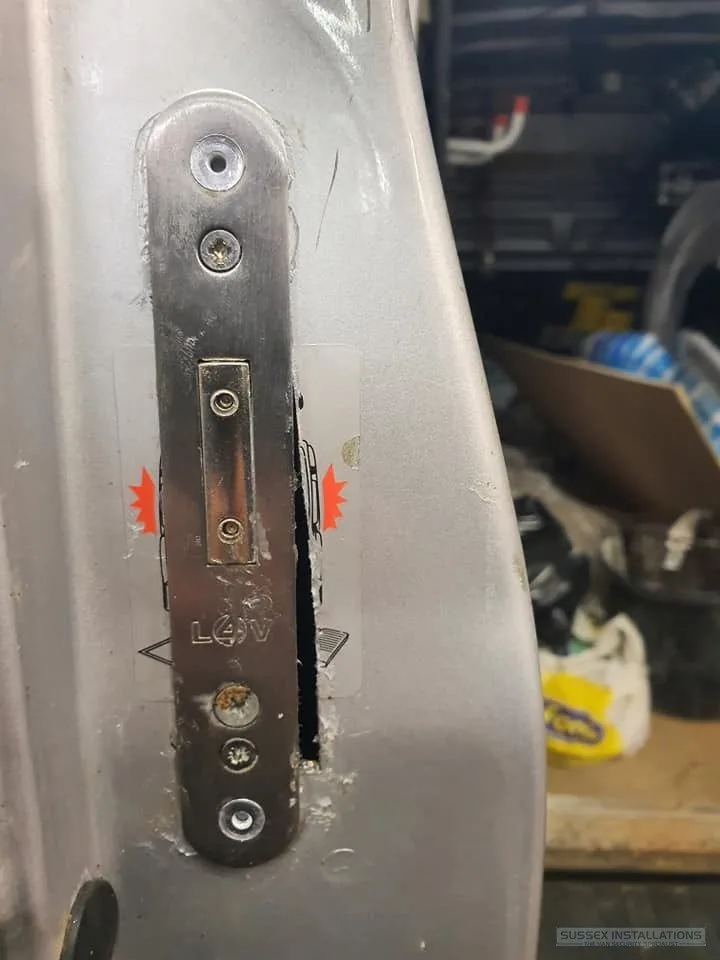
Good products can still be represented badly when the measuring, cutting, alignment, clean-down and finishing are not carried out with care. This is why installation standards matter as much as the lock itself.
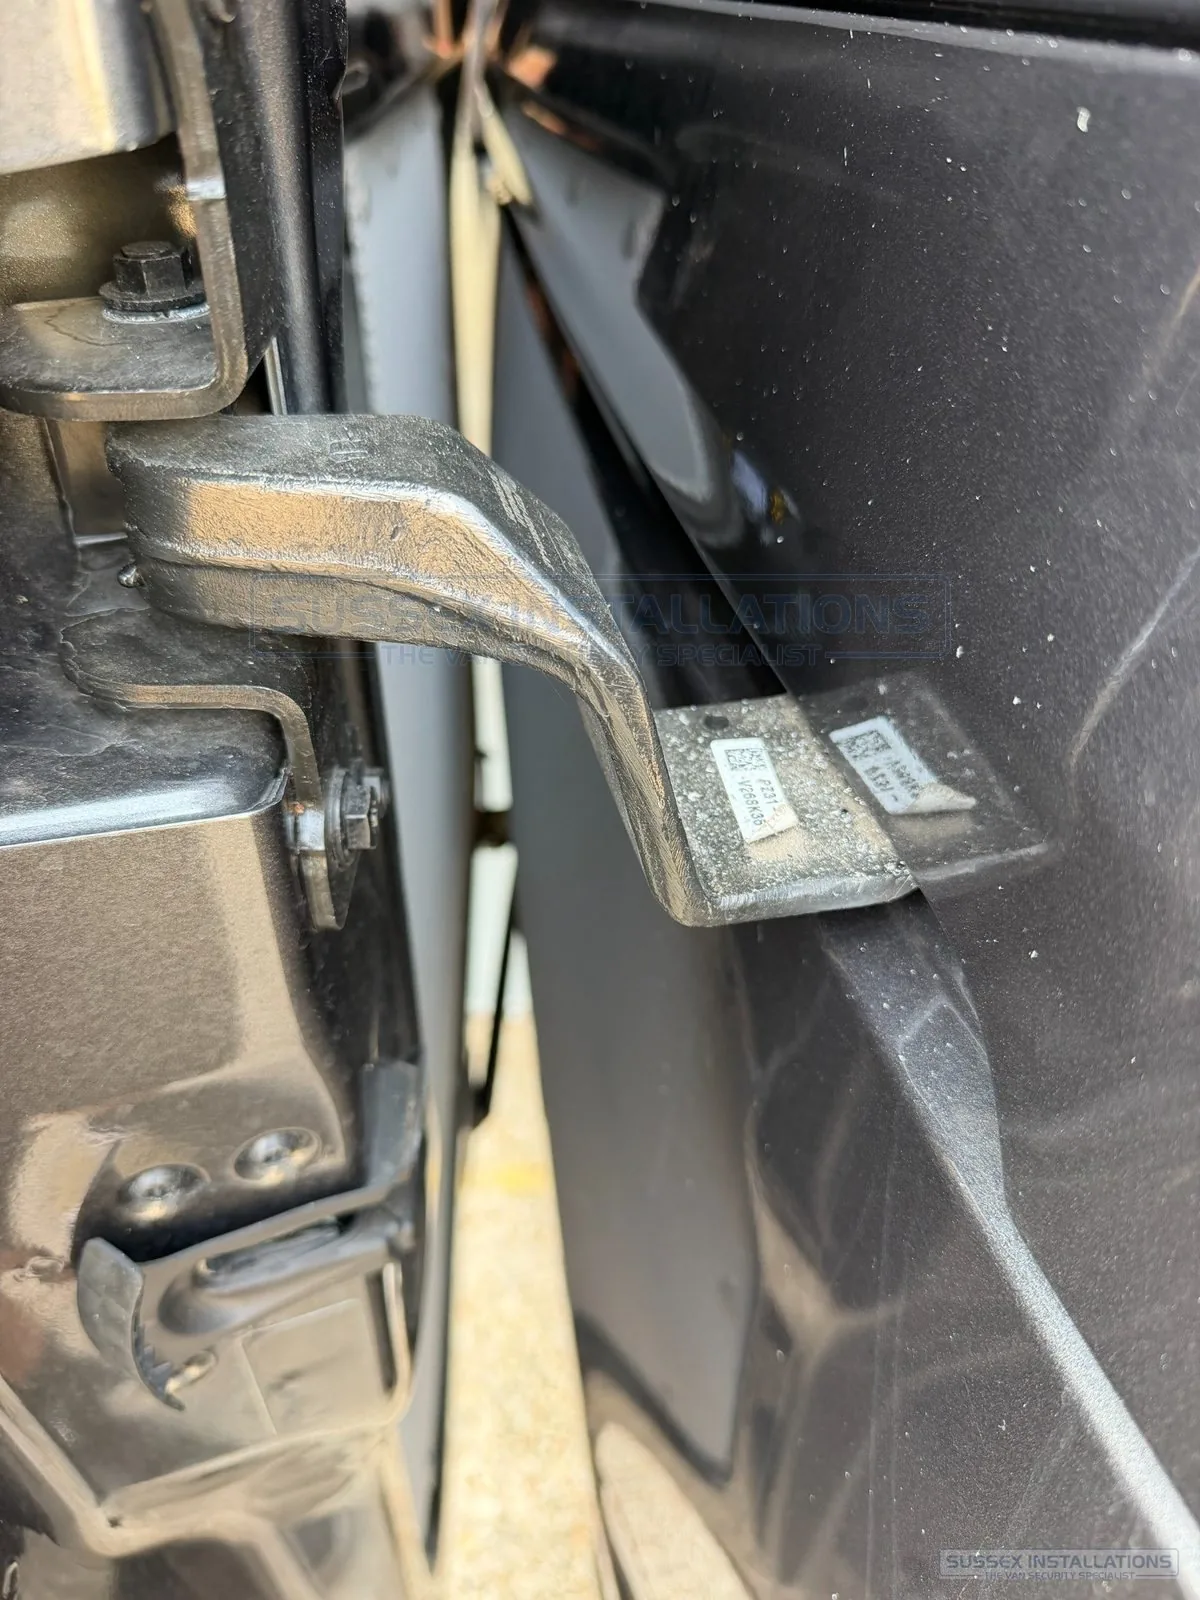
The deadlock is temporarily fitted with screws before the keep—the receiving bracket—is permanently fixed into the van body or the opposite rear door. This allows the bolt and keep to be aligned on the individual vehicle rather than relying only on measurements.
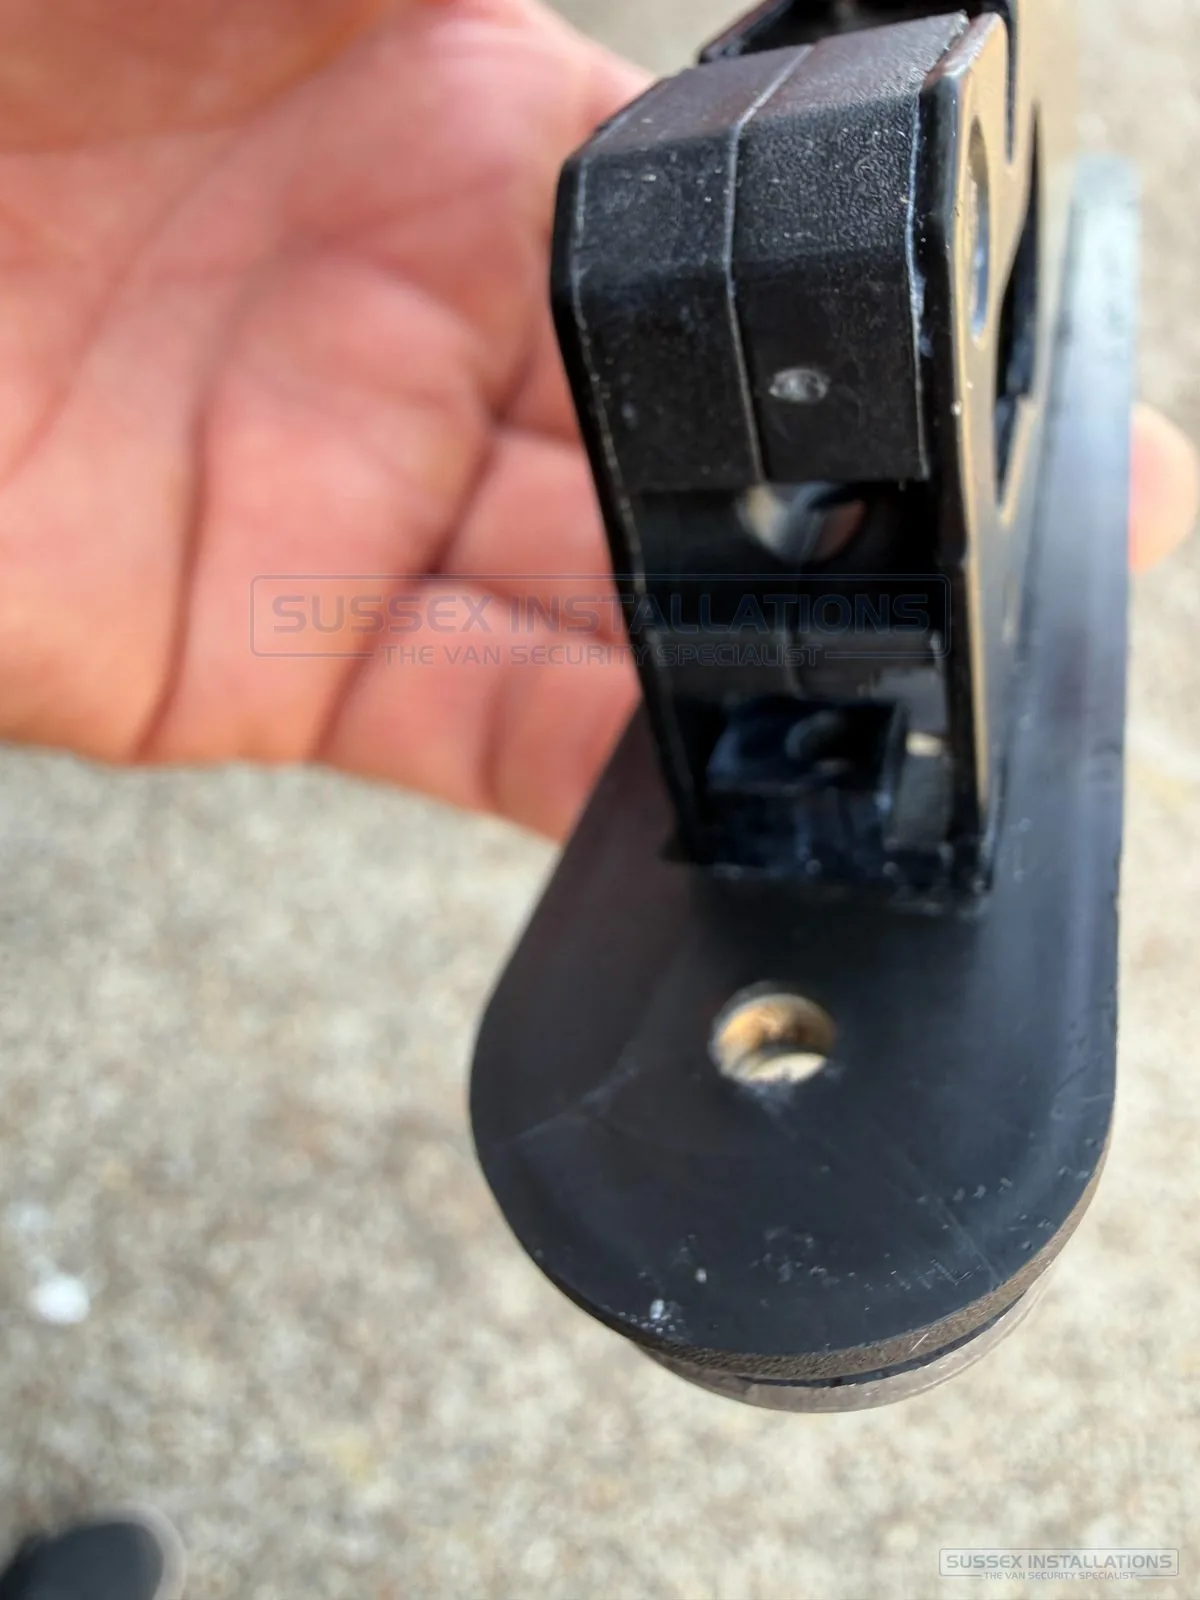
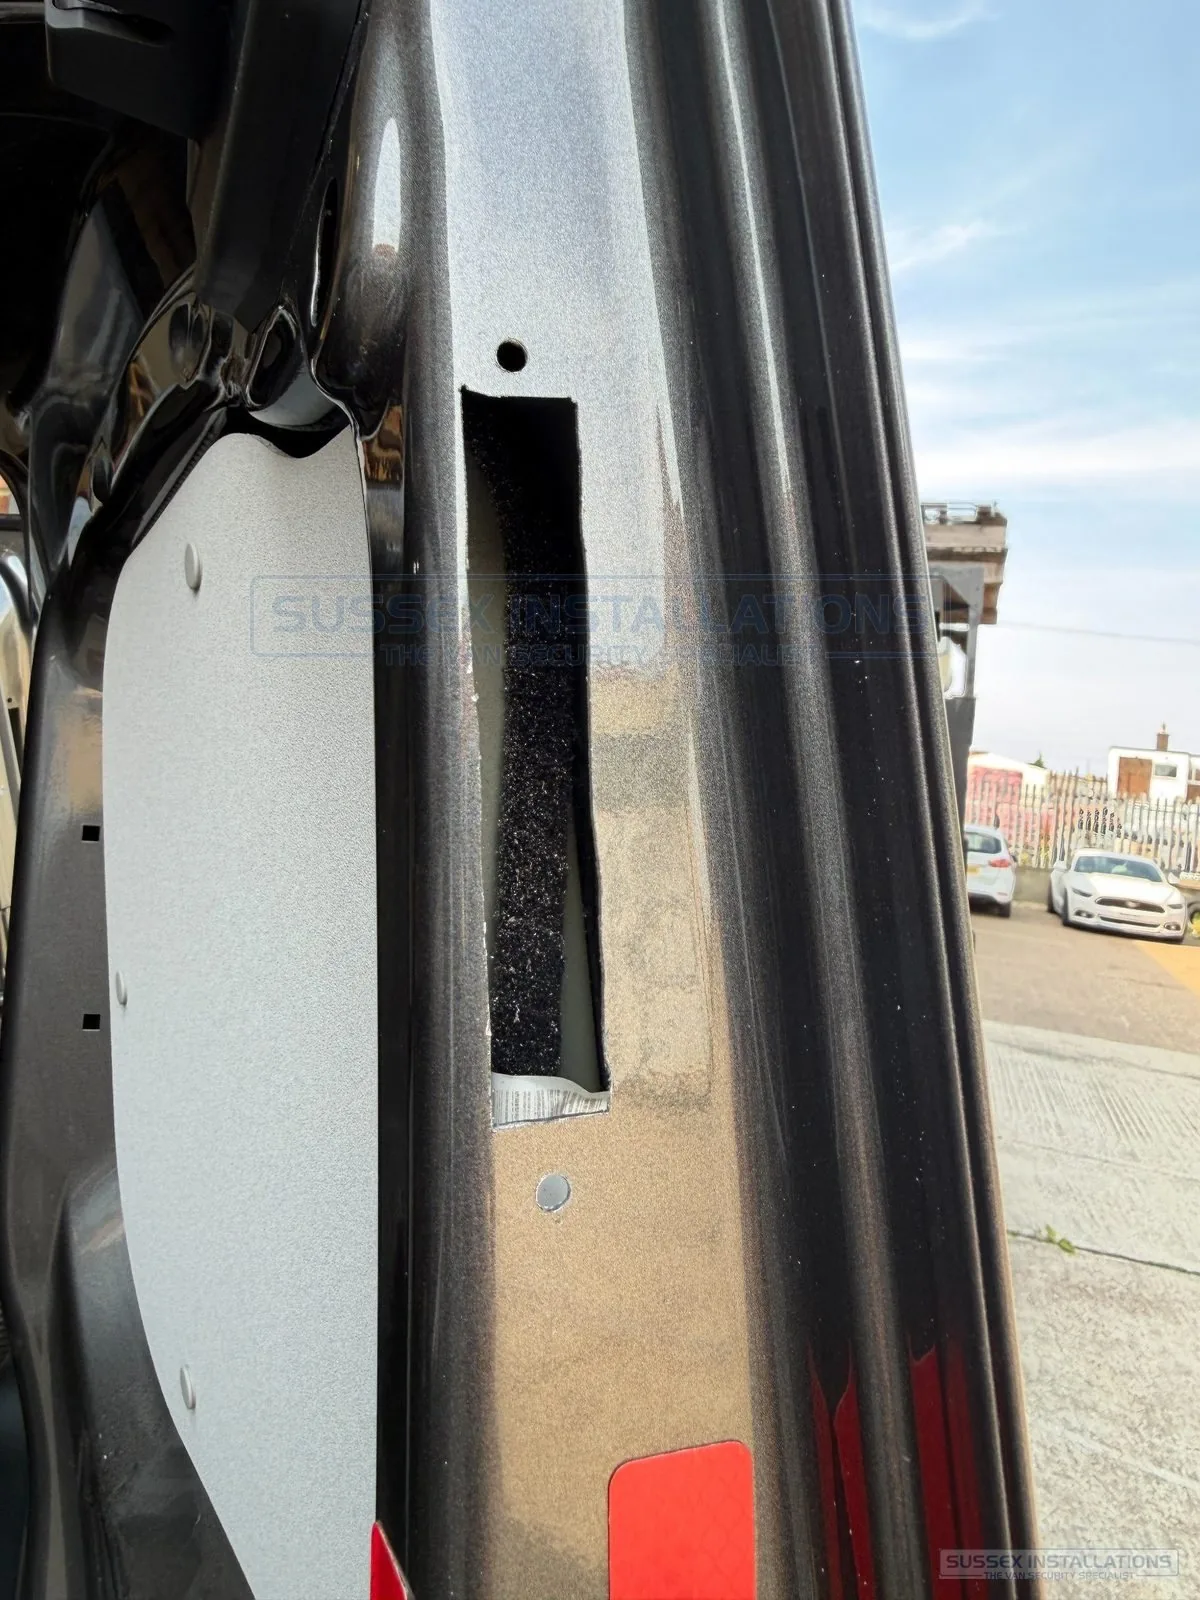
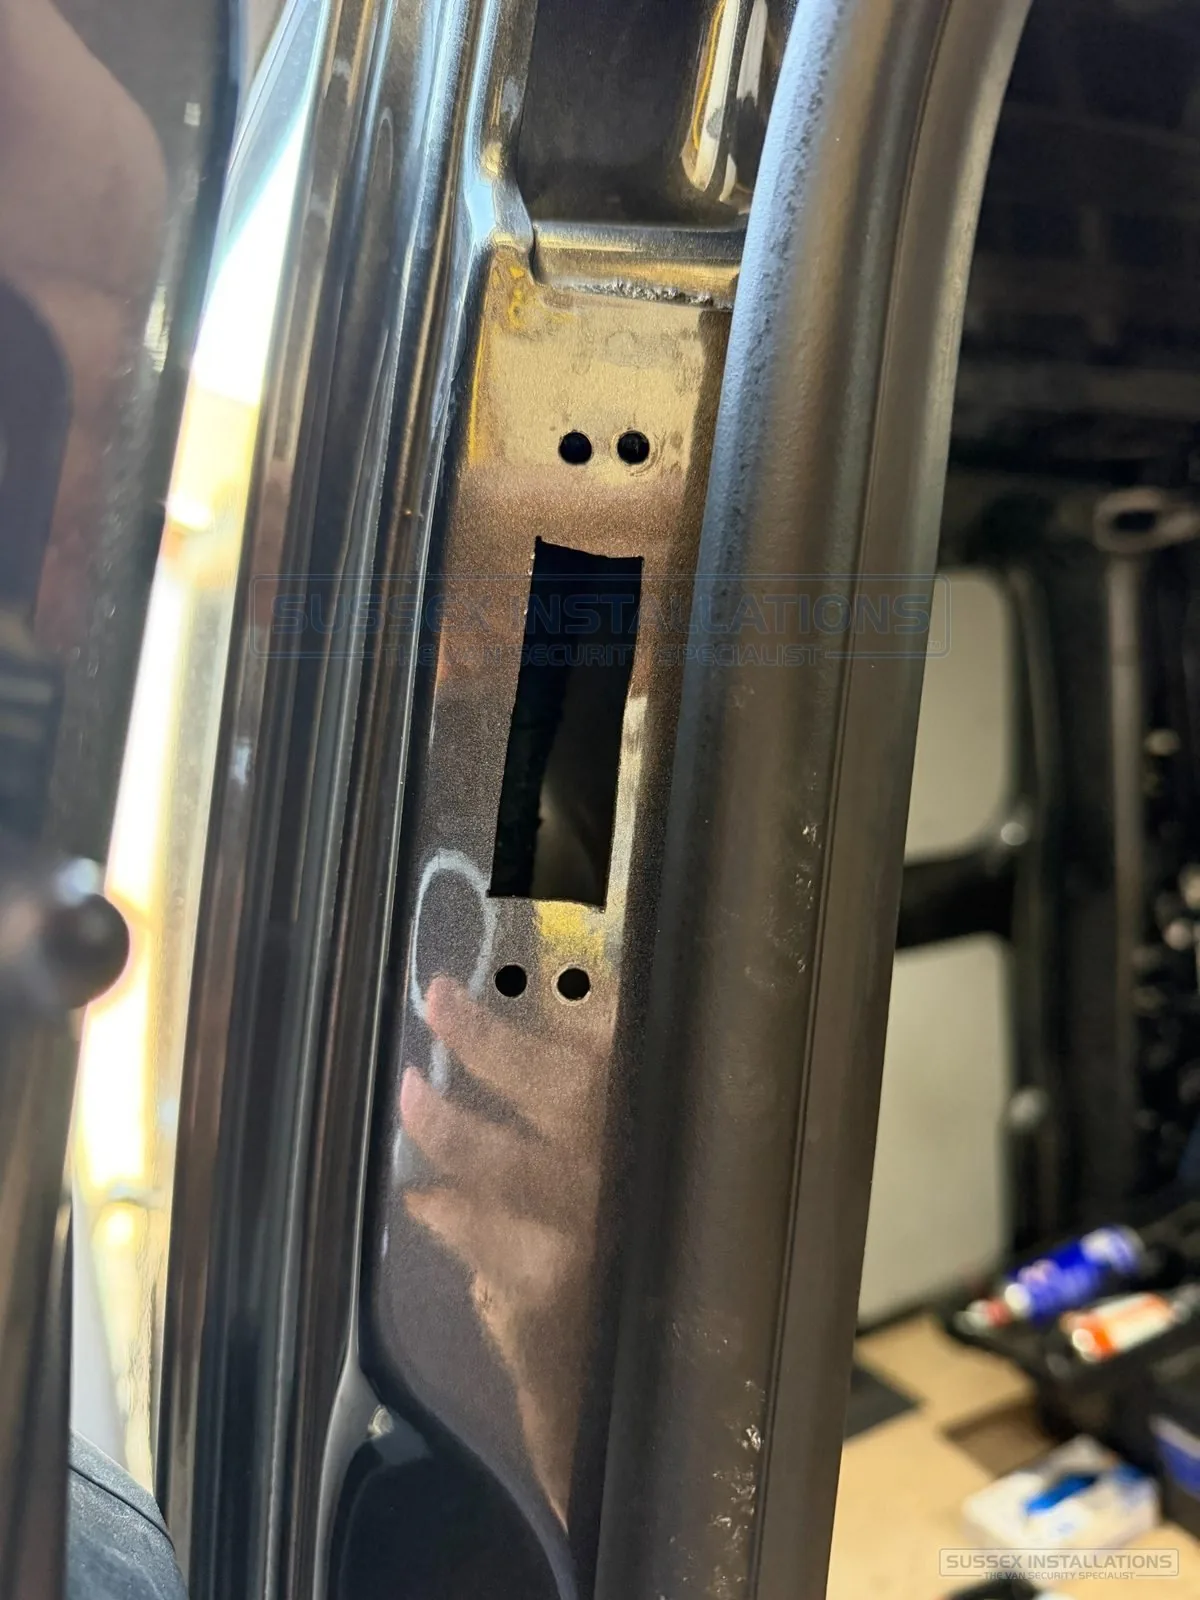
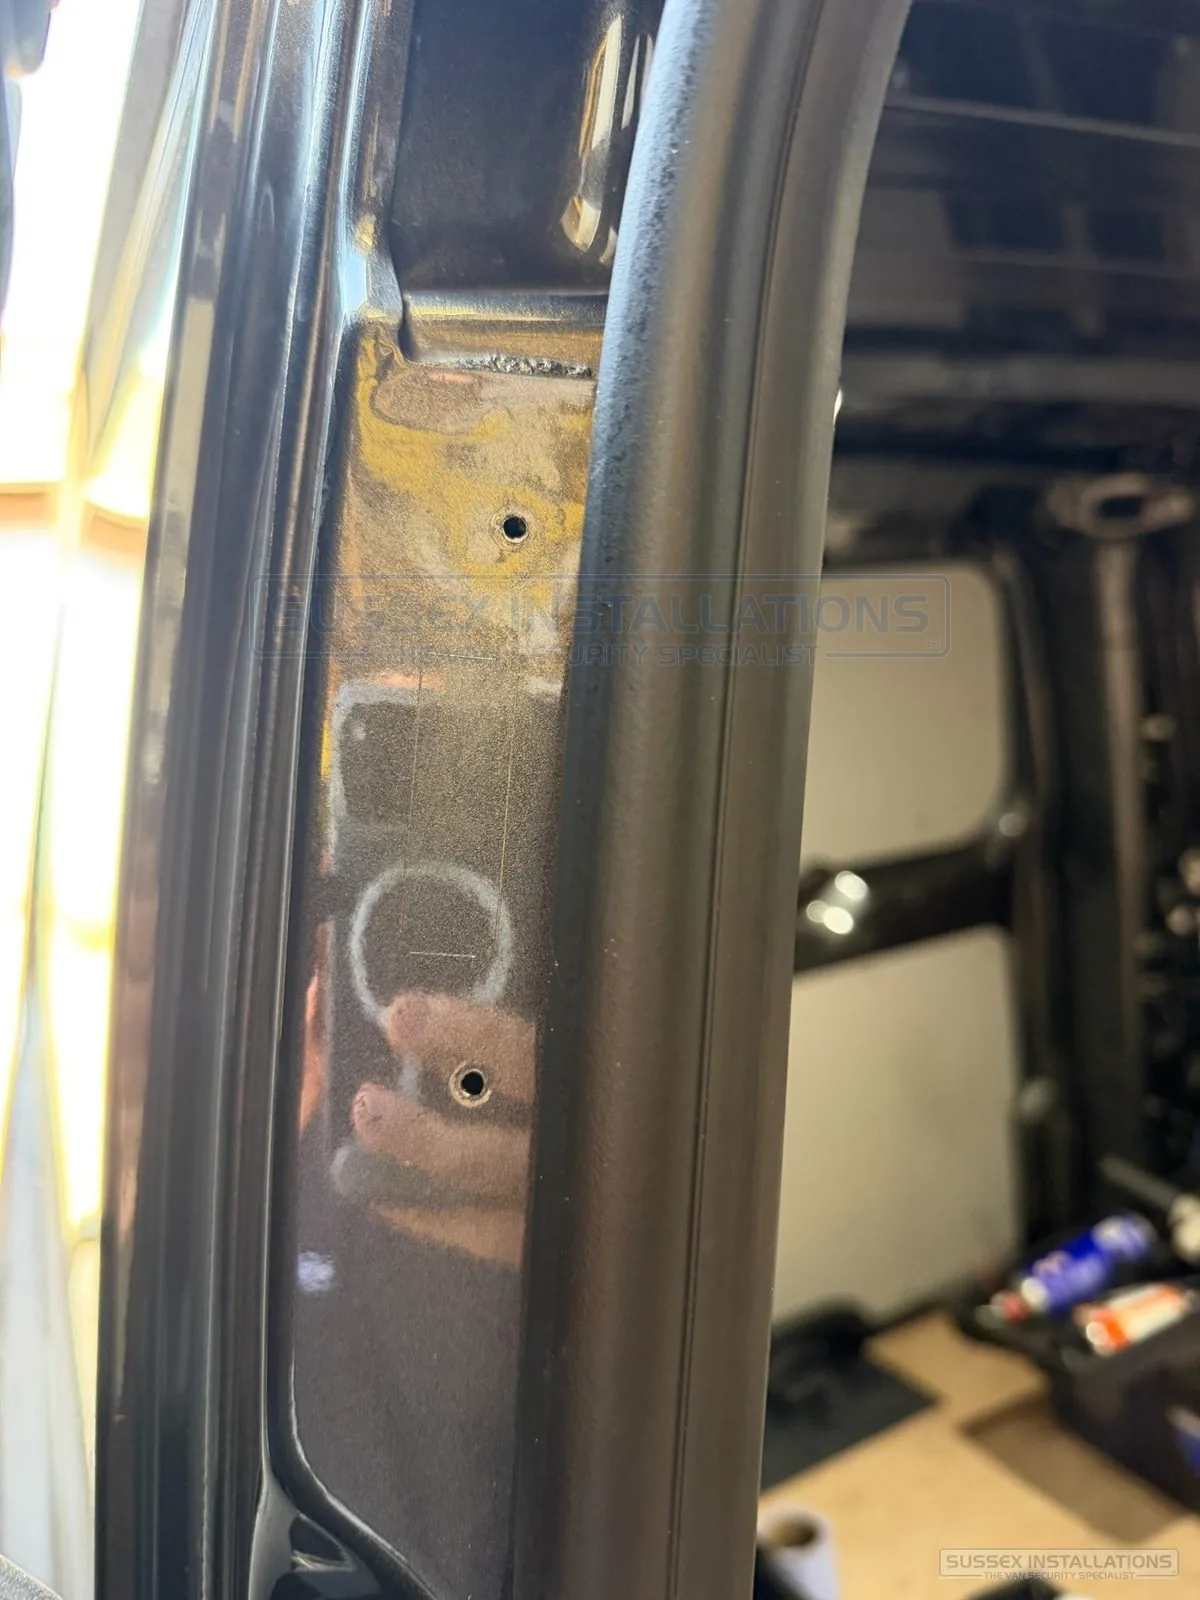
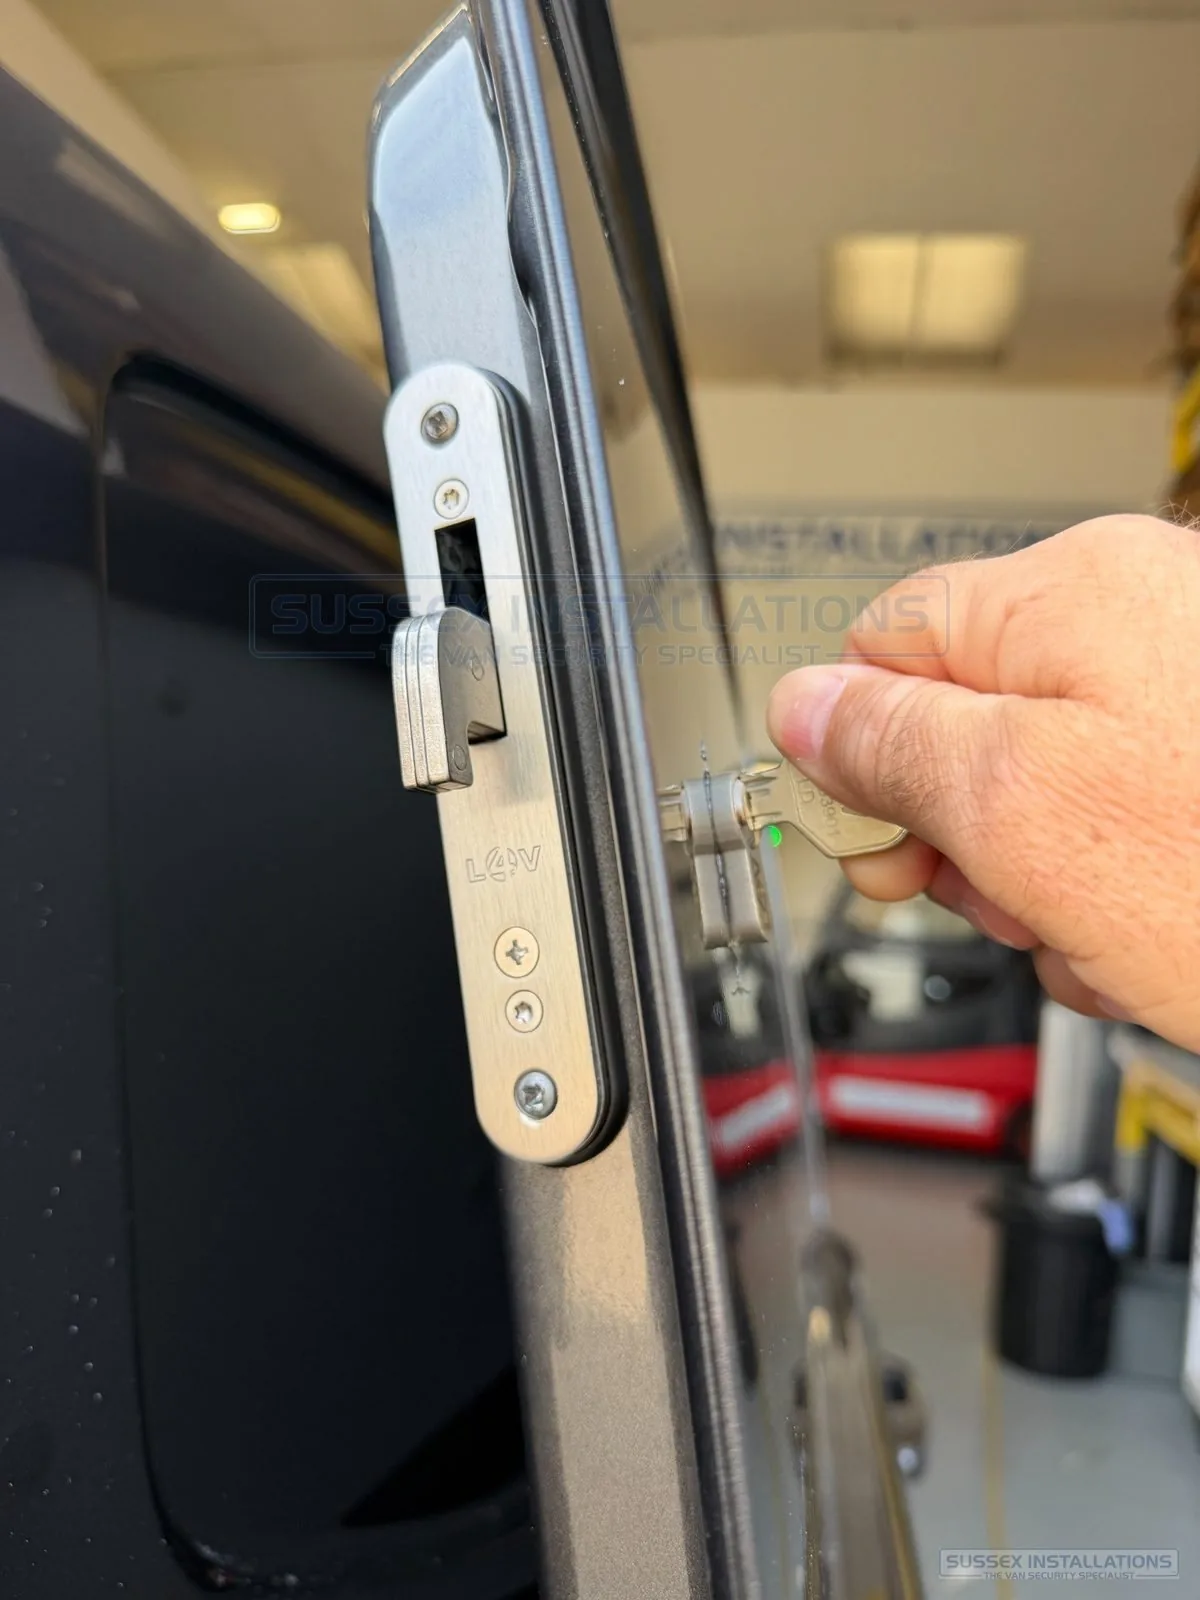
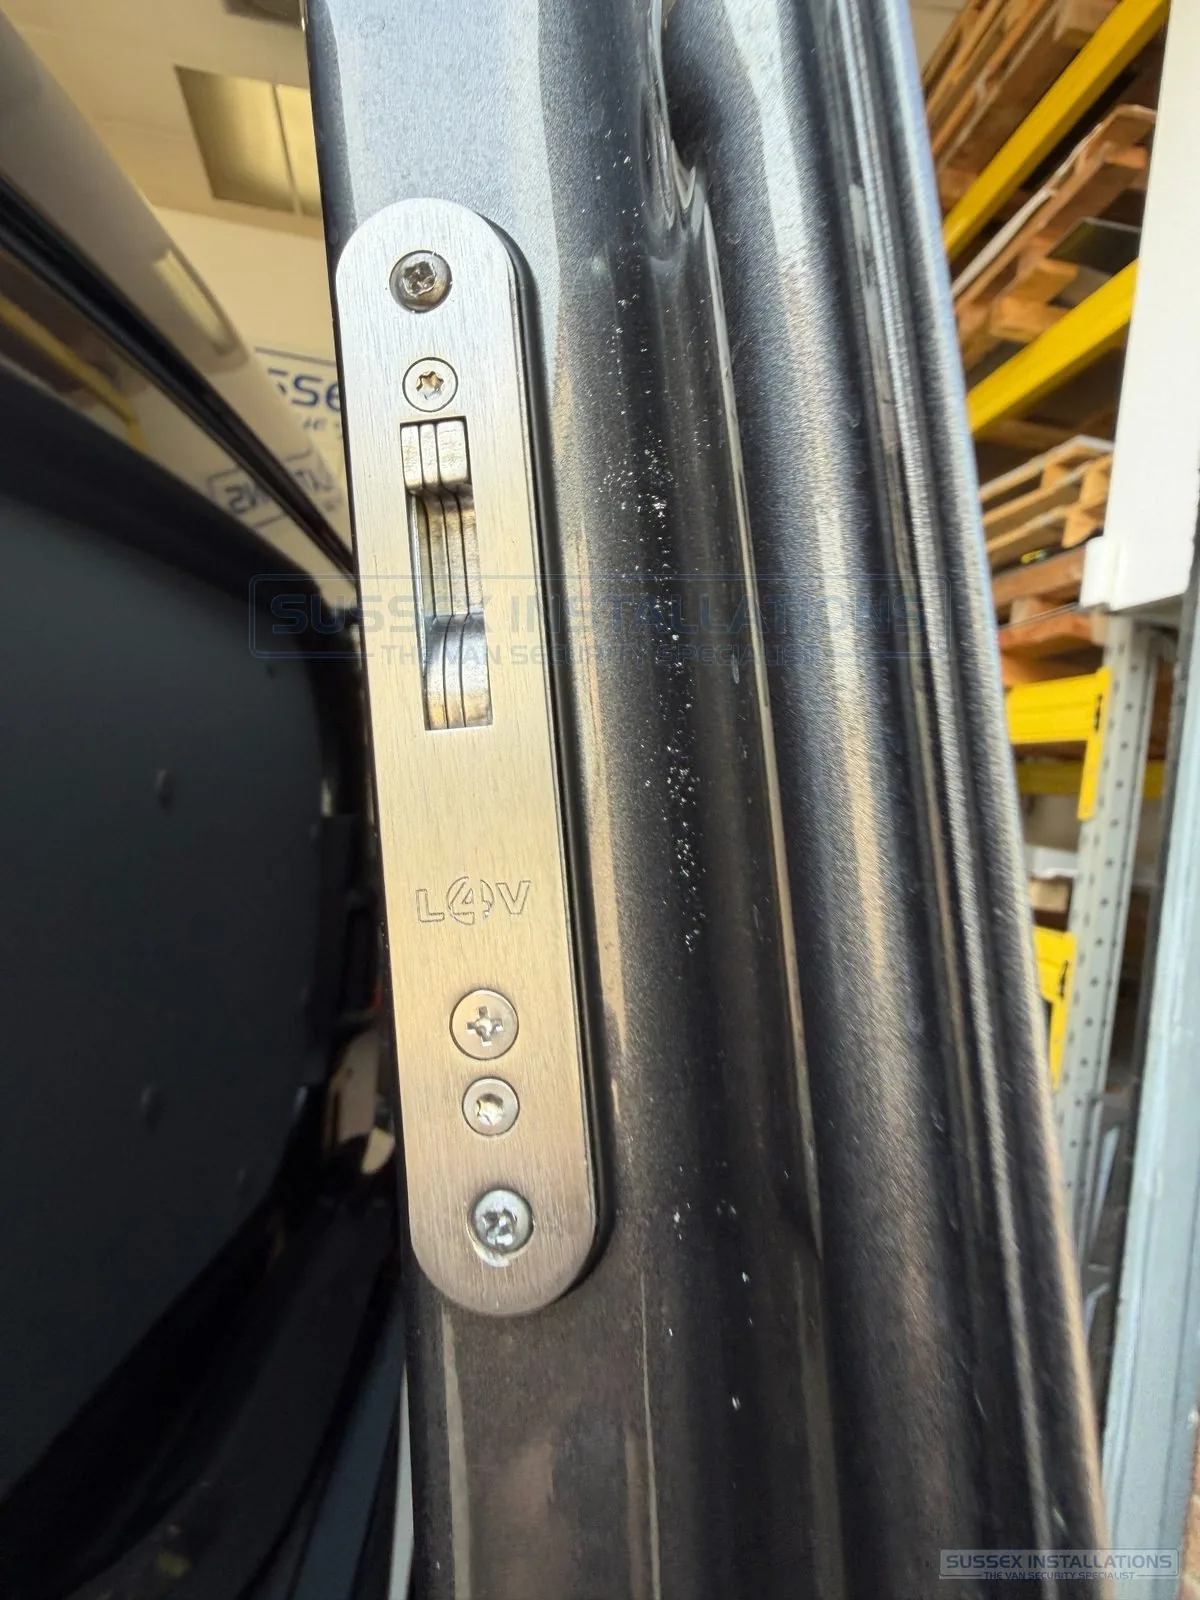
Correct alignment gives the required bolt engagement, controlled door movement, smooth key operation and reduced stress on the lock mechanism. Even nominally identical vans can differ slightly through production tolerances, wear, previous repairs or door alignment.
Metal debris may look harmless, but the filings produced during drilling and cutting are bare steel. Once exposed to moisture they begin to corrode while sitting directly on the vehicle’s paintwork. If left in place, the rust can stain and eventually damage the paint. Once the paint coating is compromised, the vehicle’s steel bodywork can itself become exposed and corrode.
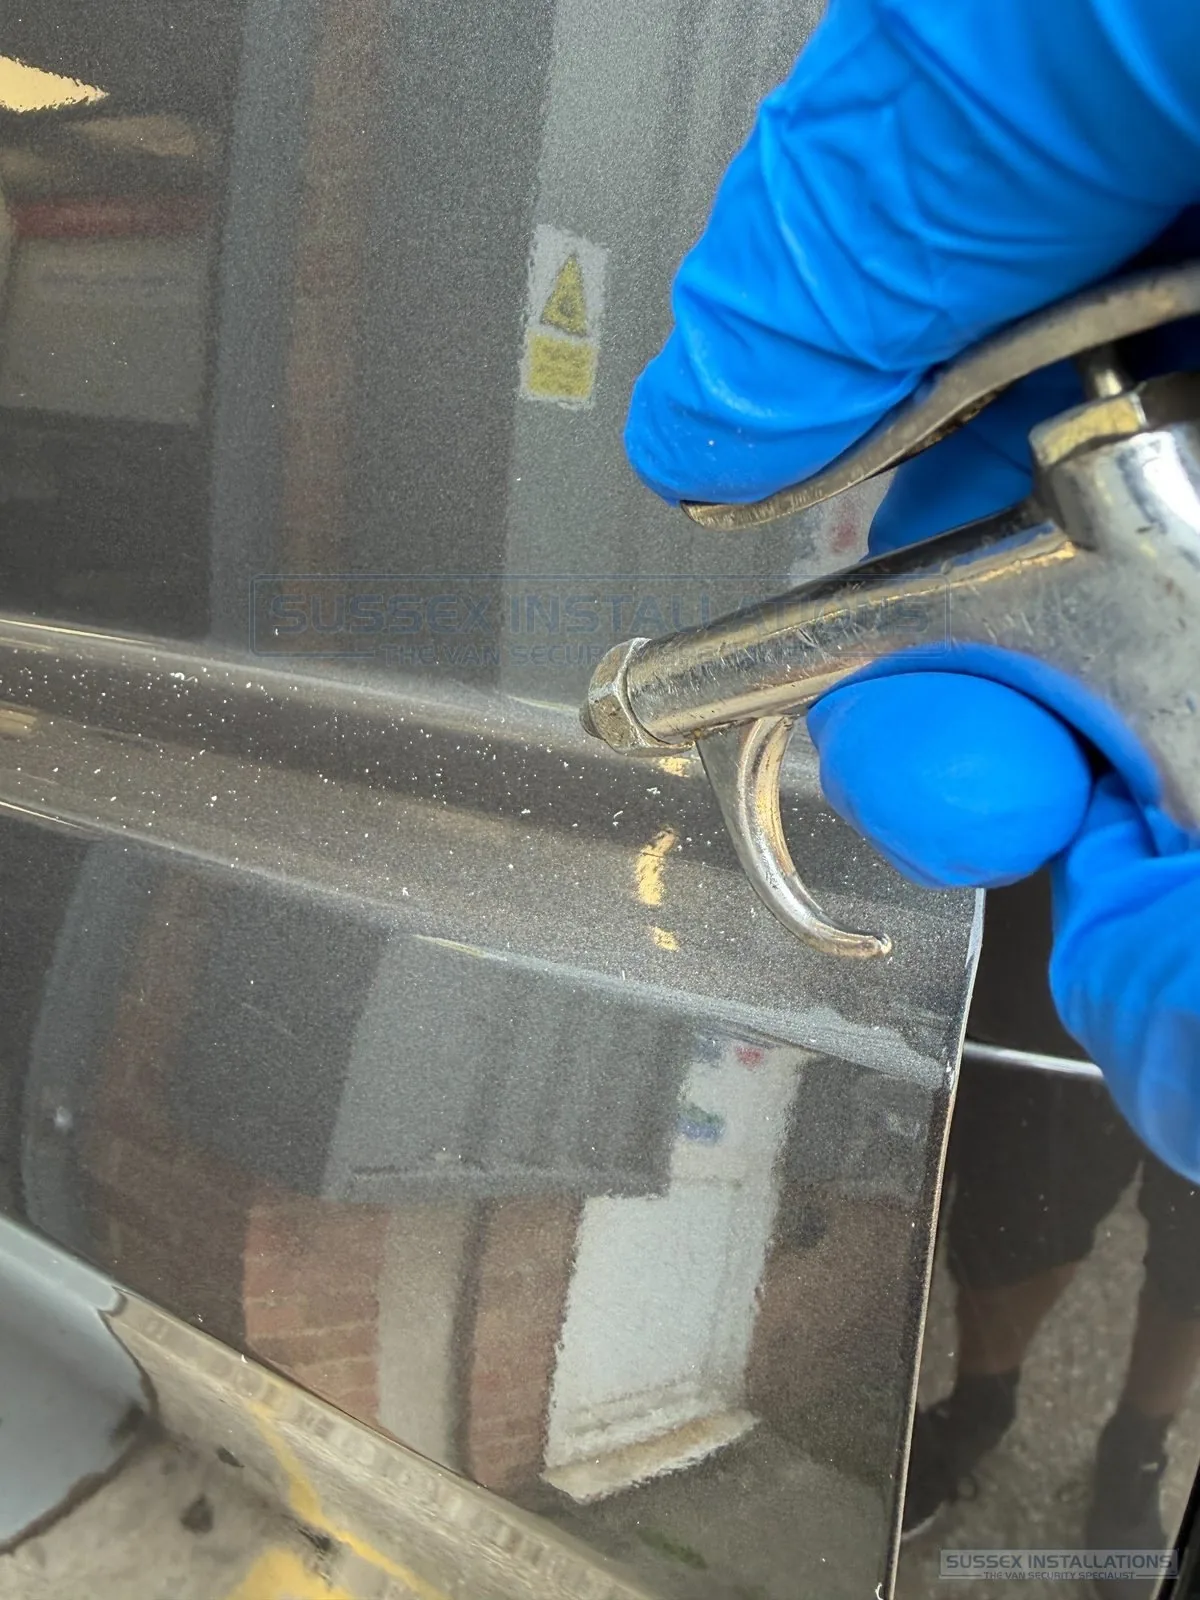
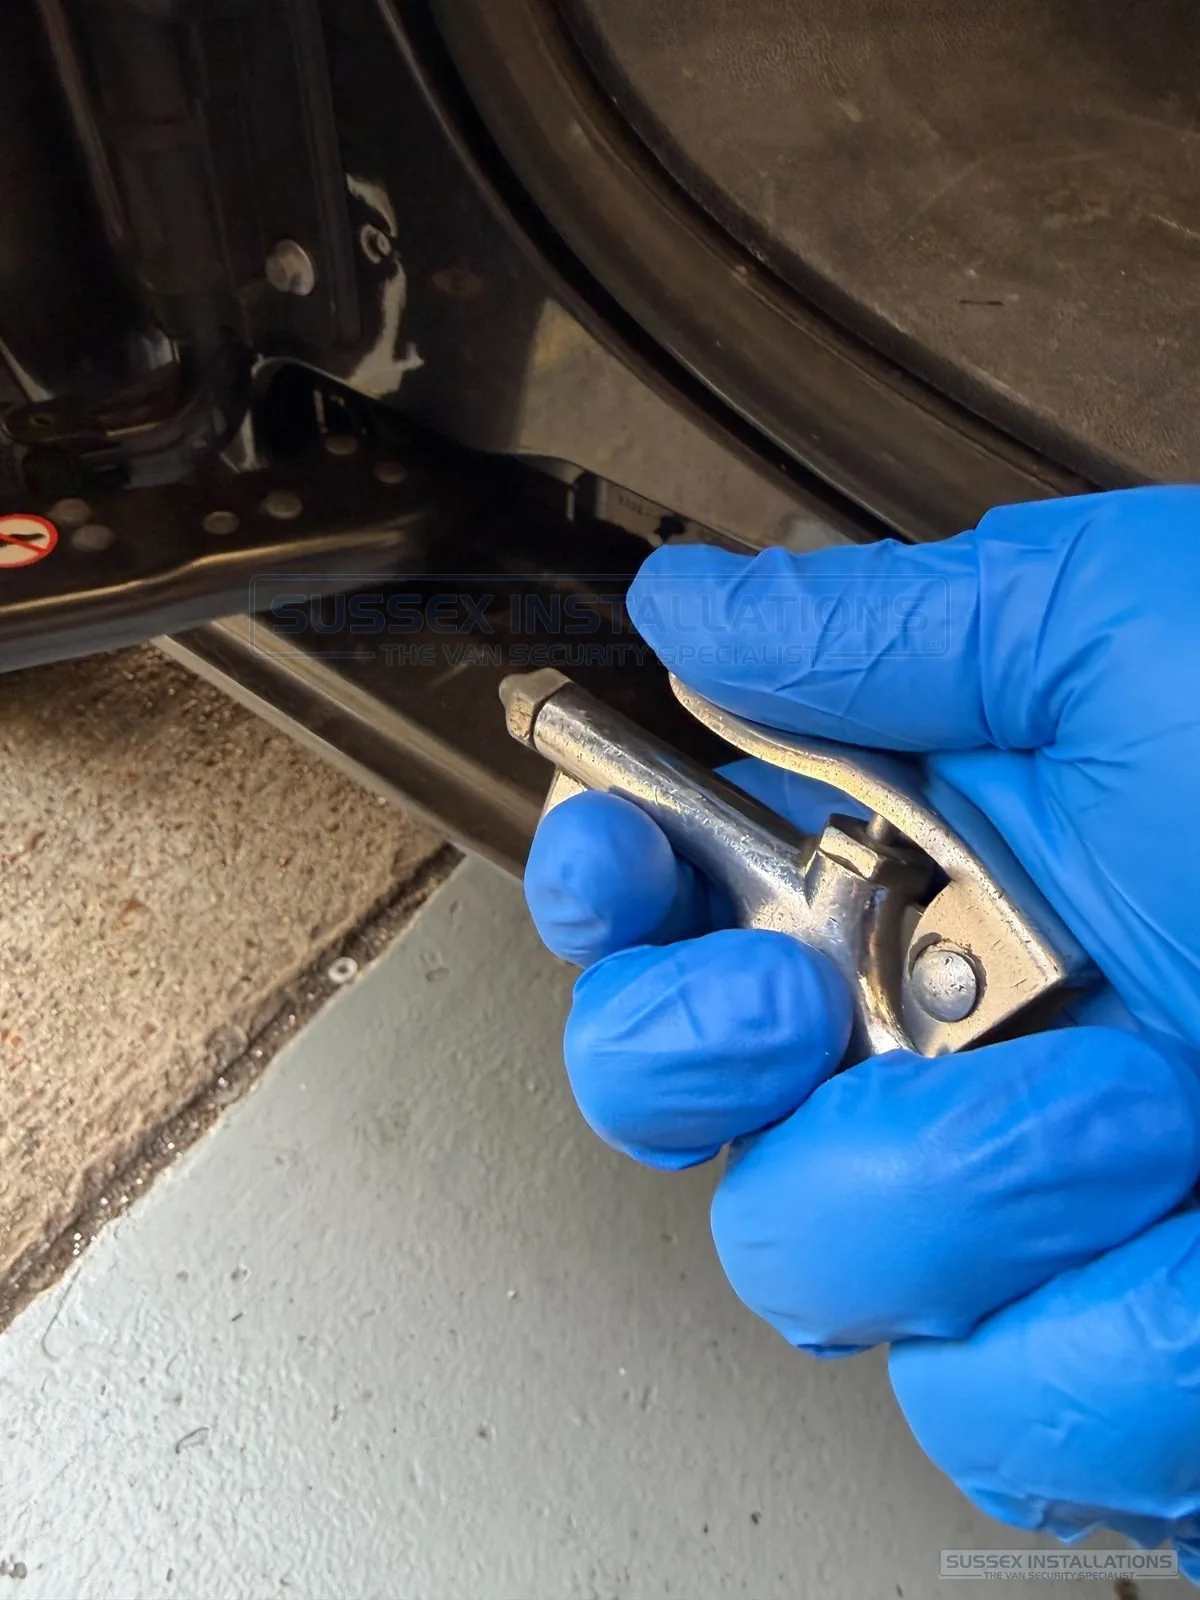
For nearly twenty years, compressed air has been at the heart of my deadlock installation process. It initially powered the compact air saw, but it has remained equally important for the clean-down.
The clean-down covers far more than the visible area around the lock. Air is directed around handles, hinges, door shuts, weather seals, folded seams, lower drain channels and the inner structure after trim has been removed.
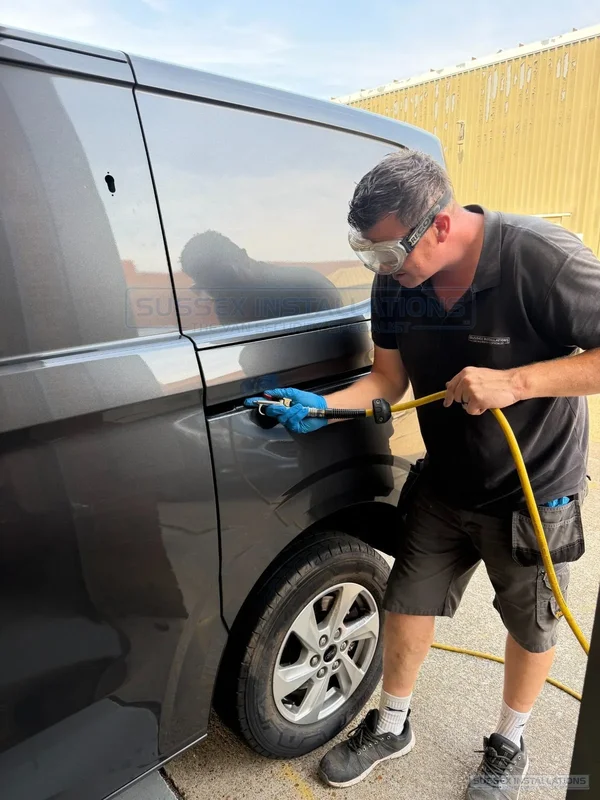
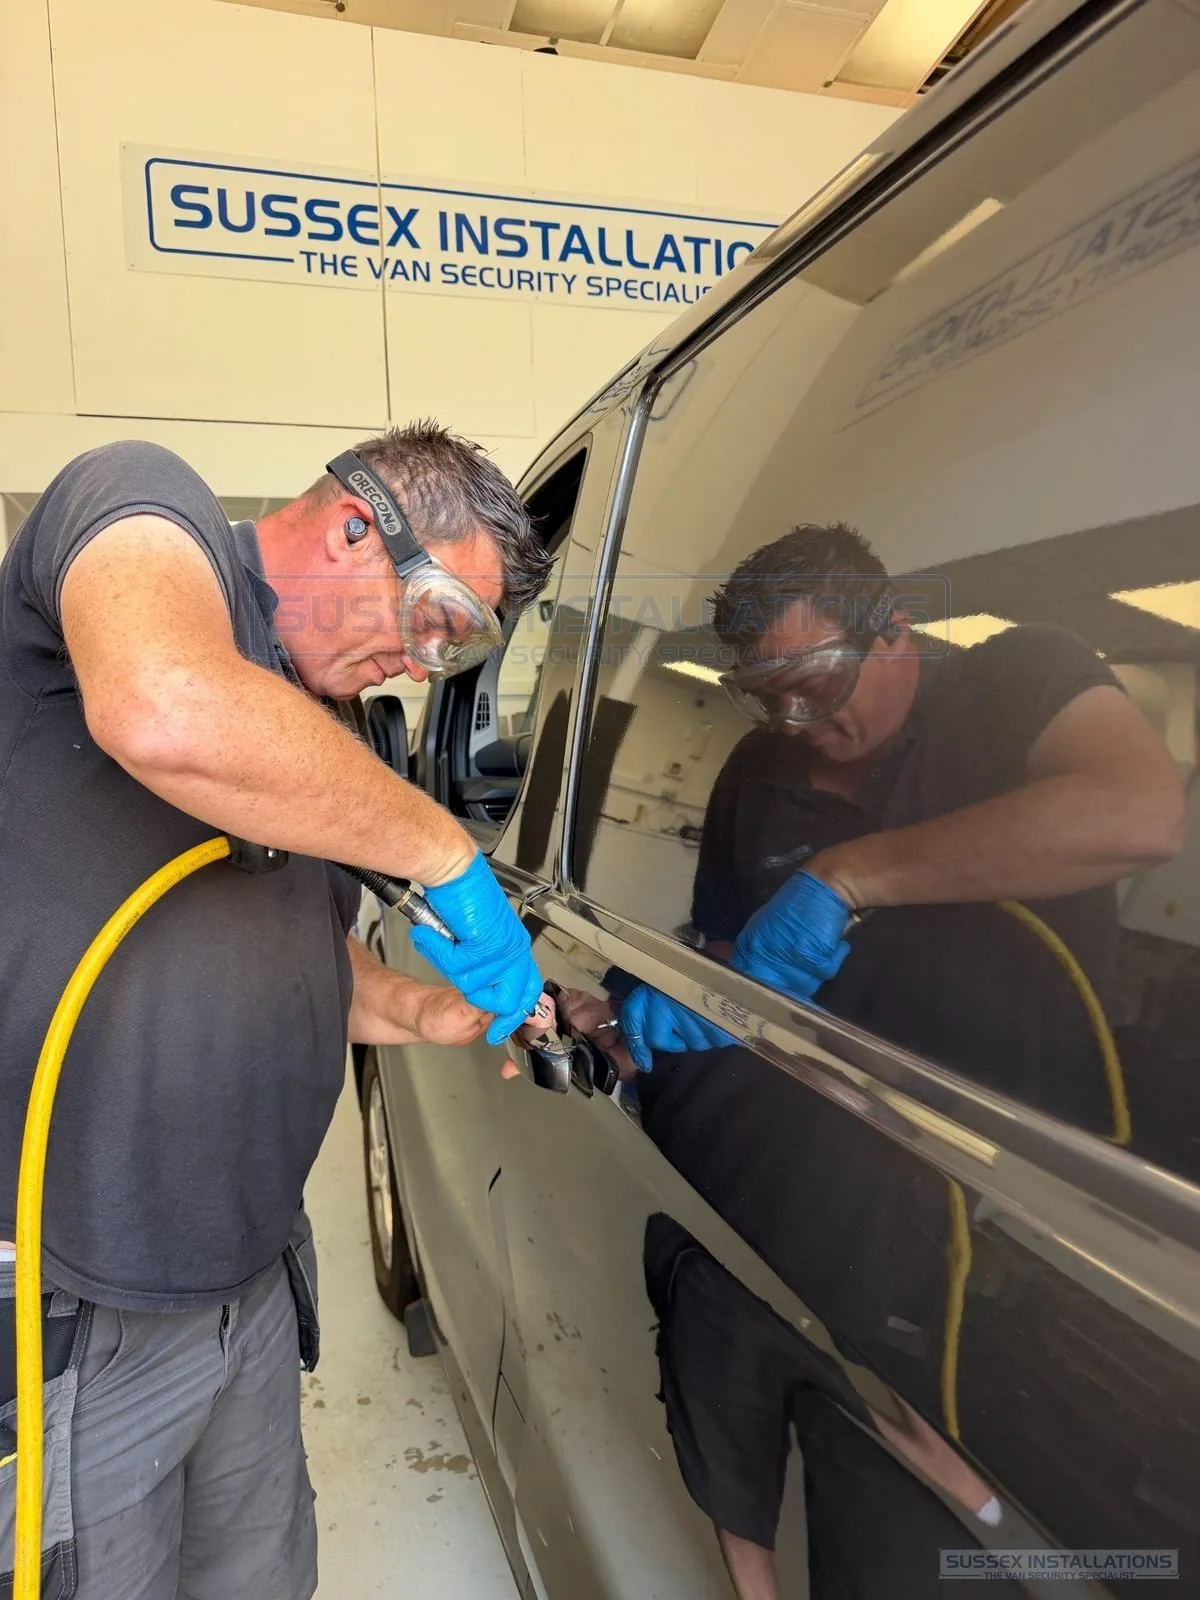
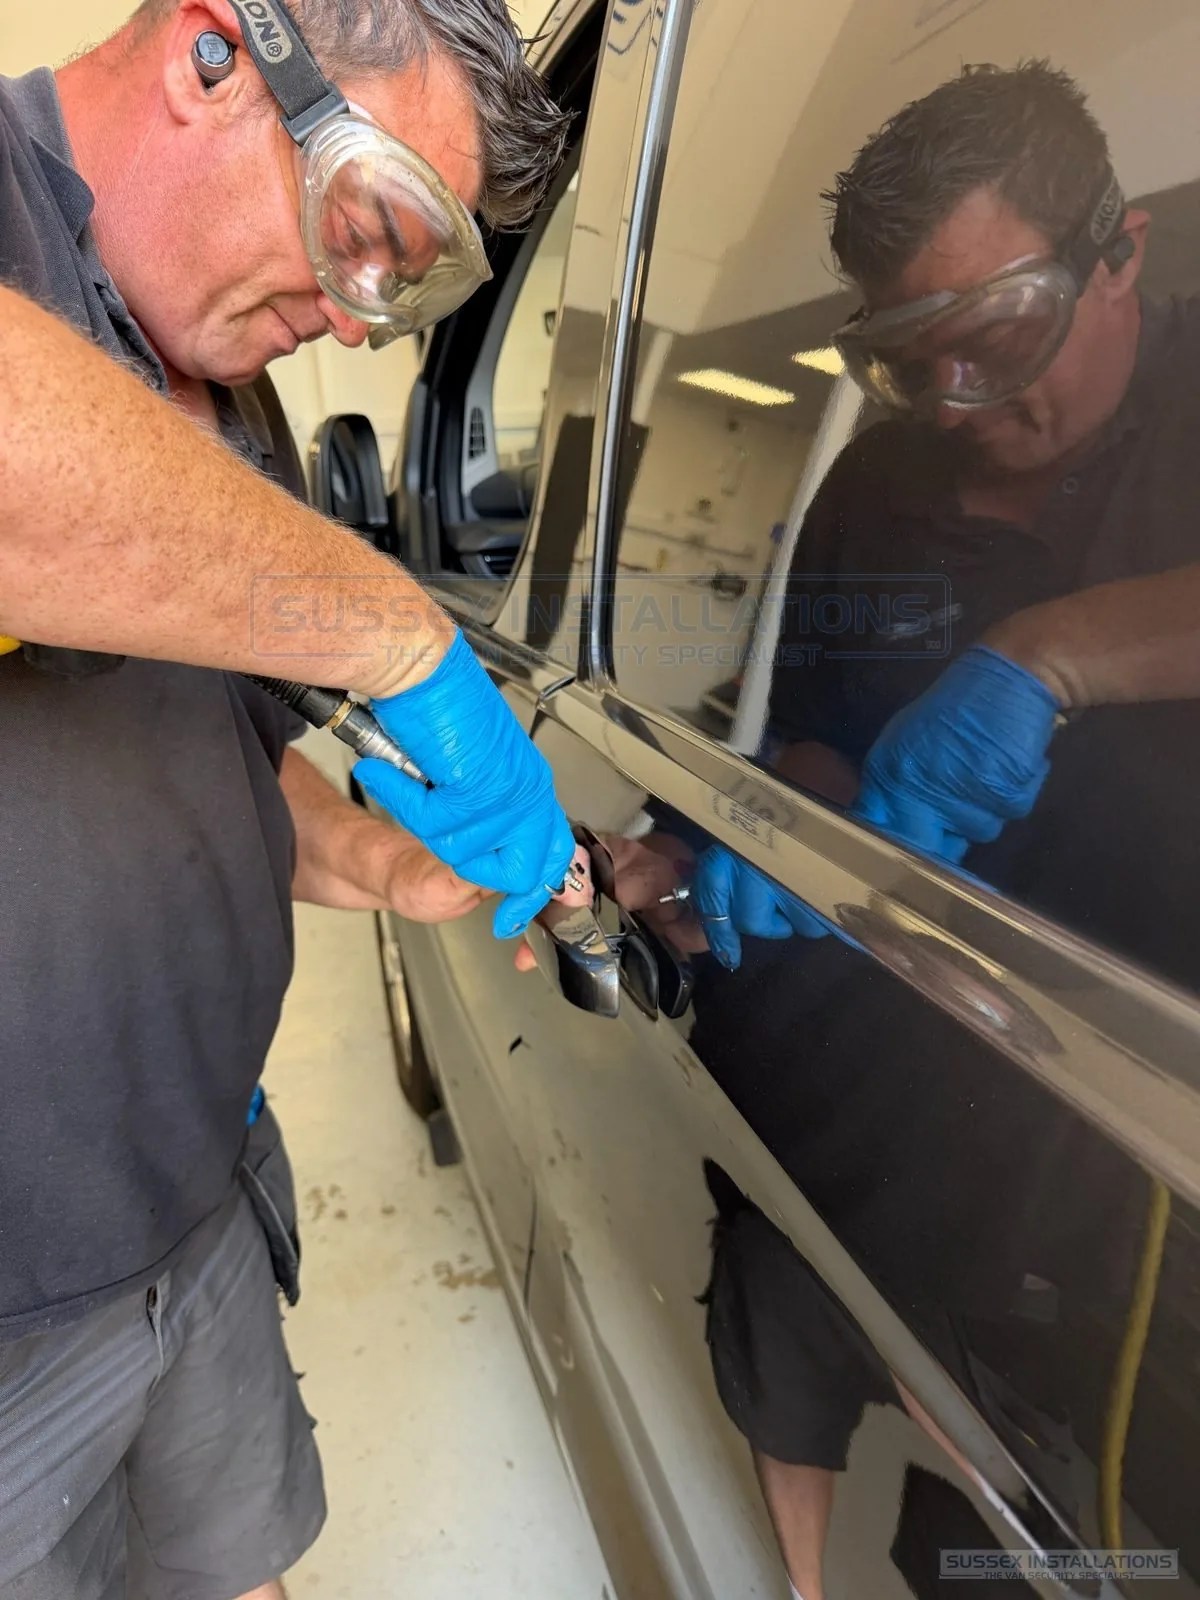
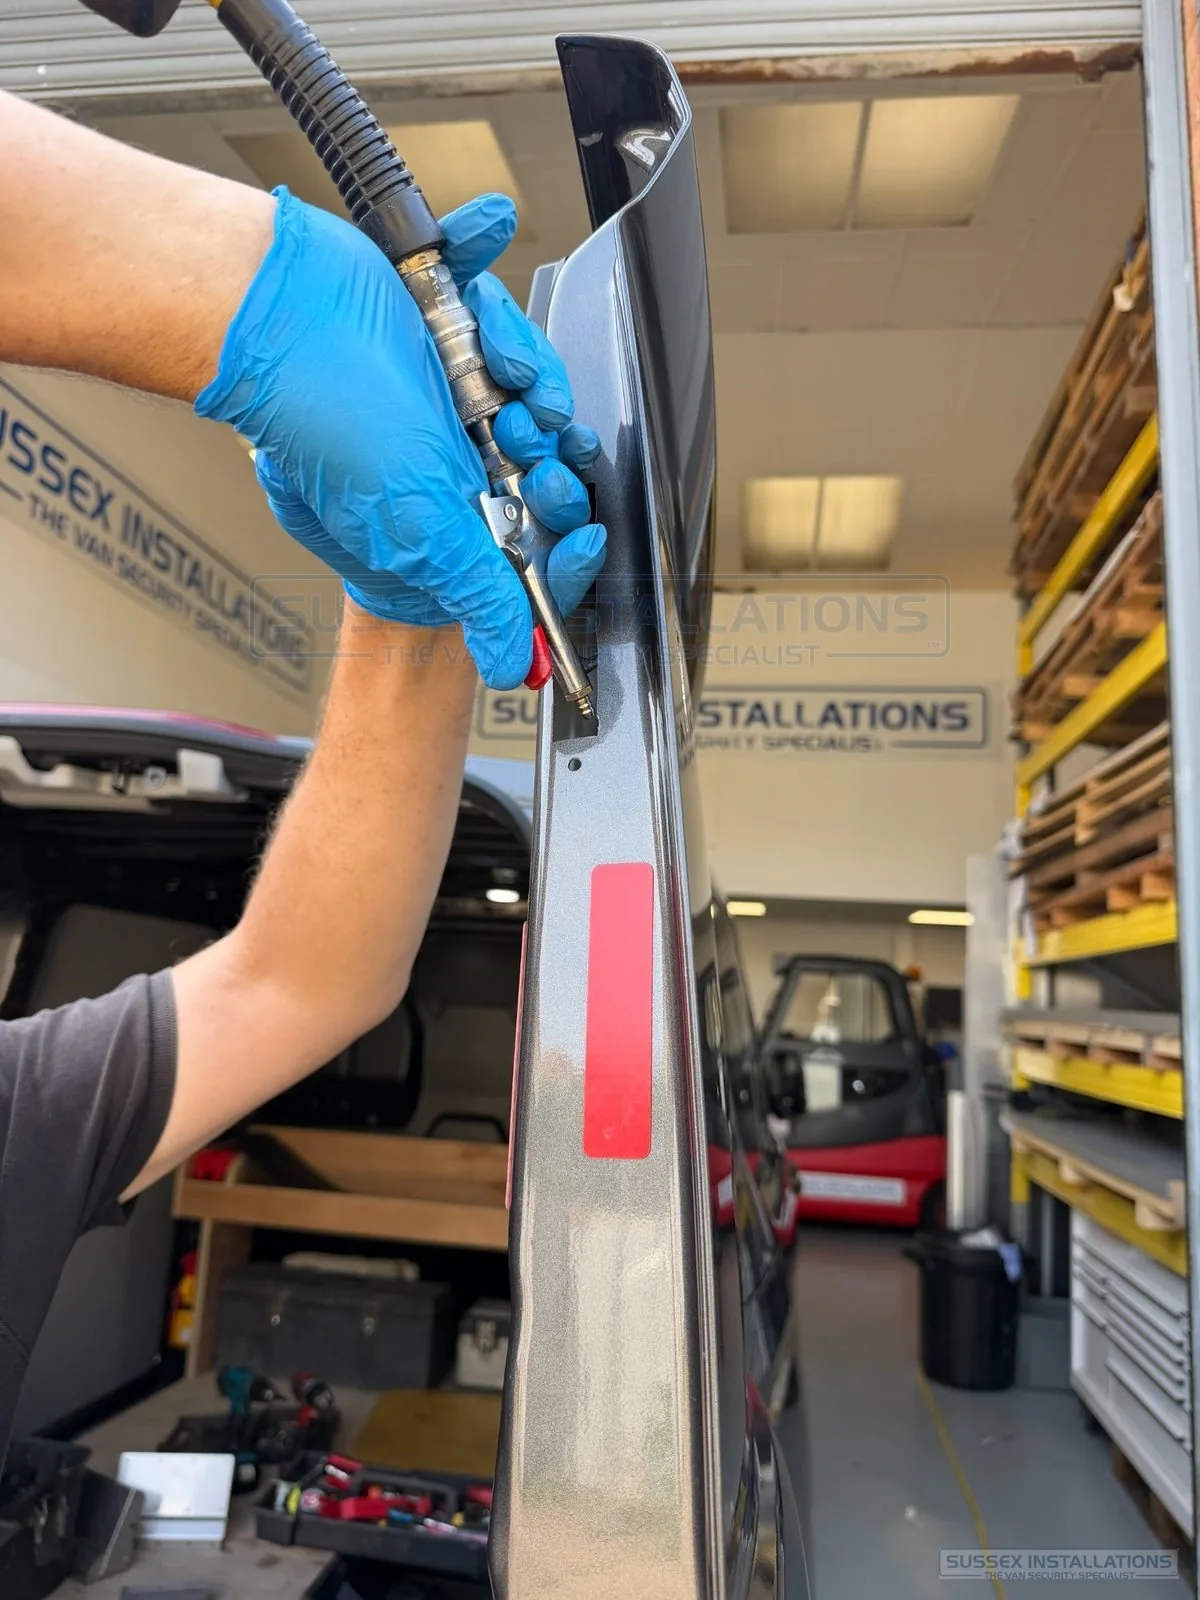
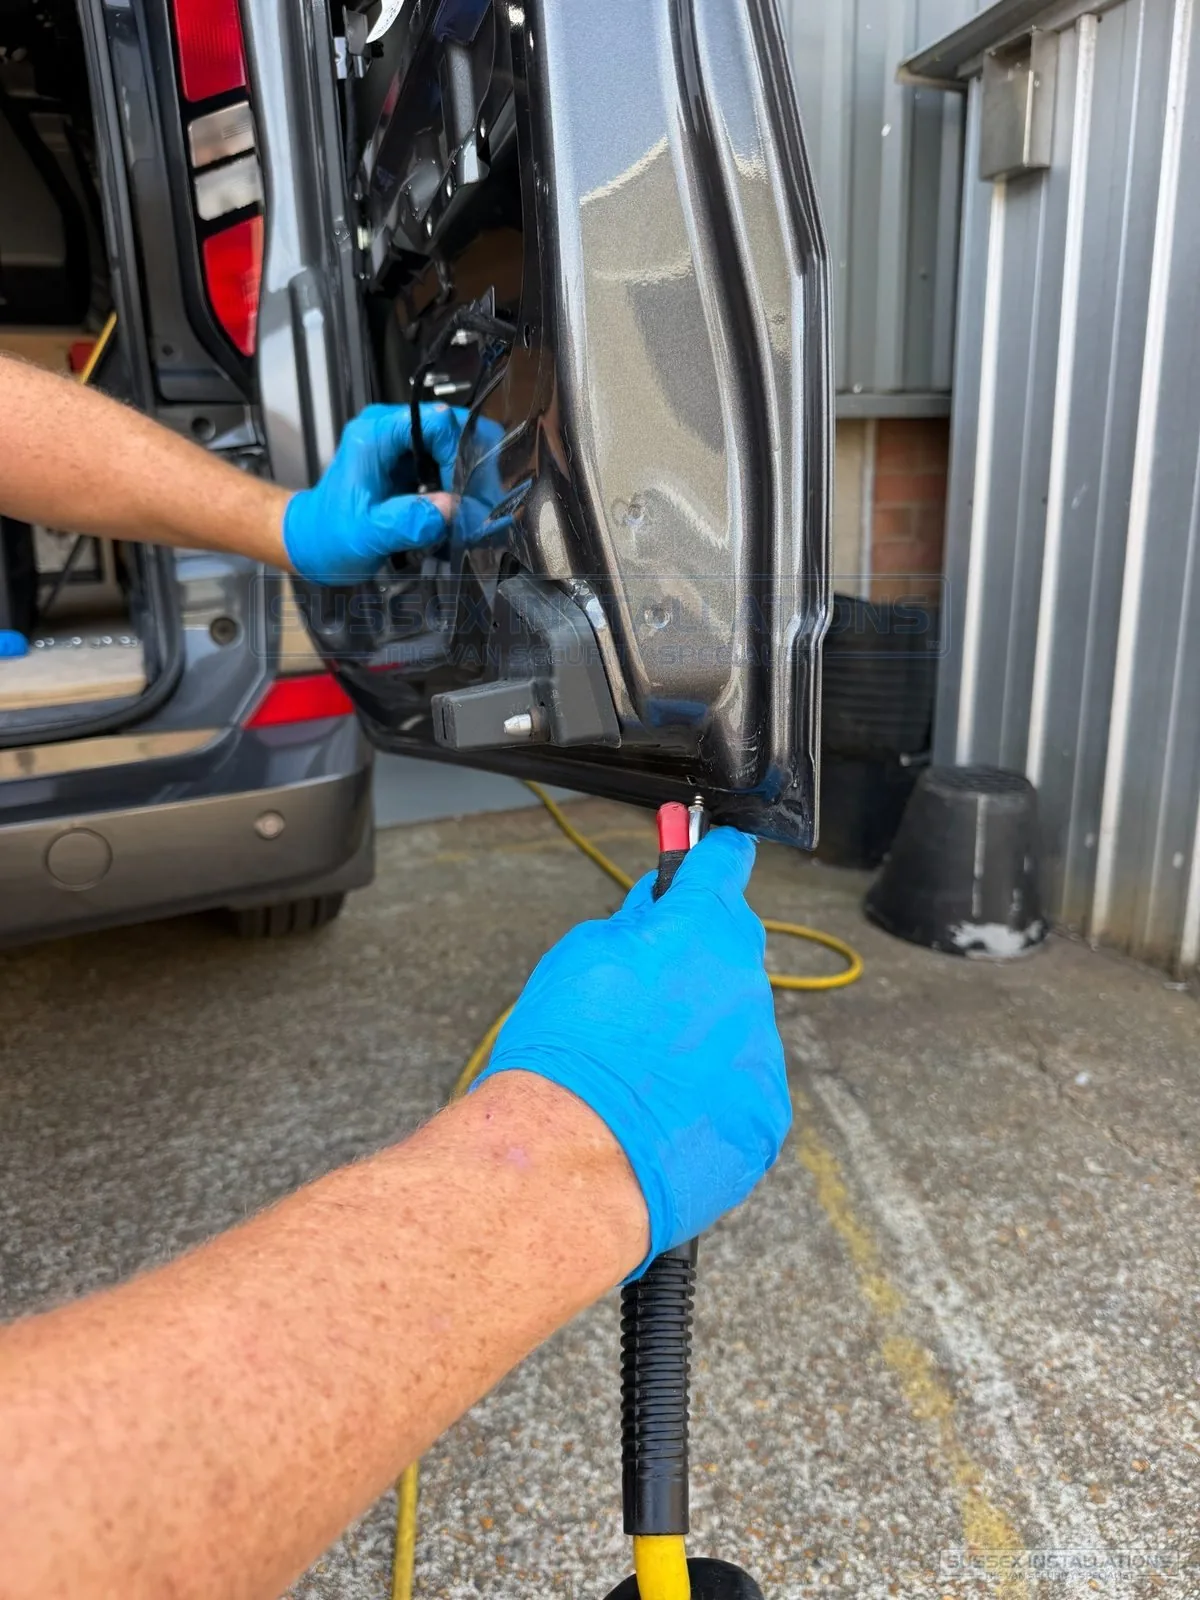
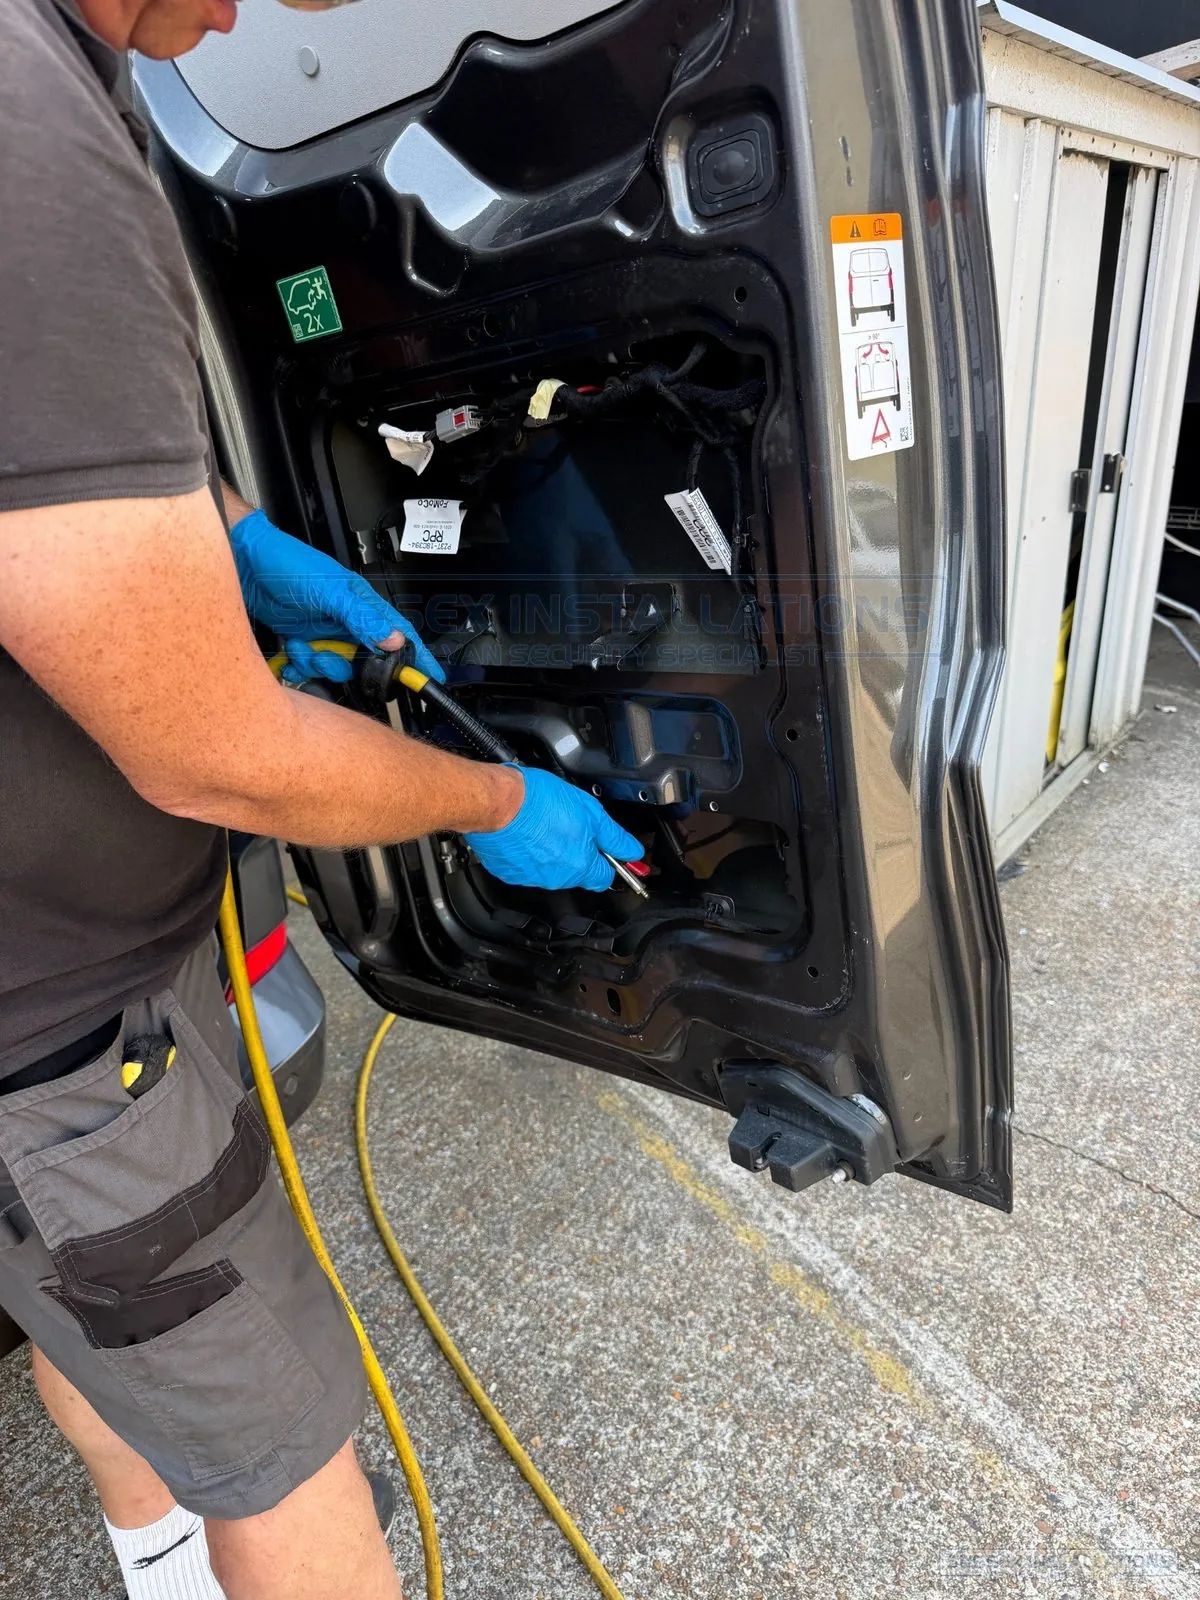
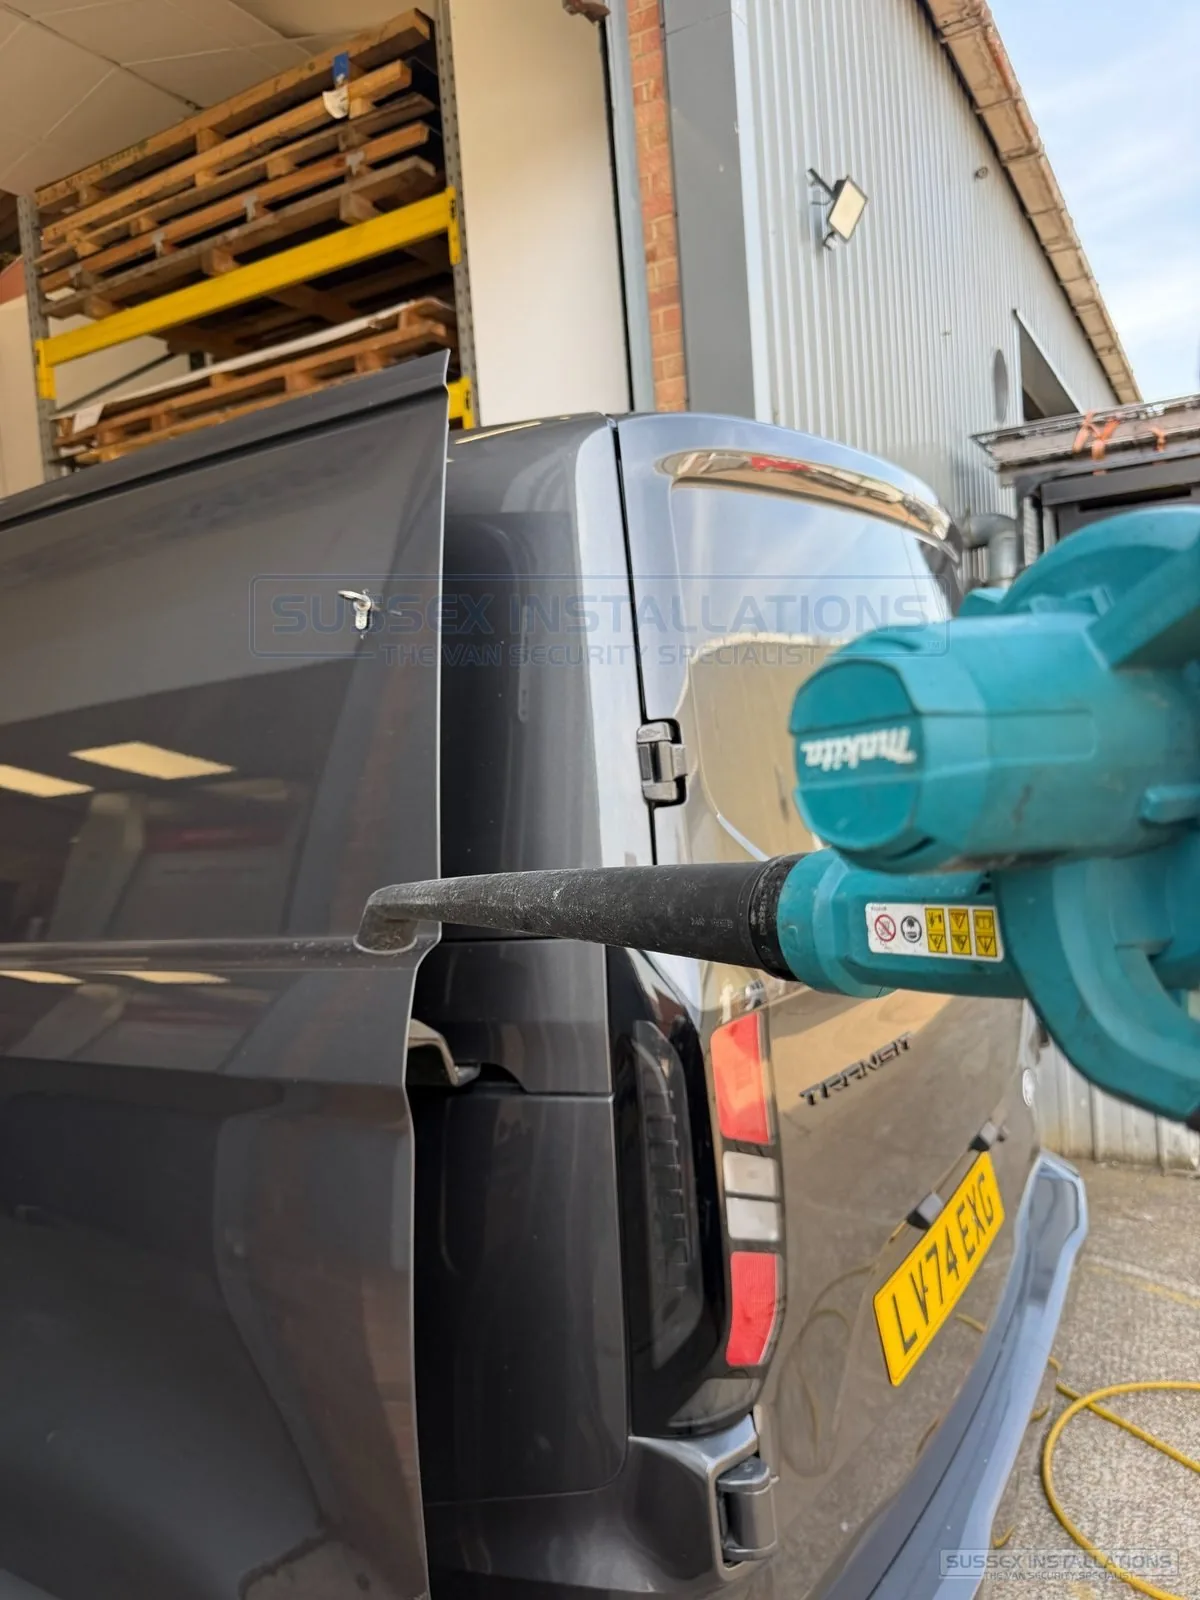
Battery-powered blowers are improving. I have tested a leaf blower as an alternative, but the results were not as thorough as concentrated compressed air. We may now be approaching a crossroads where newer battery air-blowing technology can eventually produce comparable results, provided the finished clean-down standard is not compromised.
The original video shows the visible corrosion caused when metal filings were left on painted van bodywork after lock fitting.
After the clean-down and before the locks are permanently fitted, every bare metal edge created during drilling or cutting should be protected with a rust inhibitor such as Waxoyl, cavity wax, primer or suitable paint.
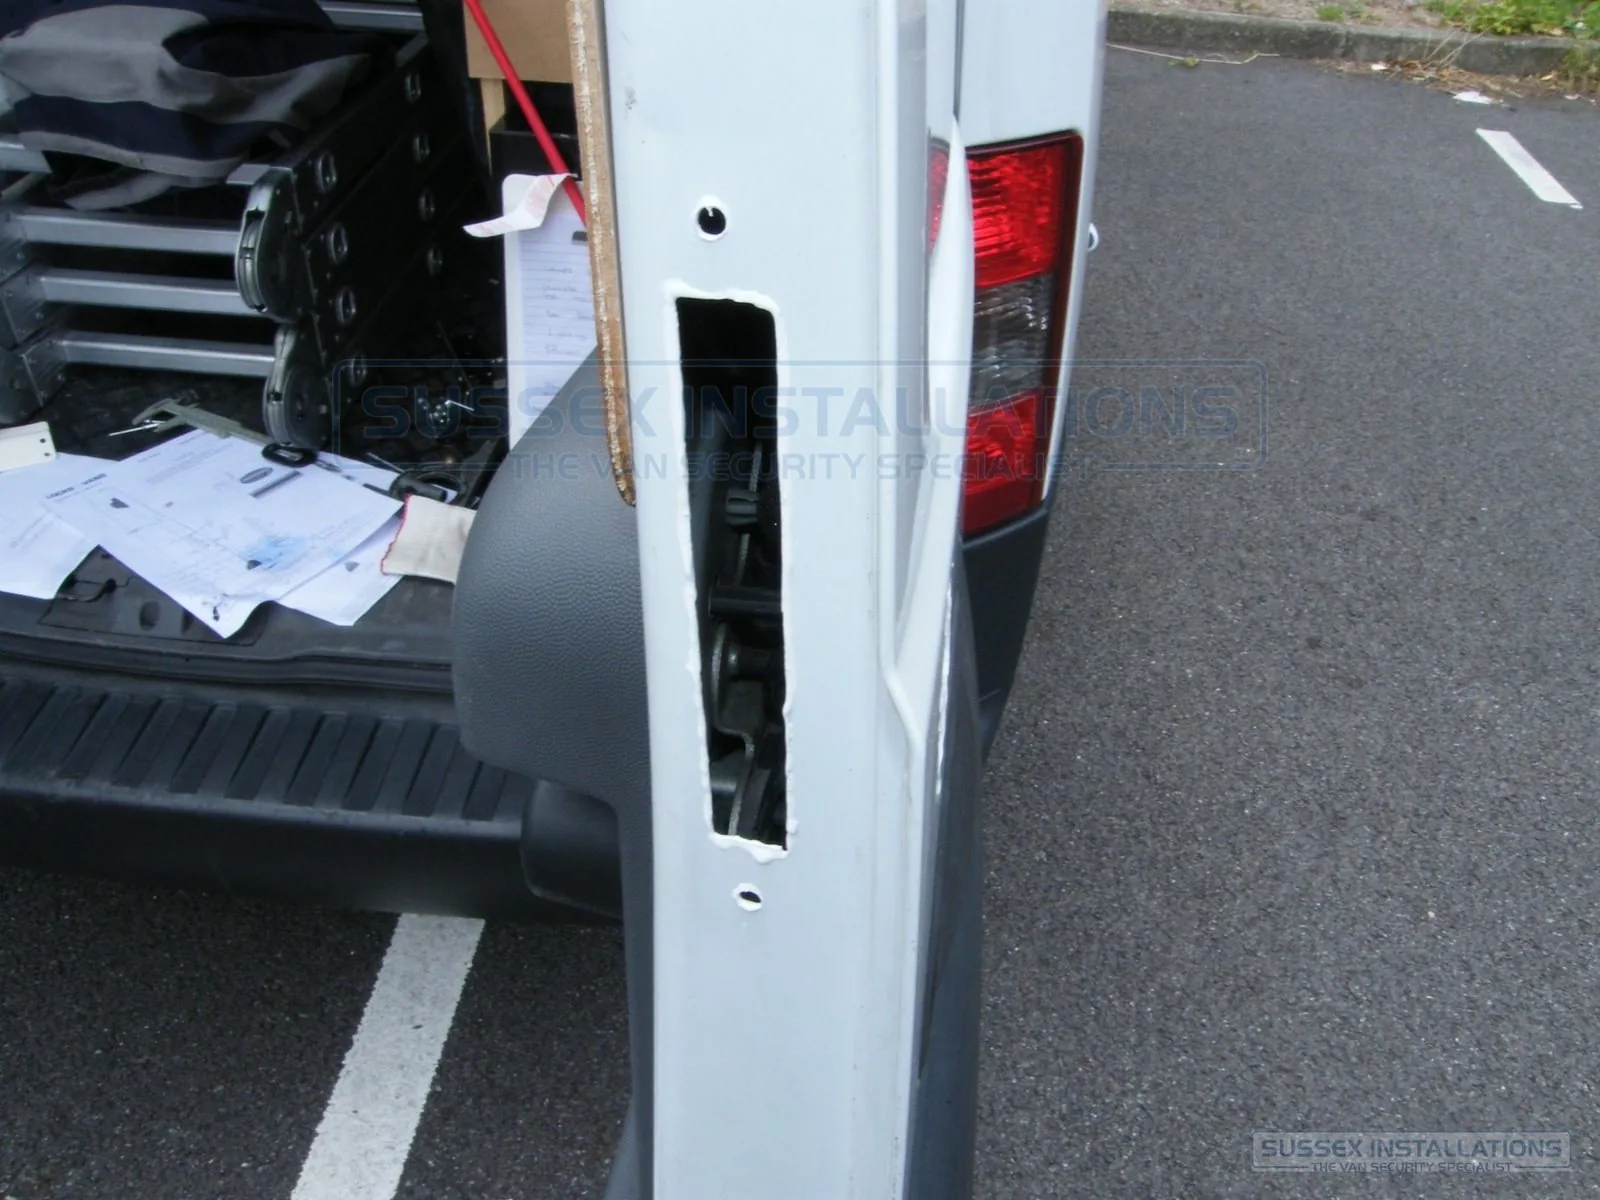
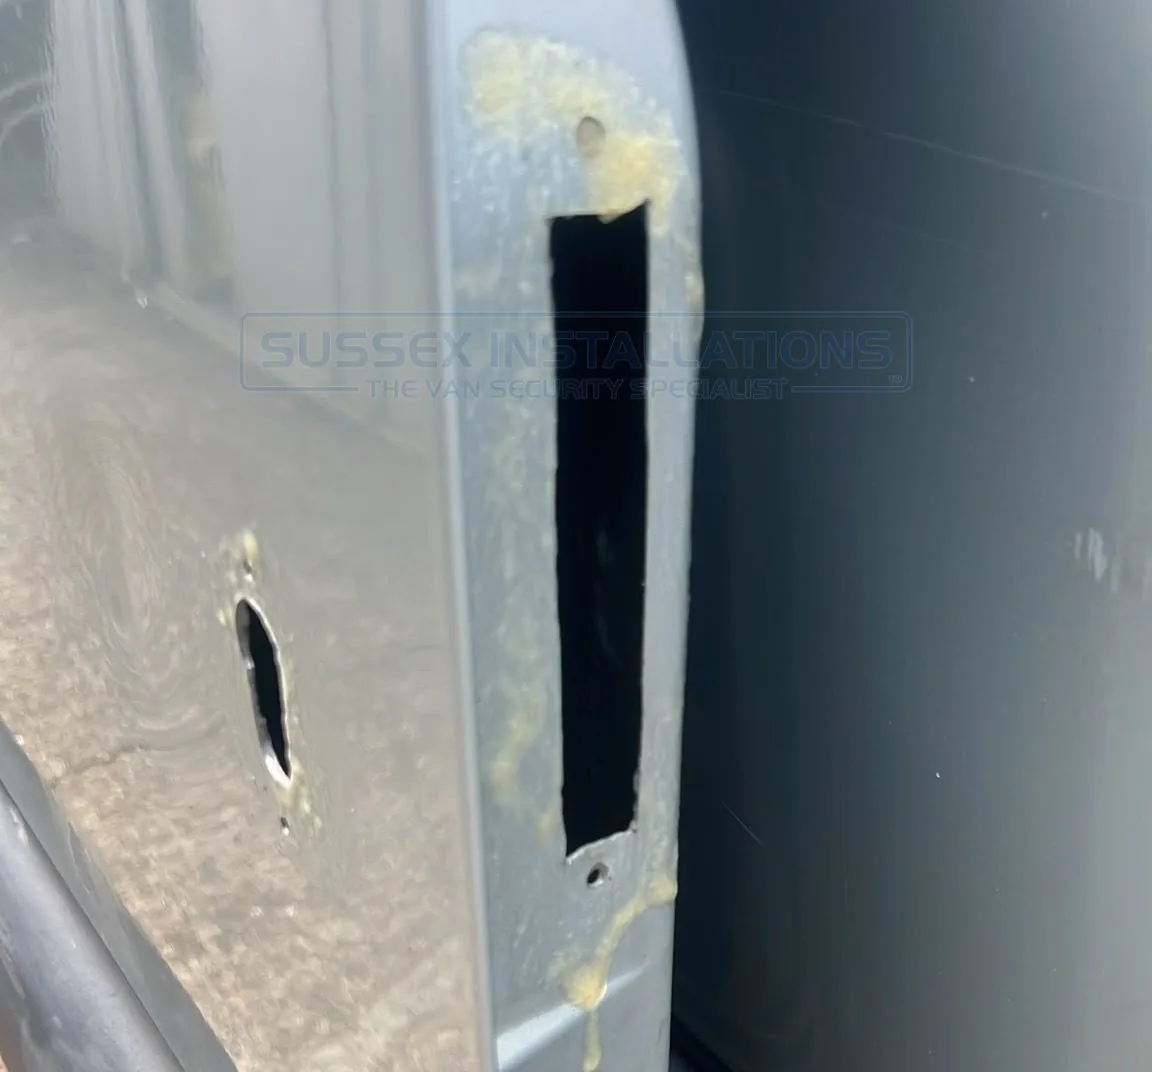
This is the best opportunity to protect surfaces that may become difficult or impossible to reach after final assembly. The lock itself should not be relied upon to seal and protect the cut edge.
Once the apertures are prepared, the swarf removed, the bare steel protected and the keep aligned, the components can be permanently fitted and repeatedly tested.
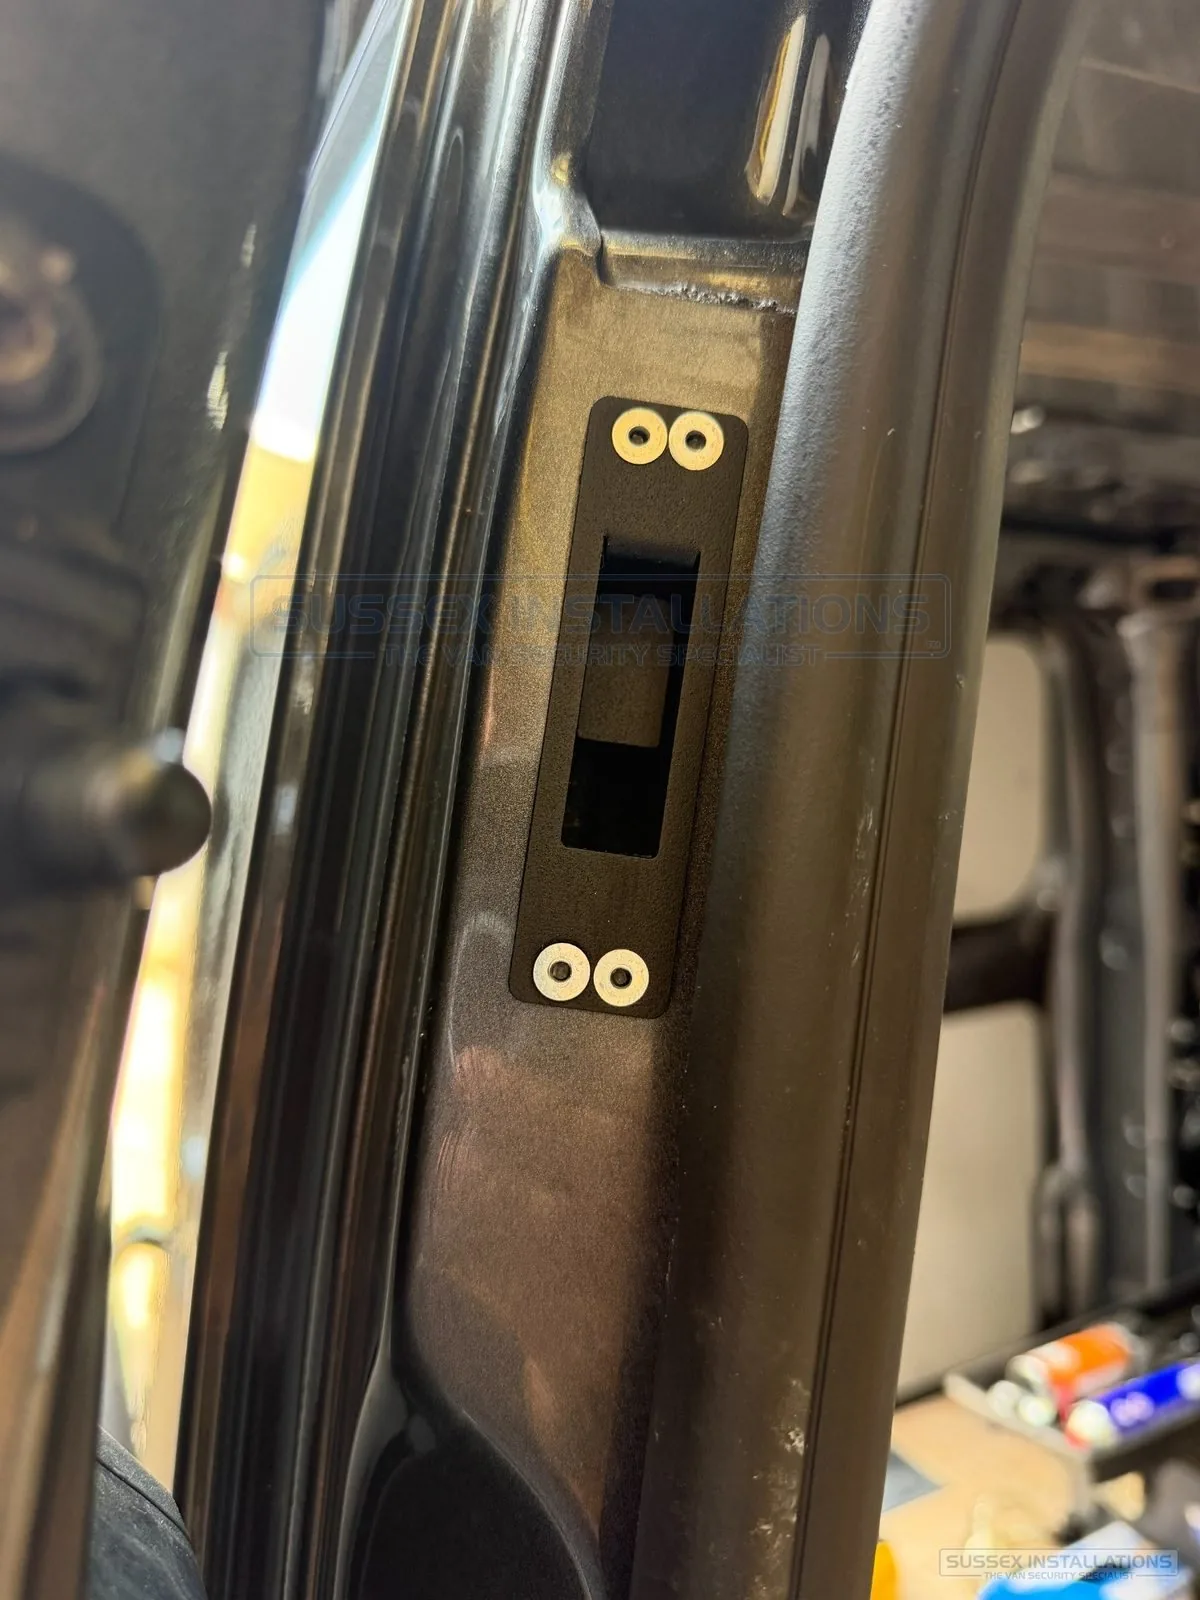
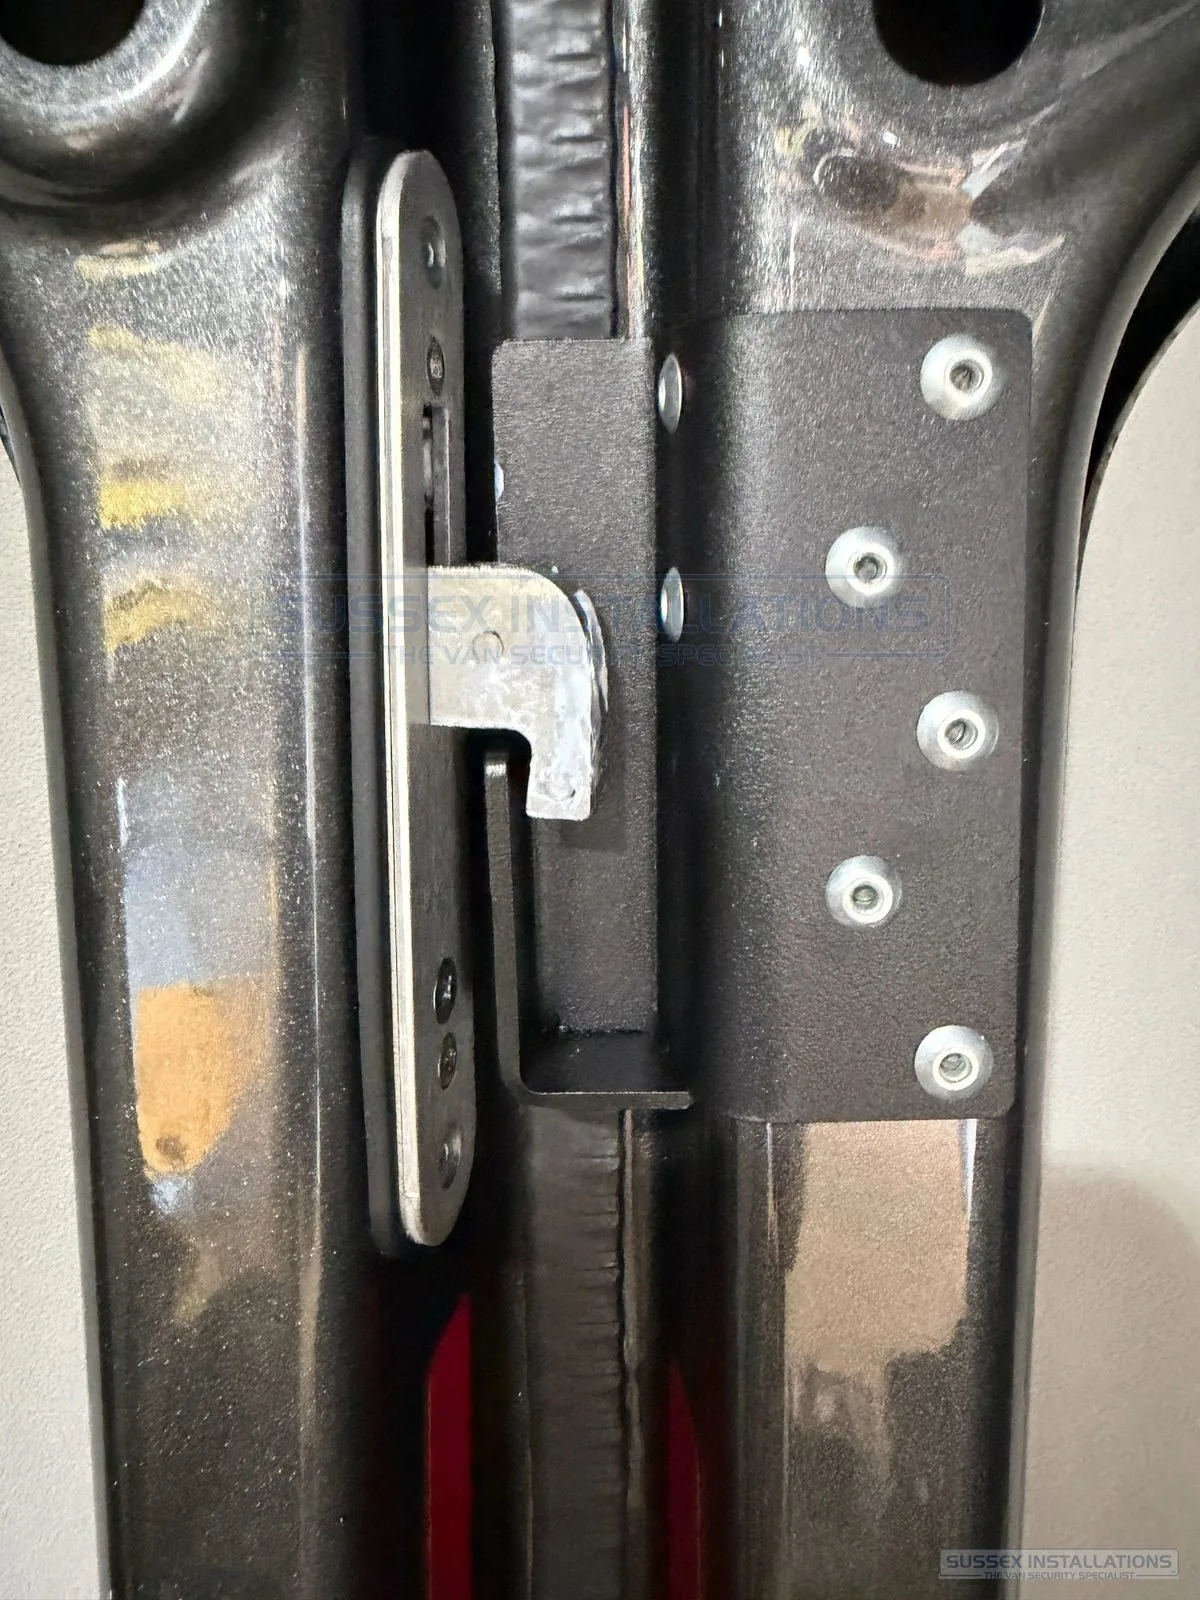
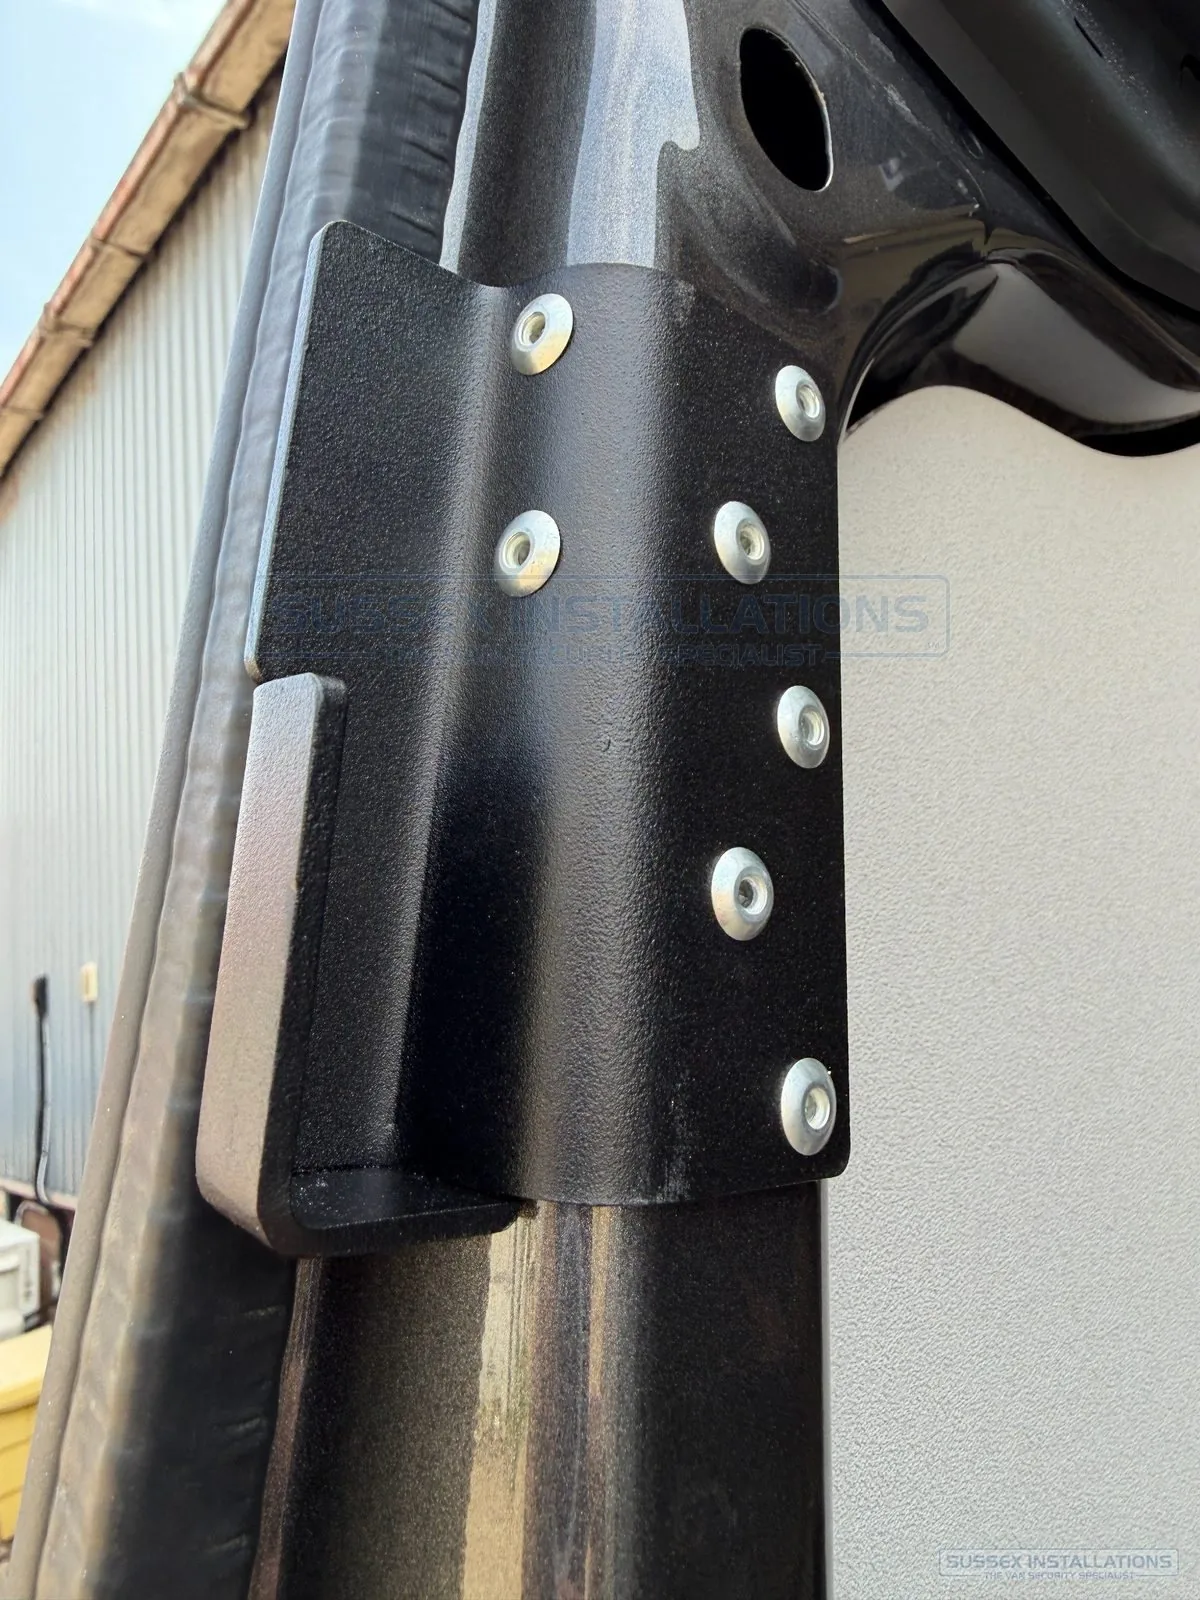
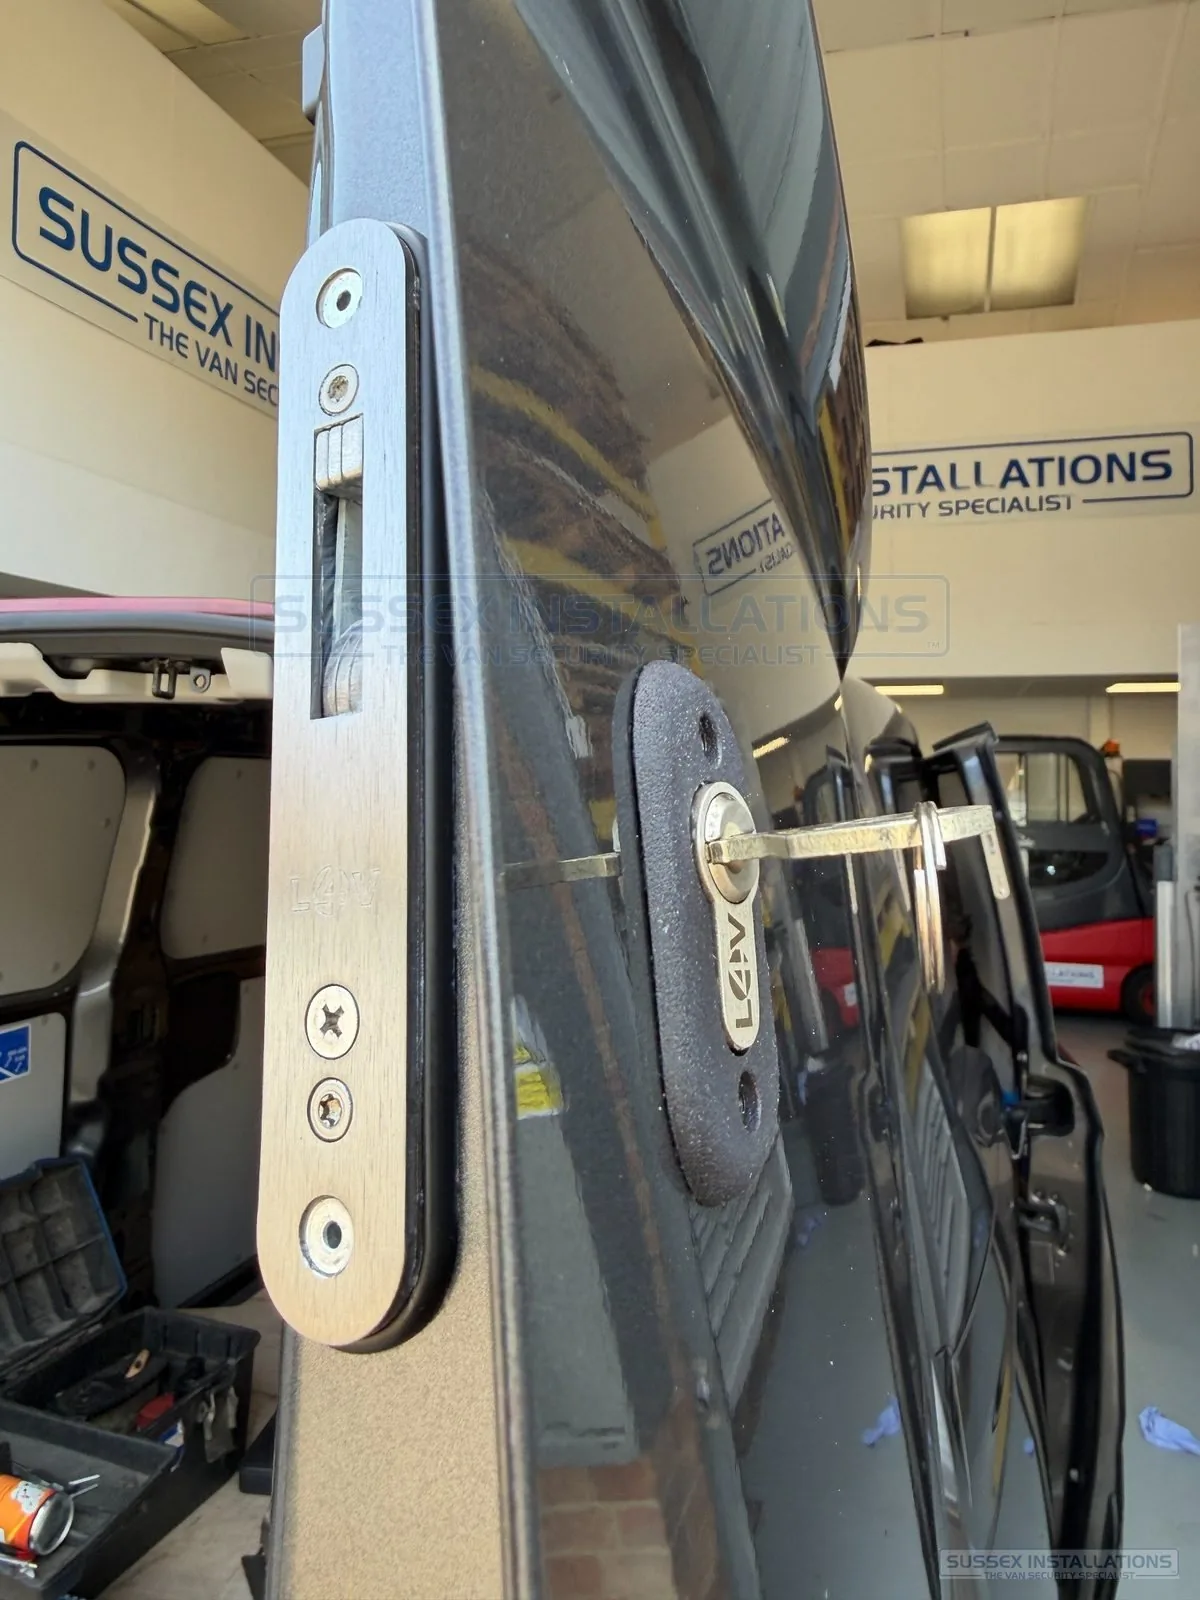
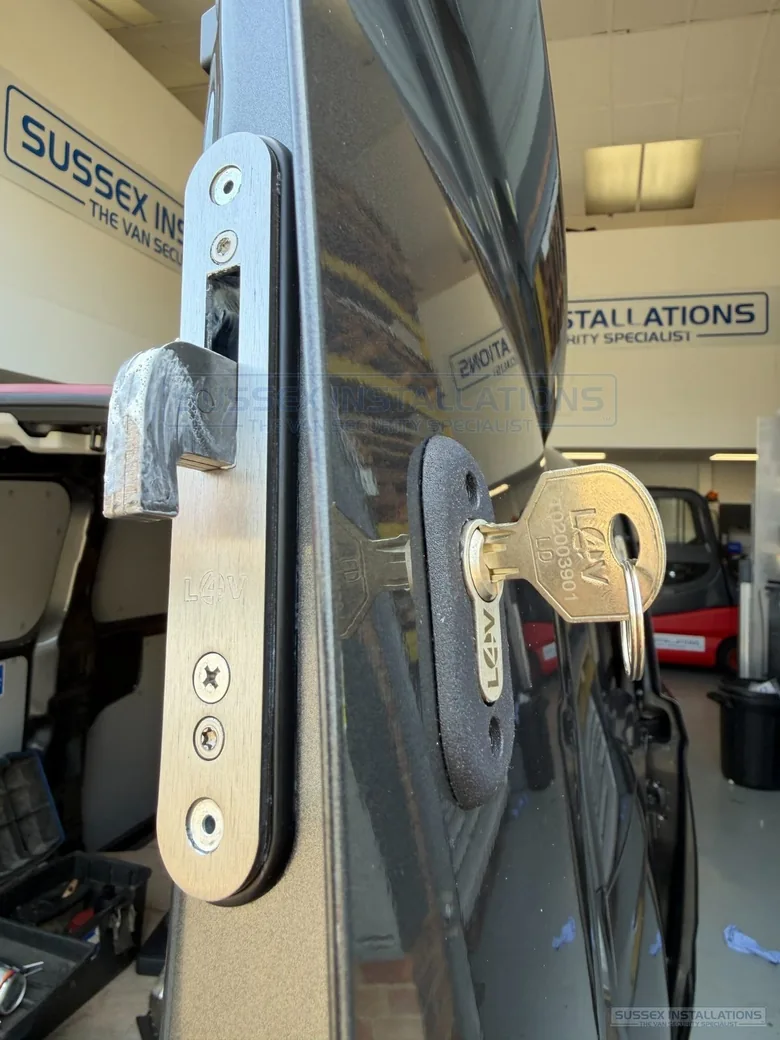
The finished lock should operate smoothly, engage naturally and allow the intended amount of controlled door movement before the deadlock stops the door opening. The professional result visible at the end is built on every stage that came before it.
This extract is from a genuine five-star Google review, reflecting the standard this page describes.
★★★★★"They're very knowledgeable about the specifics of van security which gives you absolute confidence in their advice."
Edward Warrington · Google review, September 2026
★★★★★"An unending source of expertise, advice, professionalism and quality. Brilliant communication throughout."
Matthew Hicks · Google review, November 2022
★★★★★"Due to Jeff's knowledge and explanations in the videos I immediately knew these were the guys I wanted to do the work. Impeccable knowledge, service and another top job."
Richard Leggett · Google review, March 2021
Review wording has been lightly shortened for display without changing its meaning. Full reviews remain available on the Sussex Installations Google Business Profile.
Using a drill to cut a lock case cut out will leave an uneven cut and may lead to bent bodywork around the cut. It would be especially difficult cutting when the lockcase fits into a door edge which is multiple layers thick of metal when there is a gap between layers.
Cutting and drilling a van door always produces metal swarf and exposes bare metal. Left untreated, that swarf and exposed metal corrode, so the clean-down and rust protection stage is treated as an essential final step, not an optional extra.
Since 2008, Jeff Scott has documented his own van deadlock installation methods through dated ifitstuff forum posts and public YouTube videos, sharing practical lessons on tools, technique and rust prevention with other professional installers and van owners, rather than keeping them private. It's not just a claim, it's dated, first-hand evidence of how the standard actually evolved.
These selected videos each have—or will have—their own permanent Knowledge Base page. The individual pages contain the embedded original video, verified publication context and a complete transcript when the source subtitles or audio are available.
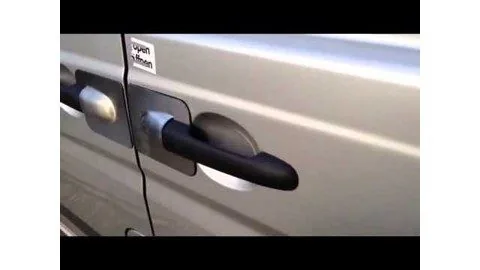
An installation of deadlocks, Armaplate and a Thatcham-approved alarm system to a Mercedes Vito, showing drilling, swarf removal and protection of cut edges.
A real example of what can happen when the clean-down is skipped, showing rust taking hold around a poorly finished deadlock installation.
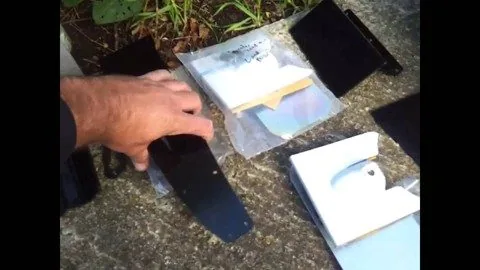
A historical fitting video showing the tools and parts used for professional van security installation, supporting the story of specialist tooling and reinforcement.

A behind-the-scenes look at the preparation and equipment involved in mobile van security installation while fleet-prepping a 2016 Renault Trafic.

The first edition of ifitstuff TV, filmed at the 2011 Mobile Electronics Expo, featuring the Ifitstuff Prepared Mobile Installer Challenge.

The second edition of ifitstuff TV from the 2012 Mobile Electronics Expo, featuring the Ifitstuff Installer Challenge and industry interviews.