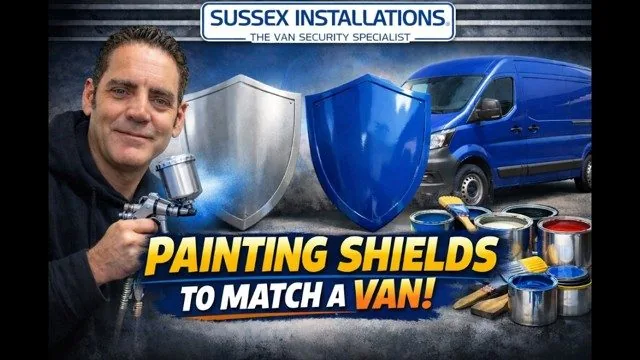
Finish options explained
Colour Coded Van Door Shields
Jeff Scott explains why not all shields are alike and demonstrates the brushed stainless, matte black and colour-matched paint finishes available.
Open video and transcript →
External security and repair shields that bond to the van instead of being bolted through it.
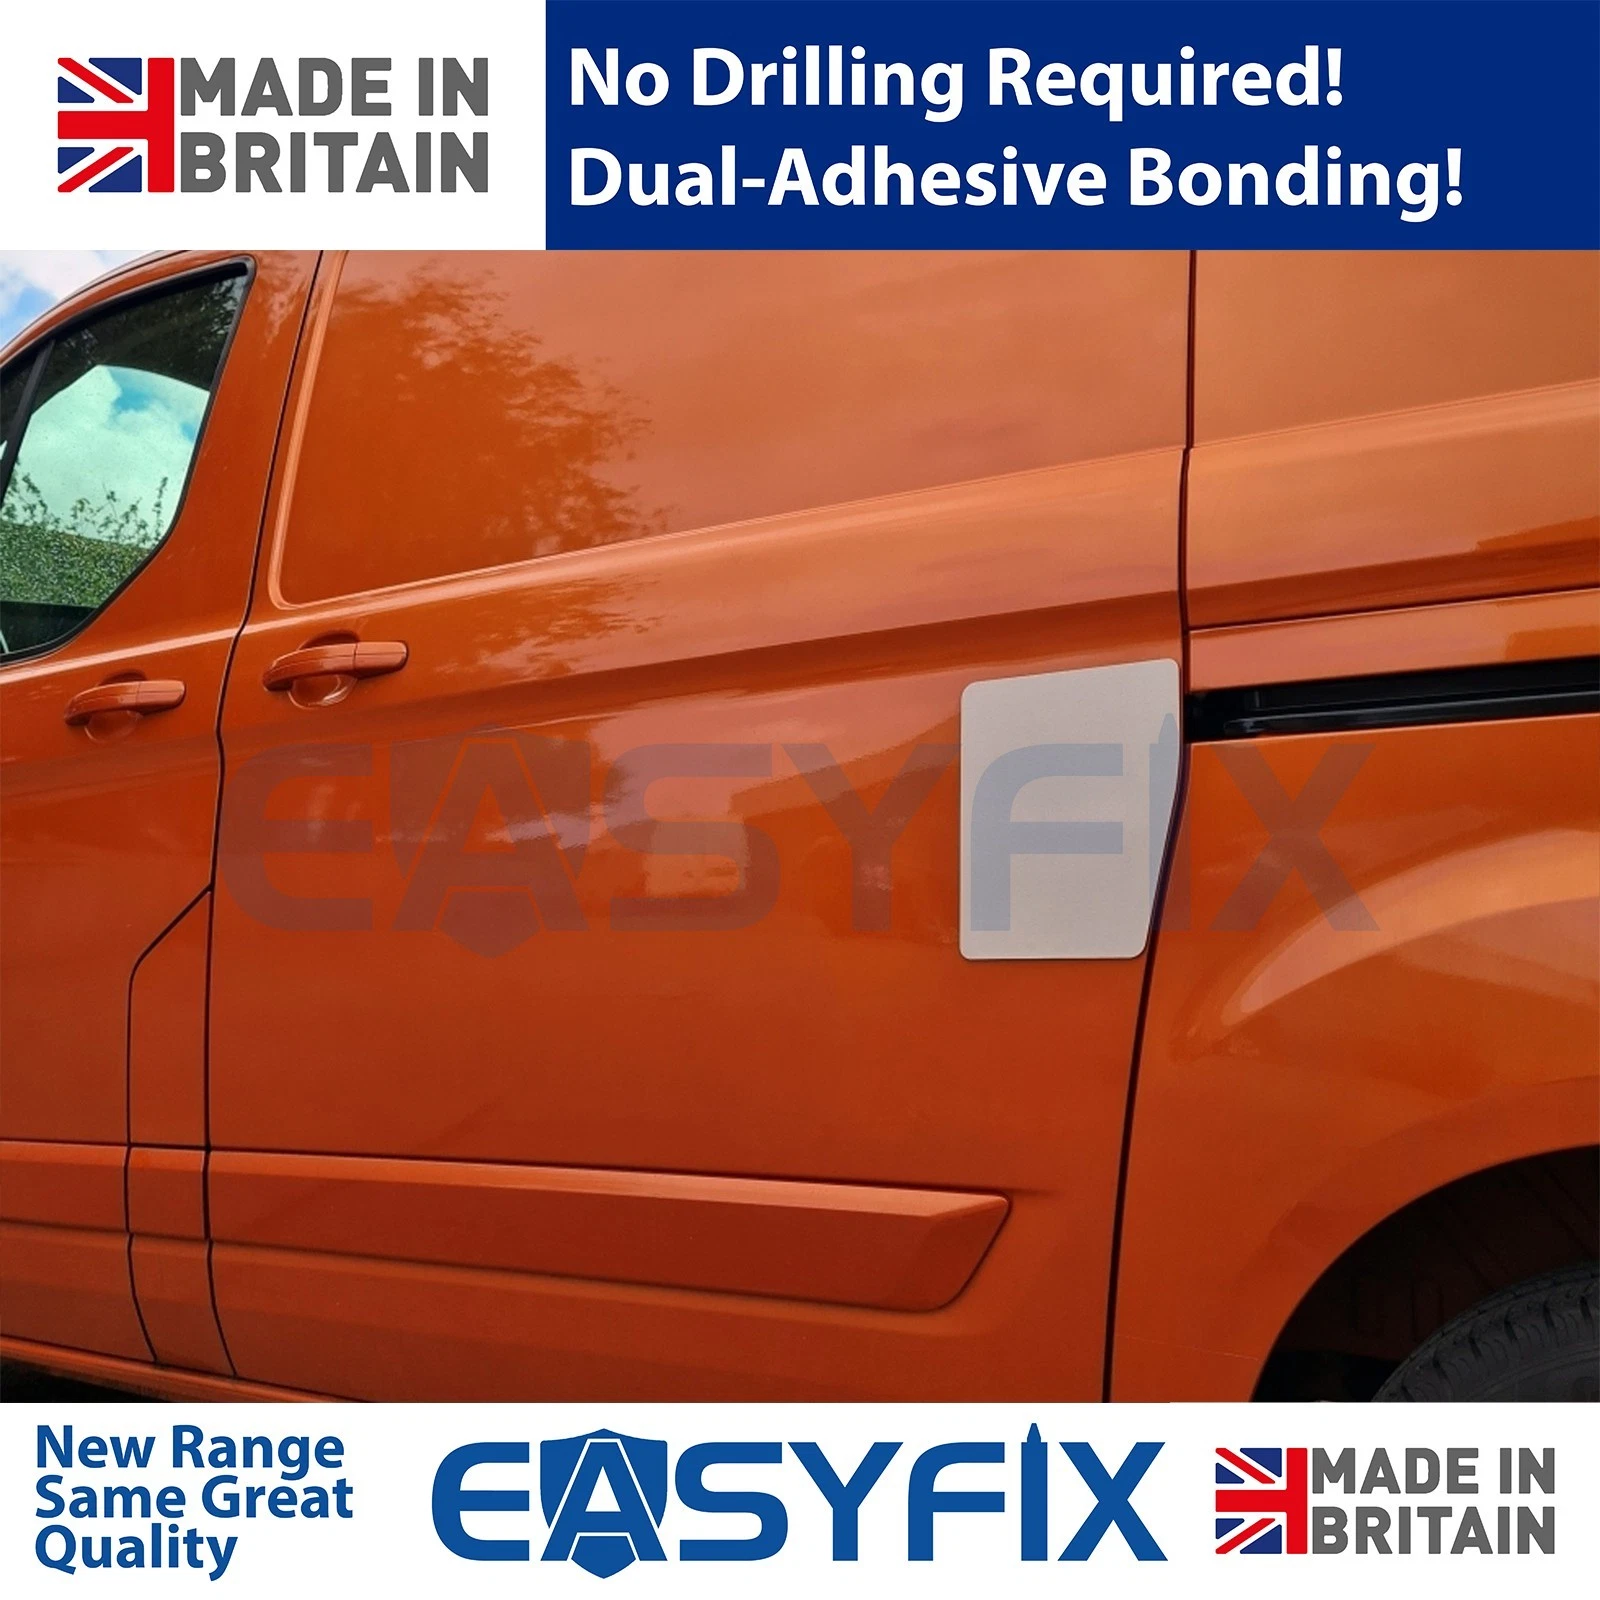
EASYFIX is our no-drill external security and repair shield range. It is designed to give a strong, discreet layer of protection over a vulnerable or damaged area of a van door, with an installation straightforward enough for many owners to do themselves.
Traditional external security shields normally need holes drilled into the vehicle during installation. EASYFIX was developed to give van owners another option: external security shielding without drilling additional holes into the van.
It grew out of what we see every week while fitting security and repairing vans that have already been attacked. Many owners want a visible shield or a repair over break-in damage, but would rather not have more holes cut into their bodywork to get it.
Unlike a basic stick-on plate, EASYFIX is designed as a complete bonding system. A precision-cut stainless-steel shield, an adhesive gasket and a controlled bonding channel work together. The patent-pending dual-adhesive gasket creates a controlled containment area for the curable adhesive, helps maintain a consistent bond-line thickness and reduces the risk of visible squeeze-out, so the shield sits cleanly against the vehicle panel.
The shields are made from 2mm 316 marine-grade stainless steel, designed and manufactured by us in Eastbourne, in Britain.
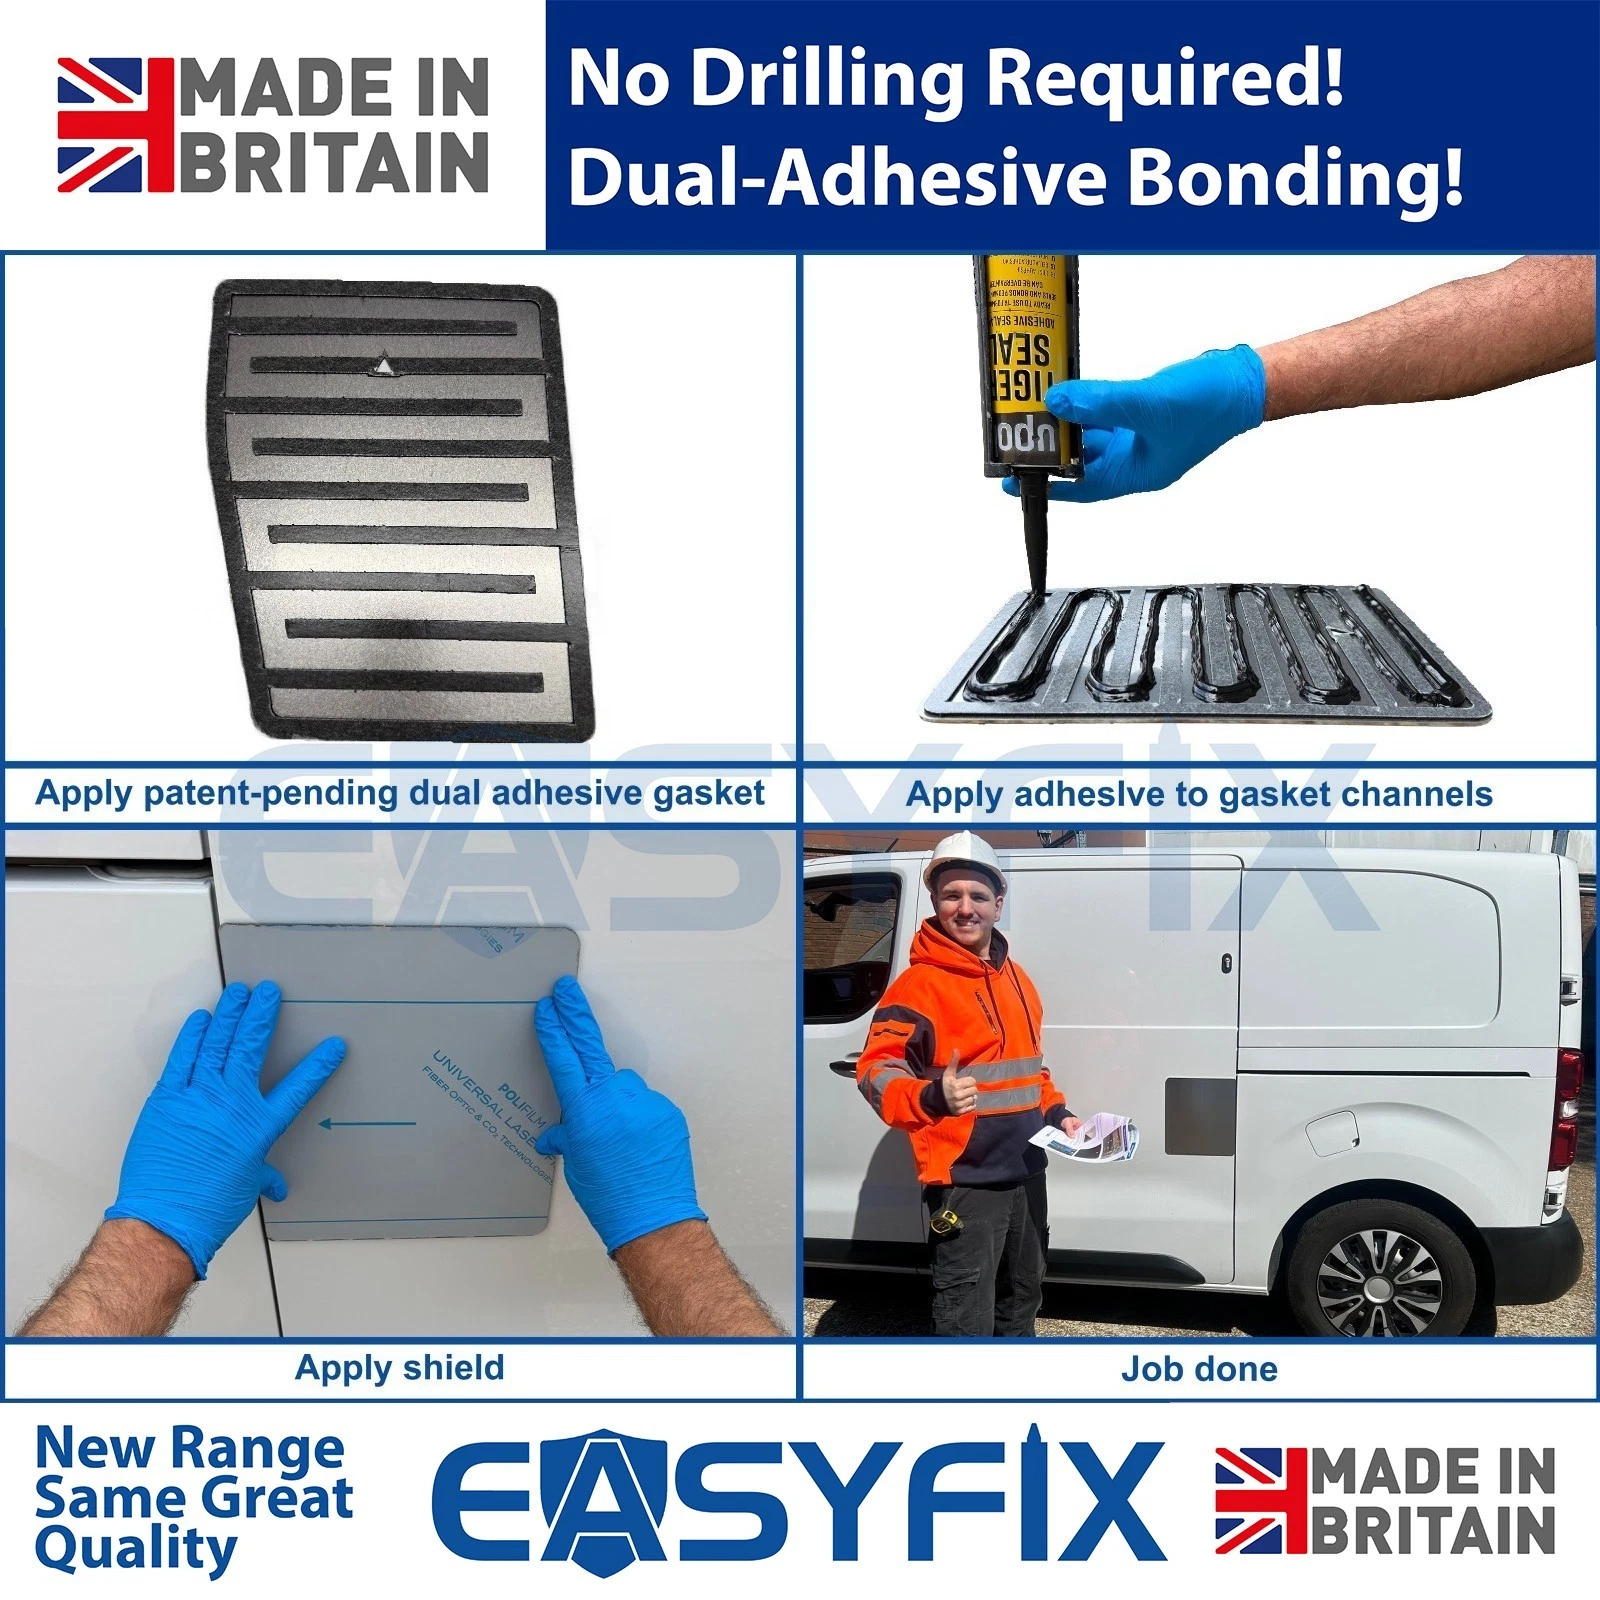
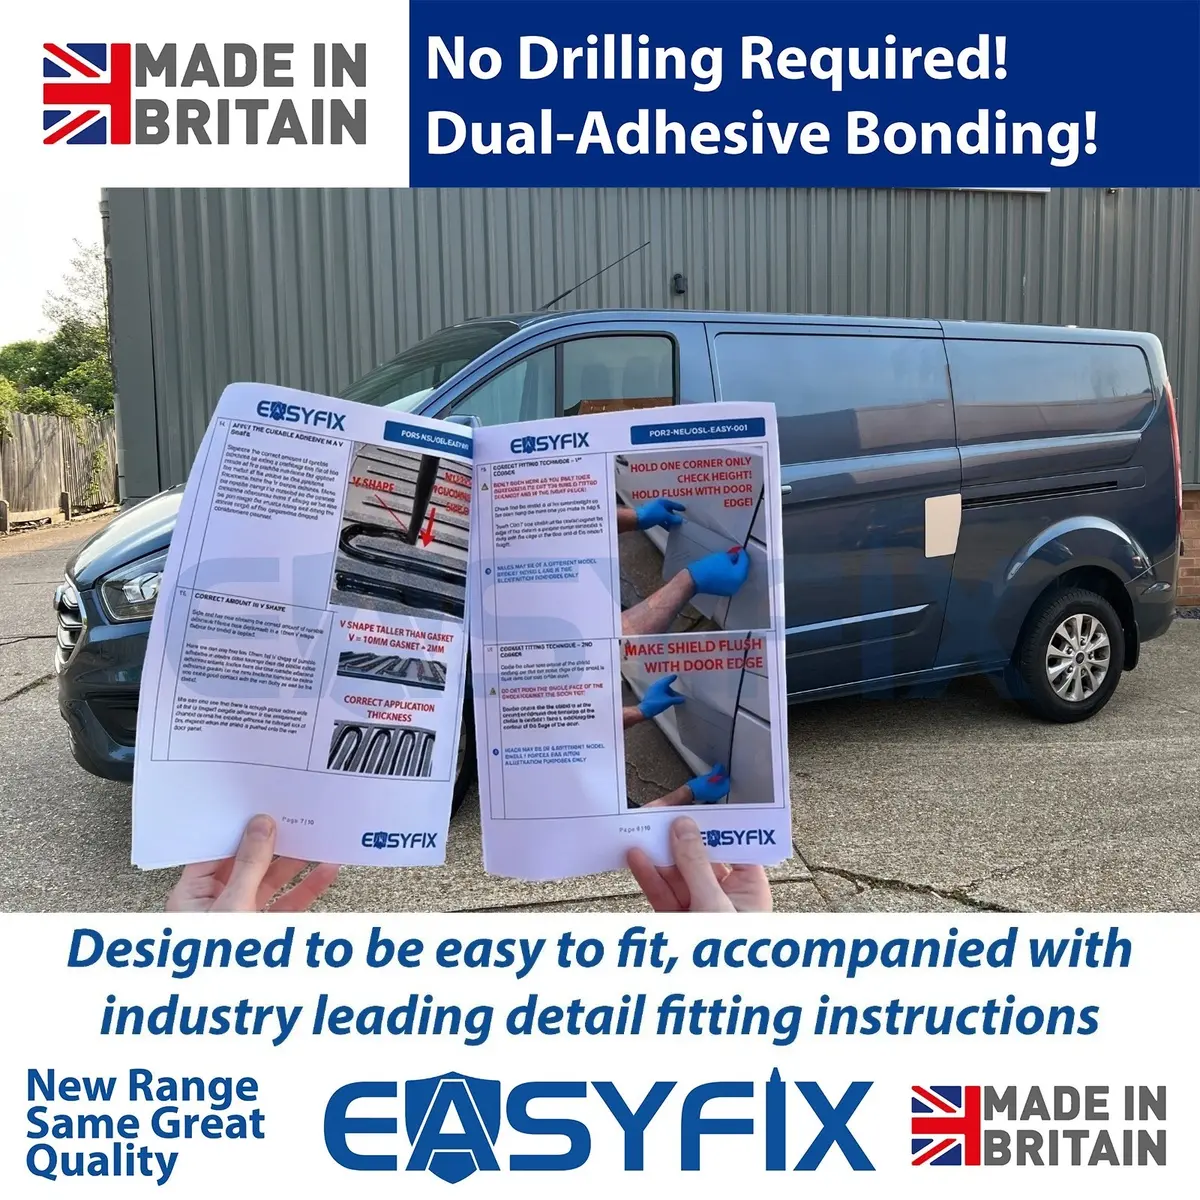
Avoiding drilling does not mean the preparation can be careless. Surface preparation, adhesive quantity, alignment and curing still matter, and installation is permanent once bonded, so each vehicle-specific product comes with detailed fitting guidance that should be read in full before starting.
An EASYFIX shield can cover existing damage from an attempted break-in, provided the selected shield fully covers the damage and there is enough sound panel around it for bonding. High spots must be corrected and any exposed metal treated before installation. For many tradespeople it is a practical way to get a working van back on the road without the cost and downtime of a replacement door or a bodyshop repaint.
For security purposes we always recommend our Stealth shields, which go covertly inside the door, as your first and most important line of defence.
External shields are a visible deterrent and a repair solution, rather than a guarantee. No security product can guarantee that a van cannot be broken into, so EASYFIX is best seen as one layer alongside internal protection and independent locks.
The range is vehicle-specific, built around the exact generation and door position, and is currently available for:
Options include left, right and twin side-load-door shields on selected models. Always check the product code and fitment before ordering, or ask us to confirm it for you.
EASYFIX is designed for self-installation, but we can also fit it for you, in the South East including London or at our Eastbourne workshop. See the South East mobile fitting page for the service area and travel charge.
Find EASYFIX for your van → View on Sussex Installations →
No. EASYFIX external shields use an adhesive gasket and approved curable automotive adhesive, so no holes are drilled in the vehicle bodywork.
Yes, where the selected shield fully covers the damage and has enough sound panel area around it for bonding. High spots must be corrected and exposed metal treated before installation.
Where possible, wait 48 hours. If the van must be used sooner, the fitting guidance advises staying below 30 mph and avoiding washing or pressure washing near the shield during the first 48 hours.
No security product can guarantee that. EASYFIX provides an additional visible layer of security and can form a practical repair over a vulnerable or damaged area.
Yes. EASYFIX is designed for straightforward self-installation, but we can fit it for you in the South East including London, or at our Eastbourne workshop.
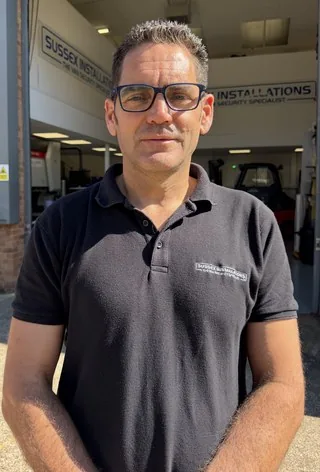
Jeff Scott explains why not all shields are alike and demonstrates the brushed stainless, matte black and colour-matched paint finishes available.
Open video and transcript →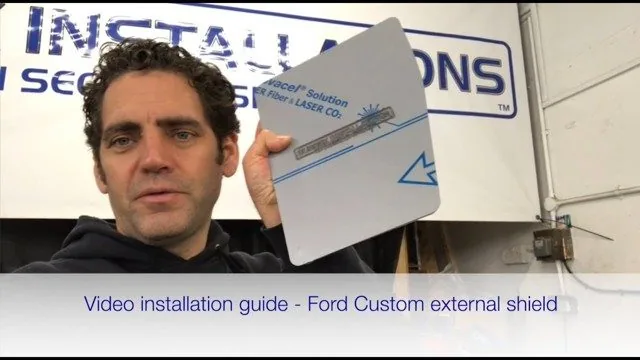
Jeff Scott explains how to properly install an external security shield on a Ford Custom van door, covering masking, drilling, rust protection and secure fitting.
Open video and transcript →